Show the code
python==3.12.8
streamlit==1.41.1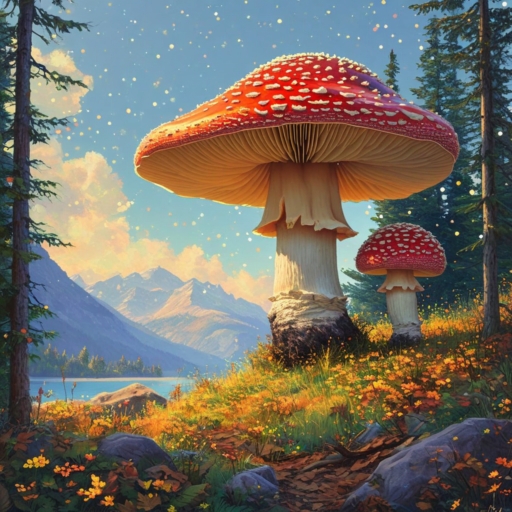
Amazon’s Nova Canvas is a state-of-the-art Amazon foundation model that promises to democratize high-quality image generation. However, the complexities of these models can often be a barrier to entry. This post presents a practical solution: a Streamlit-based application that makes experimenting with Nova Canvas accessible to everyone. I will walk you through the features of this app, which includes five powerful tools, encompassing text-to-image generation, conditional generation, background removal, inpainting, and outpainting. You can seamlessly explore the diverse capabilities of this potent technology and bring your creative visions to life.
python==3.12.8
streamlit==1.41.1All the code examples used in this post can be found on the GitHub repo 2025-01-26-streamlit-bedrock-nova-app
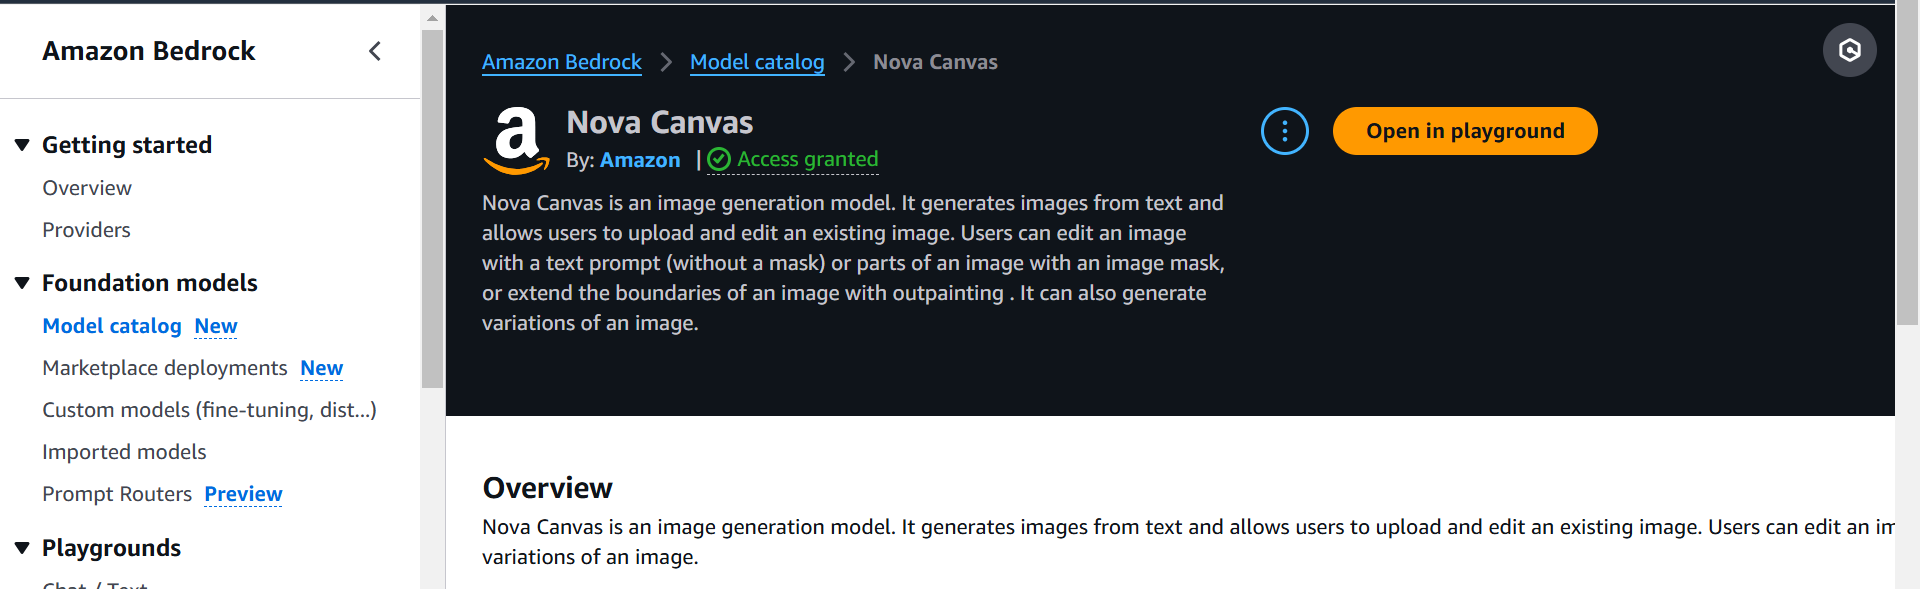
At the heart of my app is Amazon Nova Canvas, a latest foundation model that I’m using to generate realistic, studio-quality images from text prompts. This model is a versatile tool for both text-to-image generation and advanced image editing. Nova Canvas excels at creating images that capture the concepts described in your text prompts.
Beyond text-to-image (T2I), I’m also leveraging its image editing capabilities, which include inpainting, outpainting, generating variations, and automatic editing without masks. Inpainting allows you to reconstruct masked regions in an image. Outpainting lets you seamlessly extend an image beyond its original boundaries, and you can guide this with masks or let the model determine it. The model also supports image conditioning, which uses a reference image to guide generation, and it also supports subject consistency to preserve a chosen subject like a pet or a shoe in your generated images. It can also automatically remove backgrounds from an image, making the background transparent.
Overall, this model provides me with a powerful and diverse set of tools to unleash creative possibilities.
The Nova Canvas model id used in this post is amazon.nova-canvas-v1:0.
You can read more about Nova Canvas features from its official documentation page. Link Here
To make exploring the power of Amazon Nova Canvas as easy and accessible as possible, I decided to build an application using Streamlit. I chose Streamlit because it is incredibly efficient for quickly creating interactive web apps with minimal coding, making it the perfect tool for this project. My goal was to create a hands-on playground where you could directly experiment with Nova Canvas’s capabilities, transforming your creative ideas into visual reality.
This app isn’t just for tech enthusiasts; I wanted it to be user-friendly, allowing anyone to explore AI-powered image generation and editing. The best part is that it’s designed for easy sharing and deployment, so you can effortlessly share your experiments with your friends, or even deploy the app for wider access. I have included some of the app’s screenshots below, so you can have a quick overview.
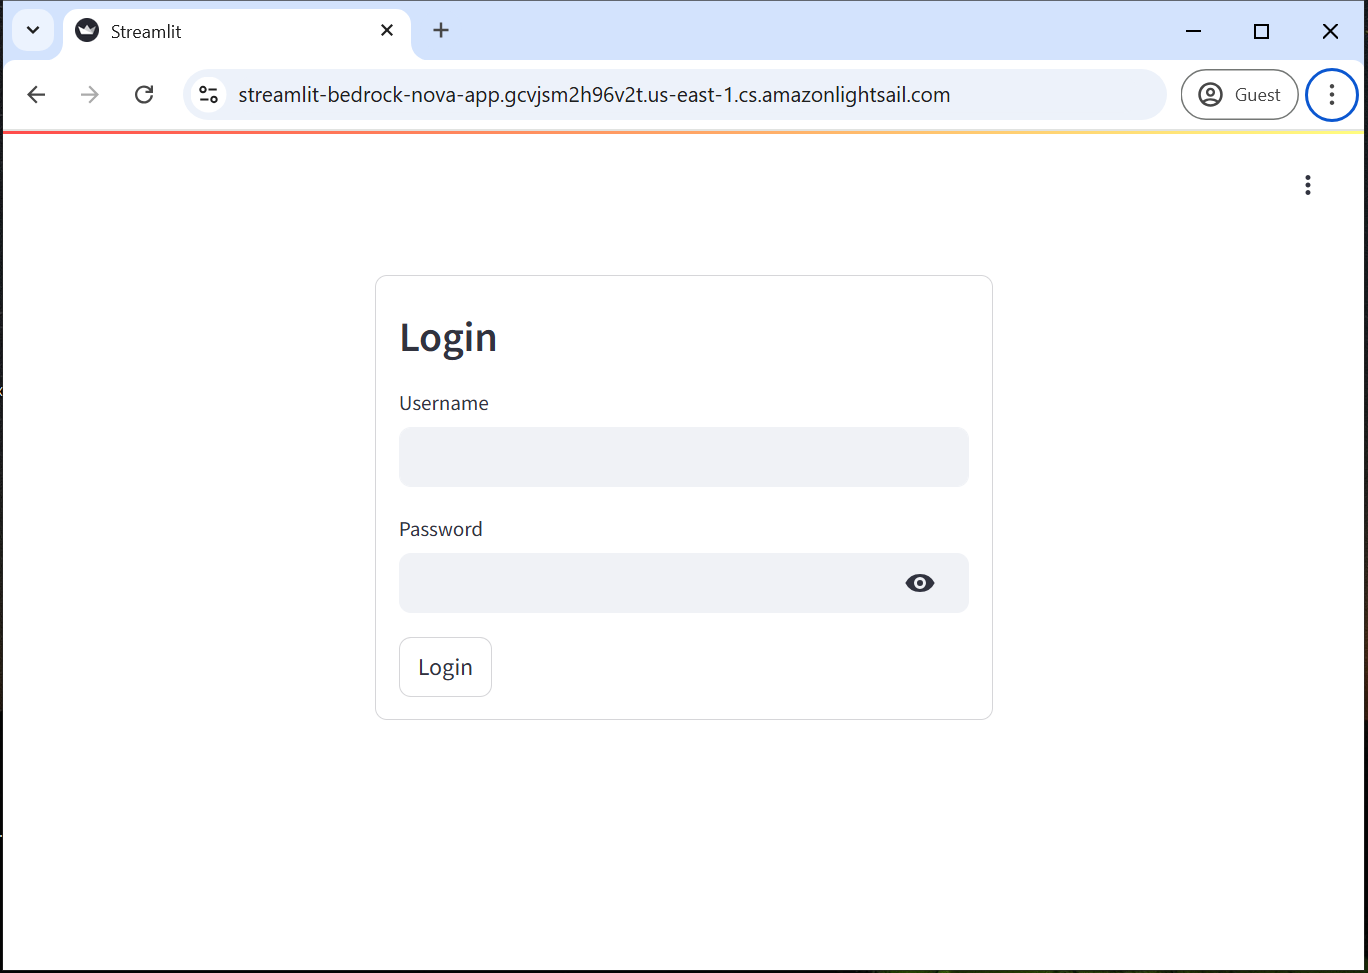
You’ll see a simple login page where you can enter your credentials (or bypass authentication during local testing). After logging in, you are presented with a user-friendly interface, with a sidebar that lets you navigate to each of the five image processing tools. The welcome page gives you a quick overview of each of the tools and how to use them. Each tool provides an intuitive interface with controls to configure the parameters and get the most out of the capabilities of the Amazon Nova Canvas model.


We’ll dive into each of these pages in more detail in the following sections, but this overview should give you a good initial feel of what the app looks and feels like.
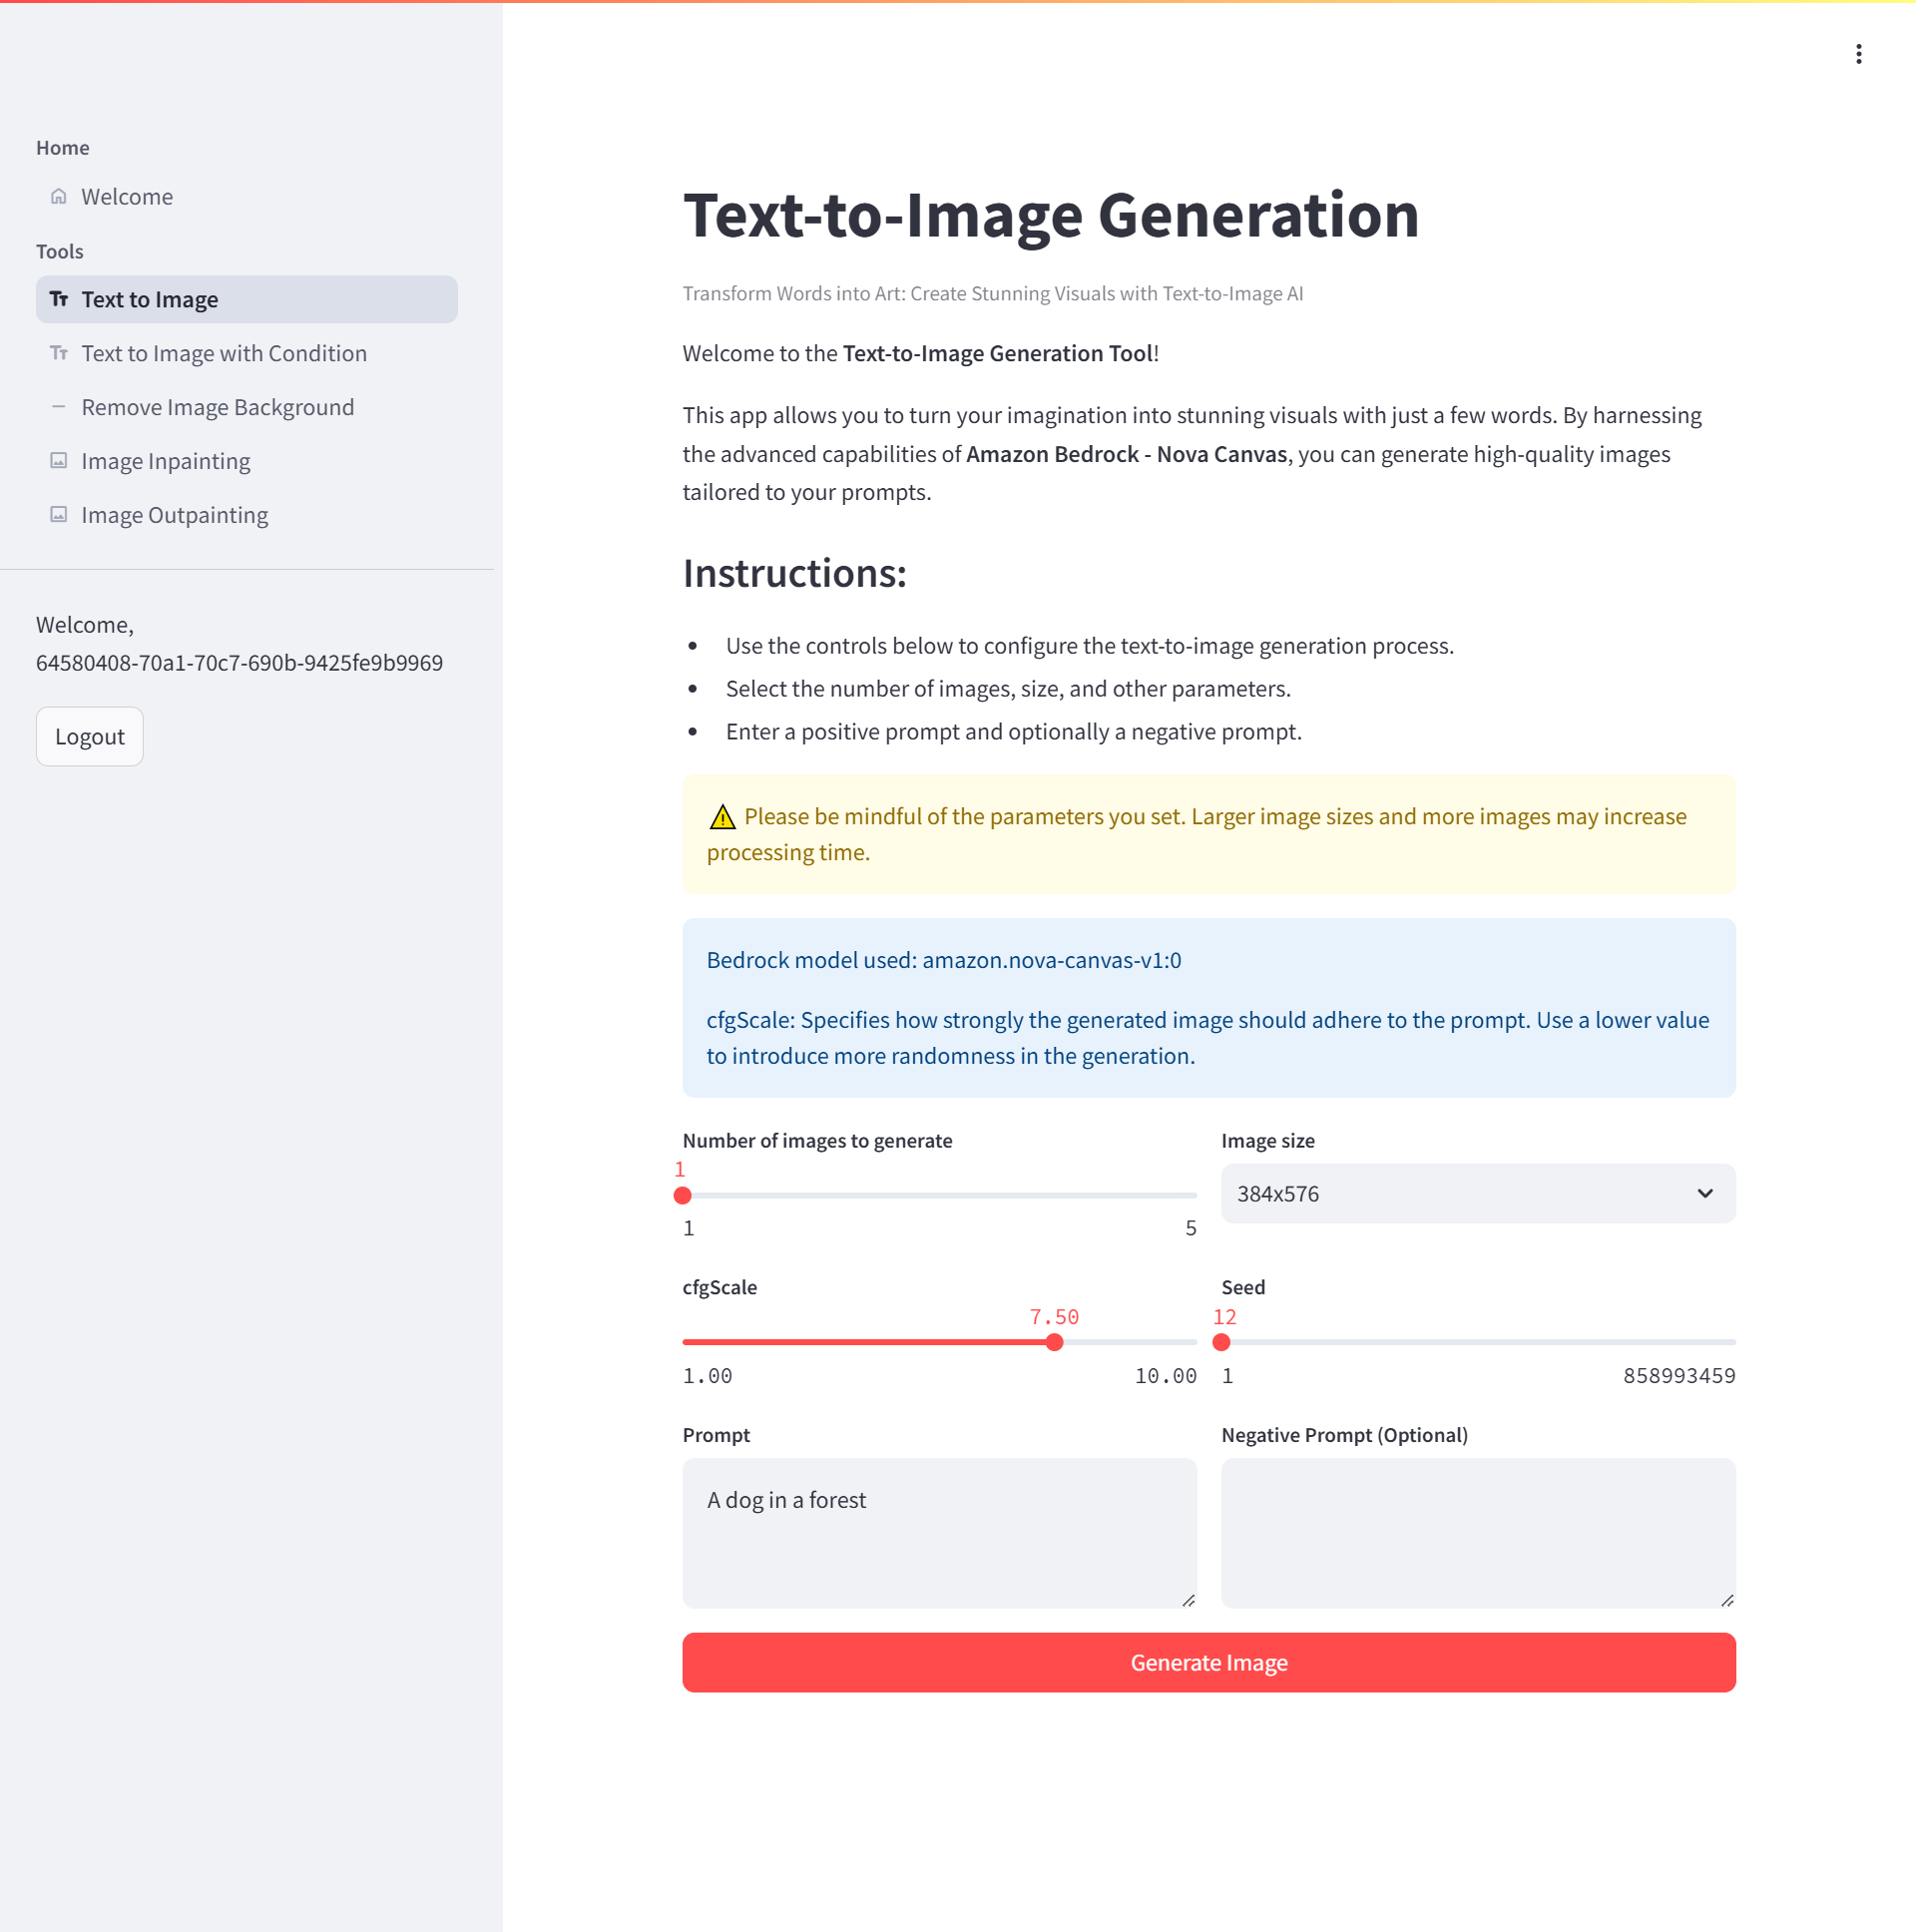
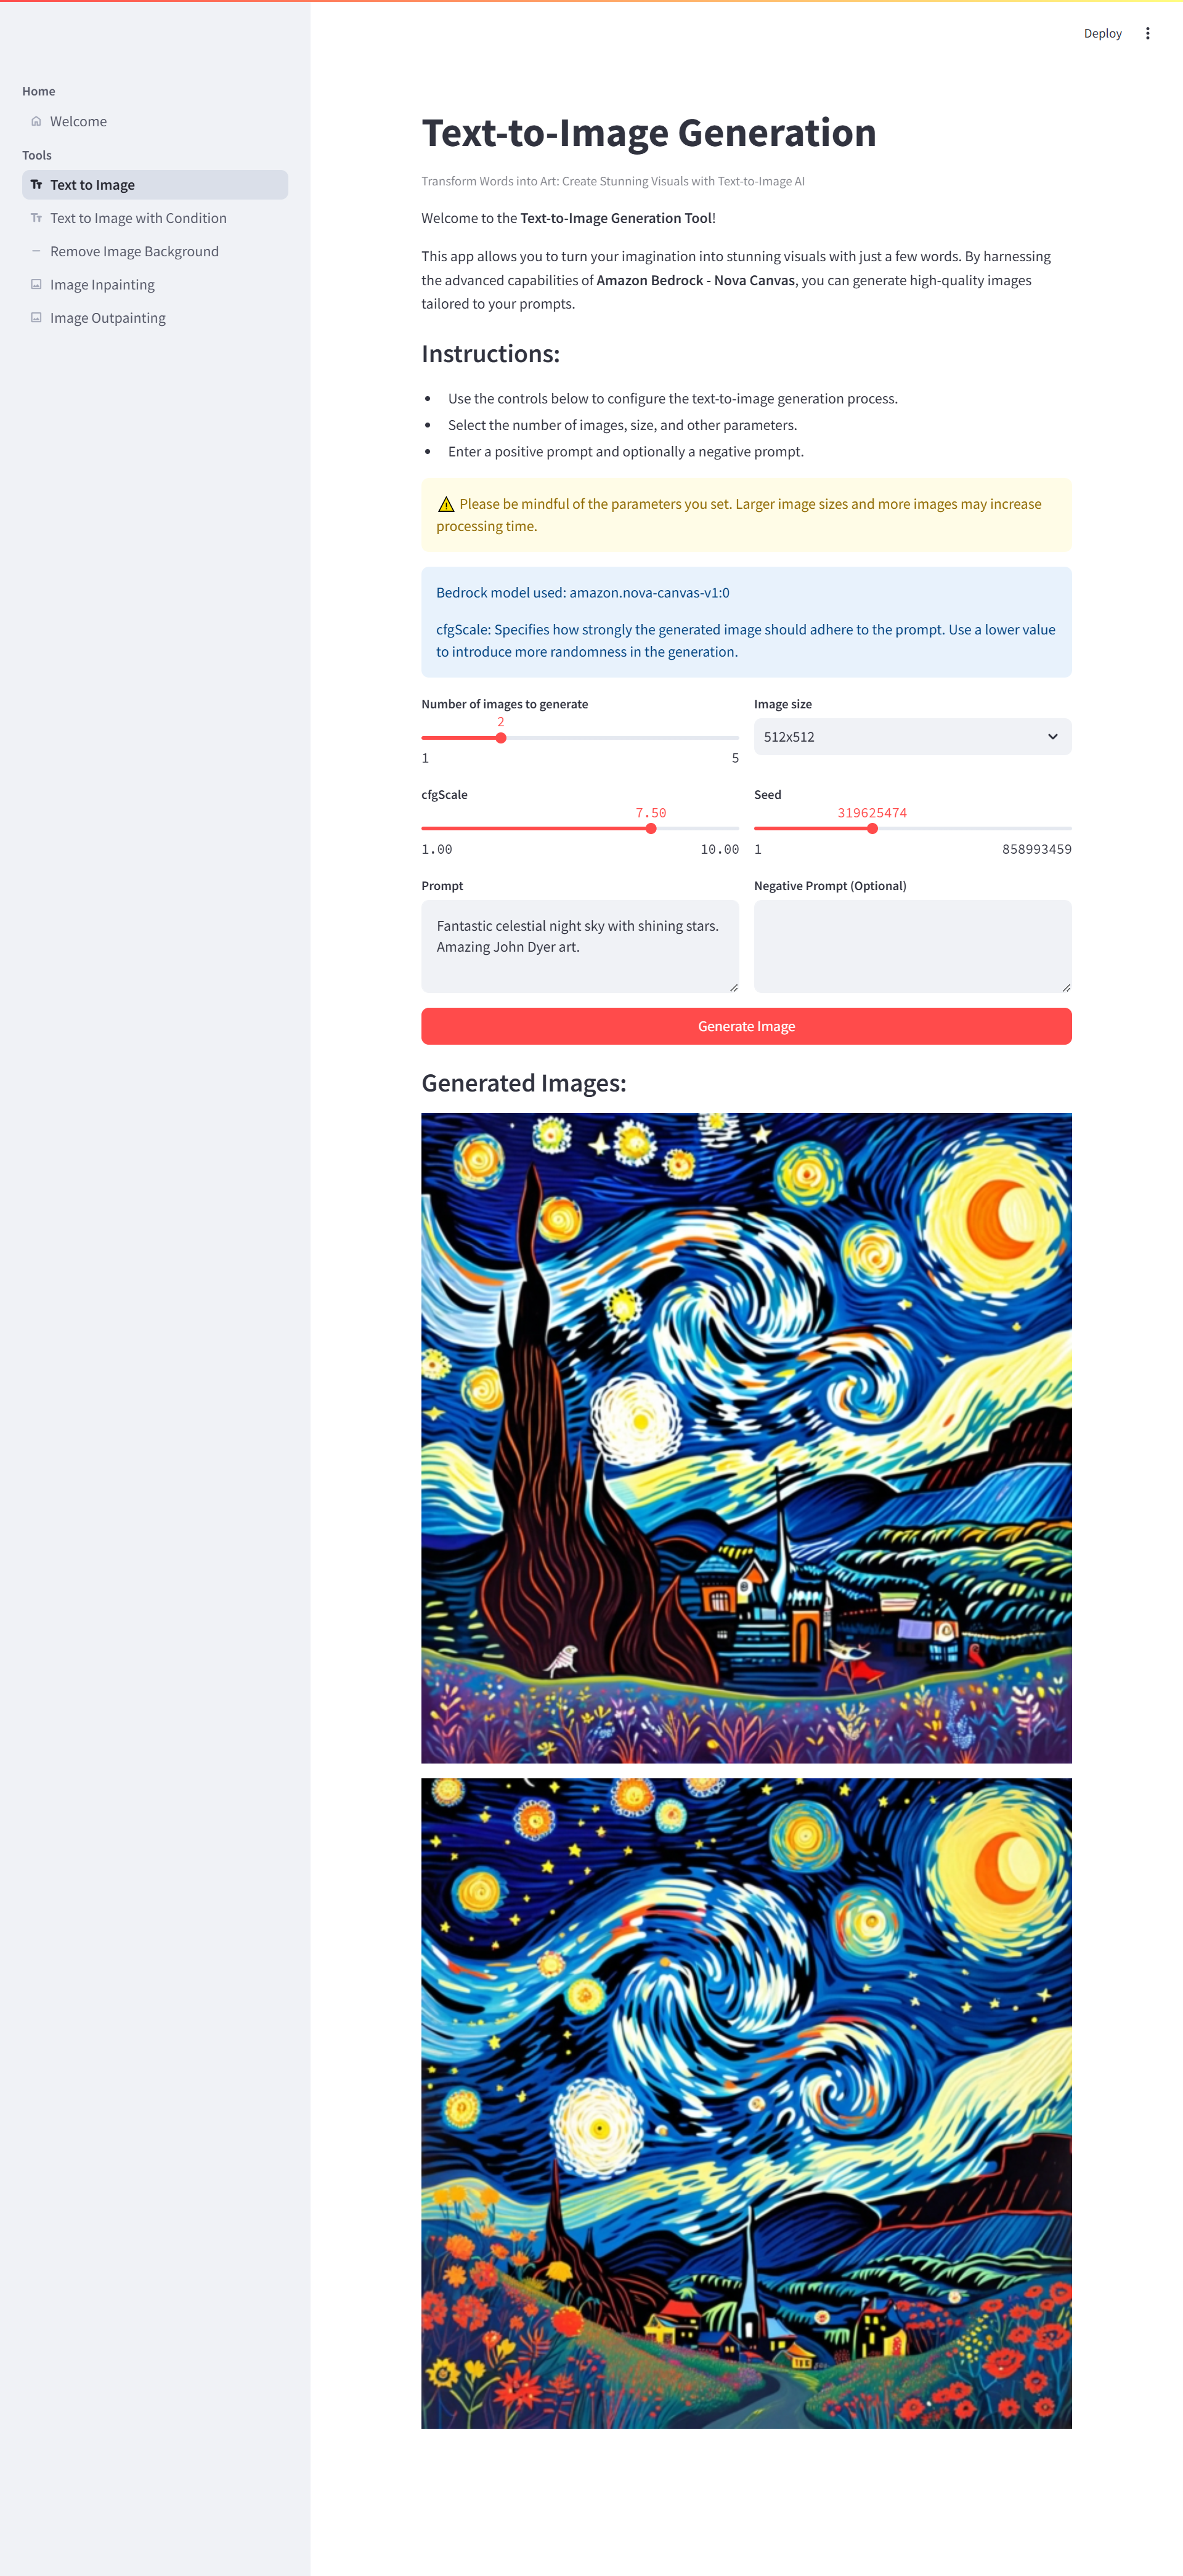
The first tool in our arsenal is the “Text to Image” generator. This is where the magic begins: It let’s you turn your imagination into stunning visuals with just a few words. By harnessing the advanced capabilities of Nova Canvas, you can generate high-quality images tailored to your specific prompts.
cfgScale parameter lets you specify how strongly the generated image should adhere to the prompt. A lower value introduces more randomness, while a higher value will stick more closely to the prompt.Once you are happy with the parameters you have selected, simply click the “Generate Image” button to start the process. The generated images will be displayed below the button.
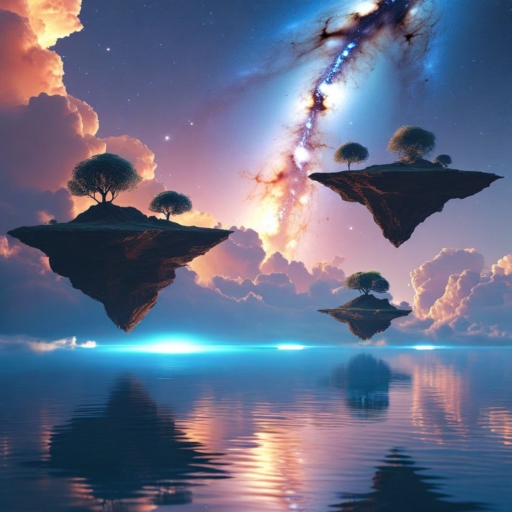
Below is an example of what the app looks like after generating two images. I used the prompt Fantastic celestial night sky with shining stars. Amazing John Dyer art. using the following settings.
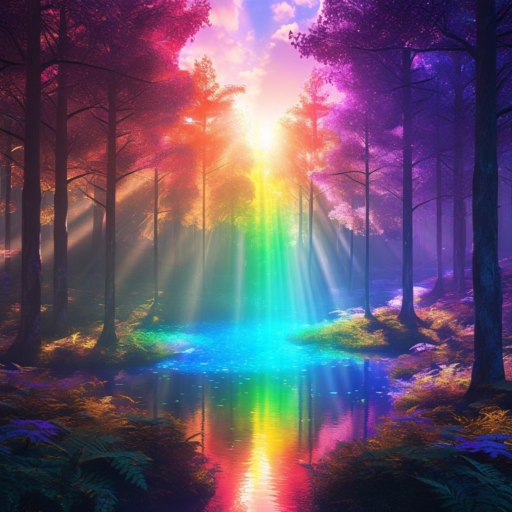
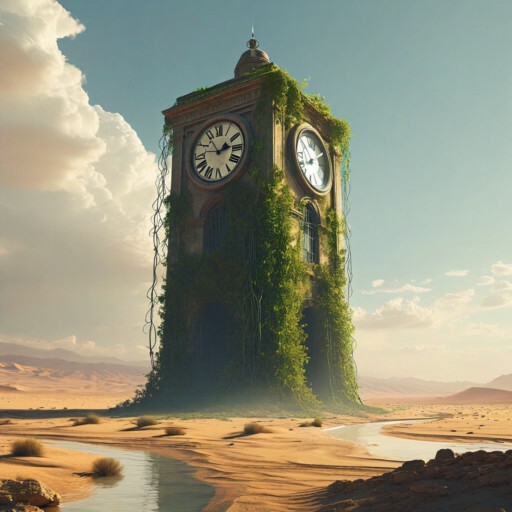
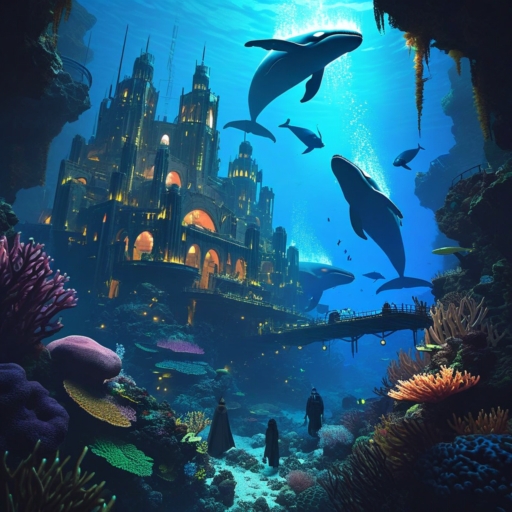
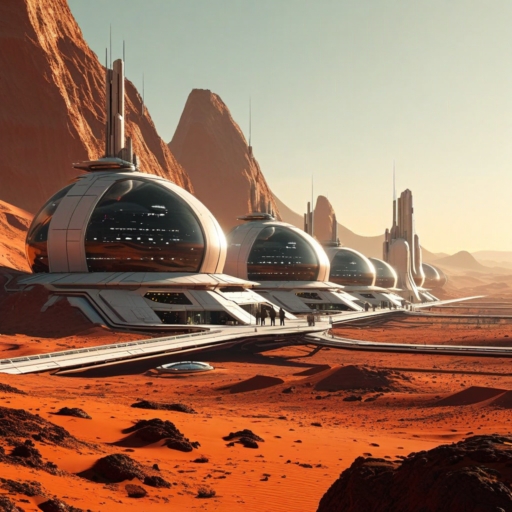
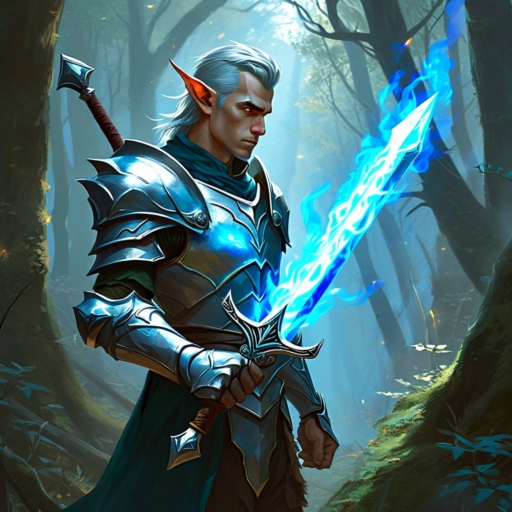
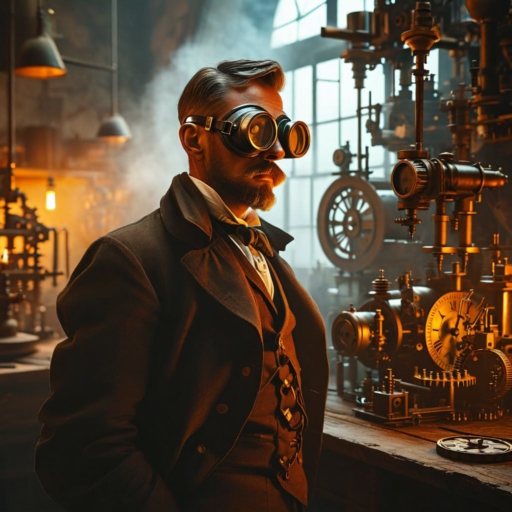
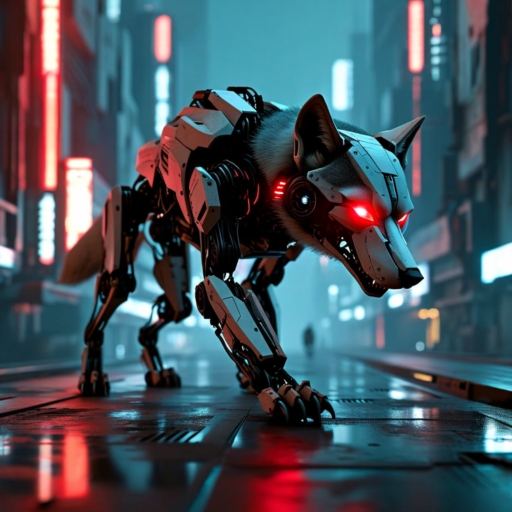
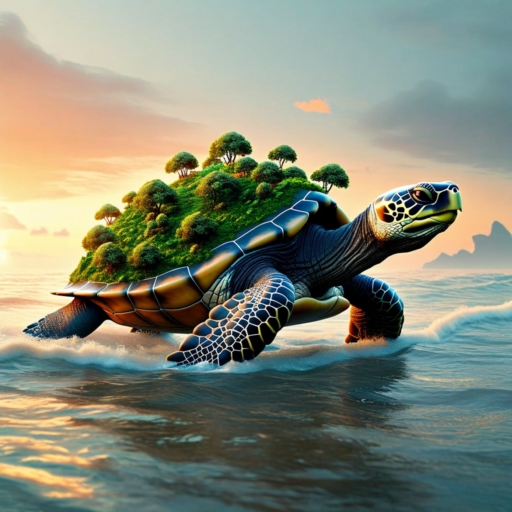
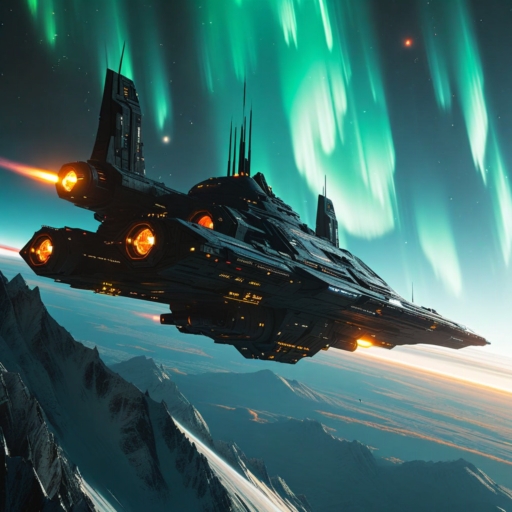
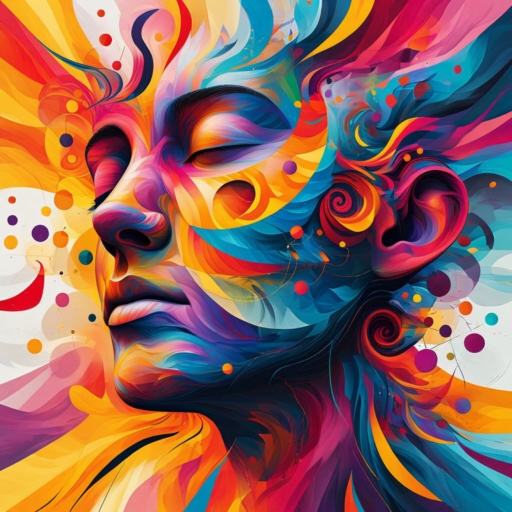
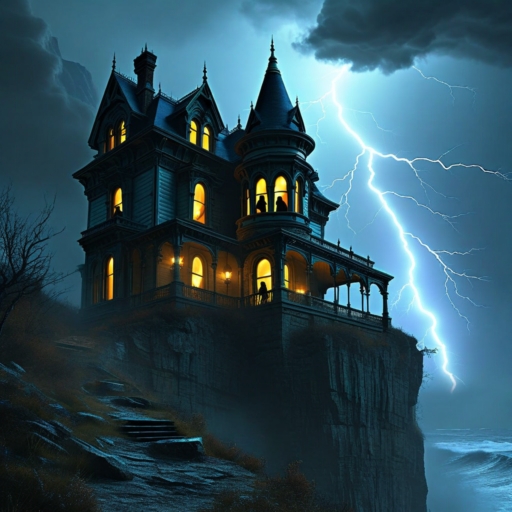
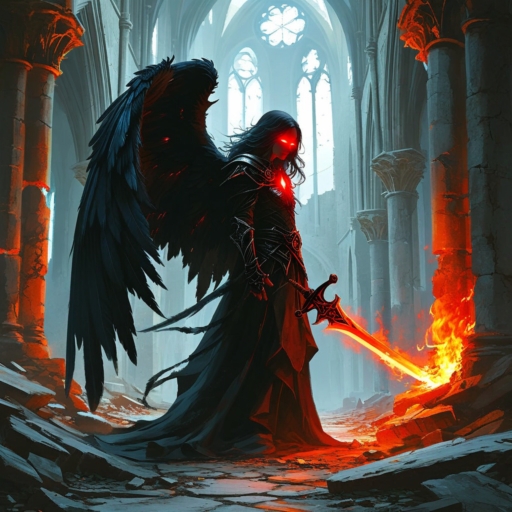
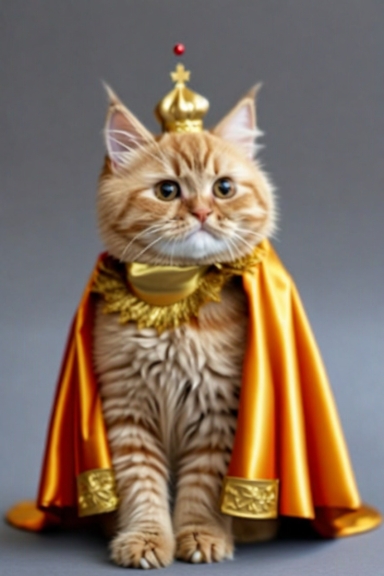
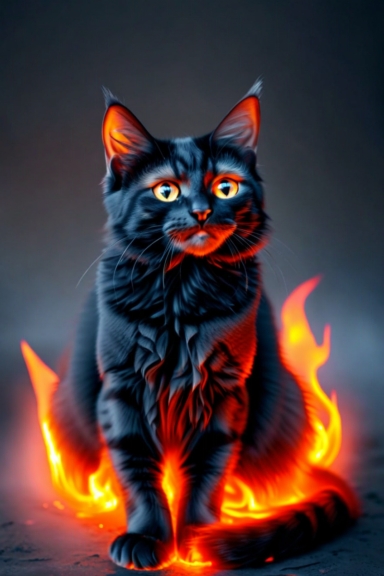
I encourage you to experiment with different prompts and parameters to see the amazing results that you can create using this tool. I have provided below more examples of the generated images with different prompts to demonstrate the versatility of the tool.
Click on an image to expand it, and view in a higher resolution.


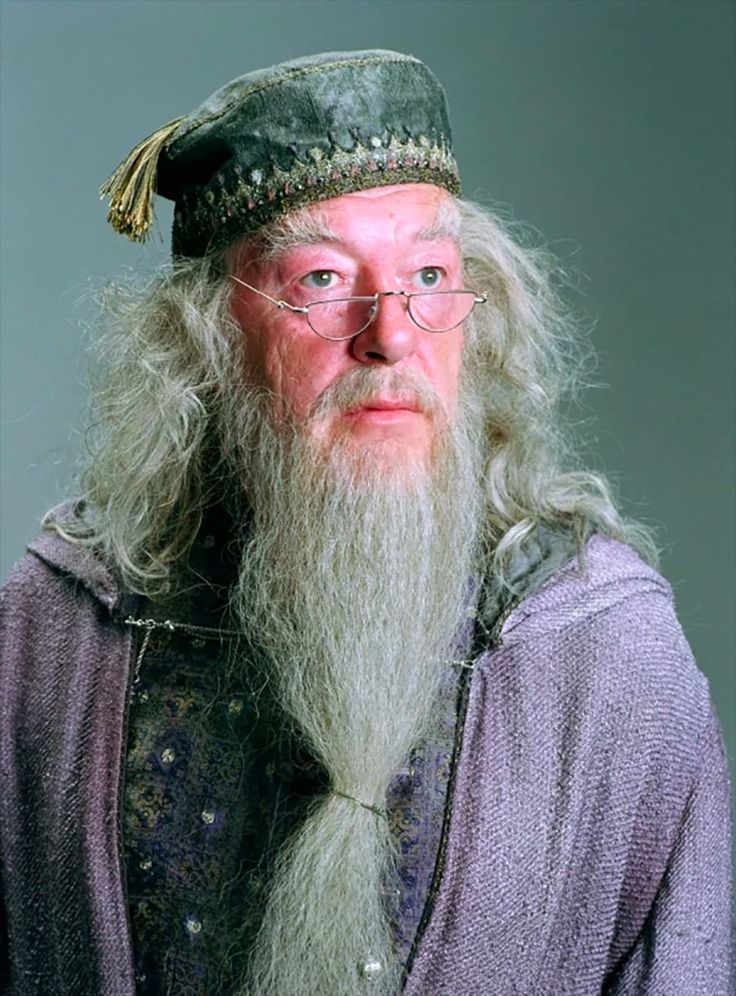
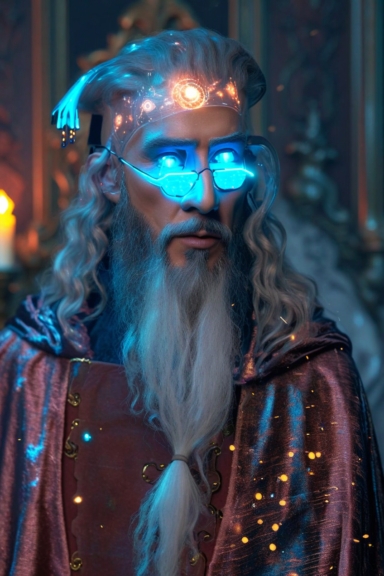
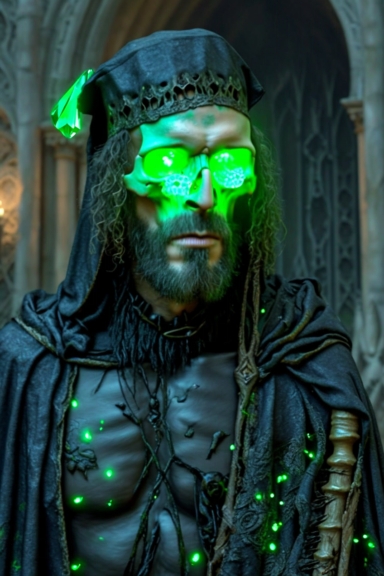
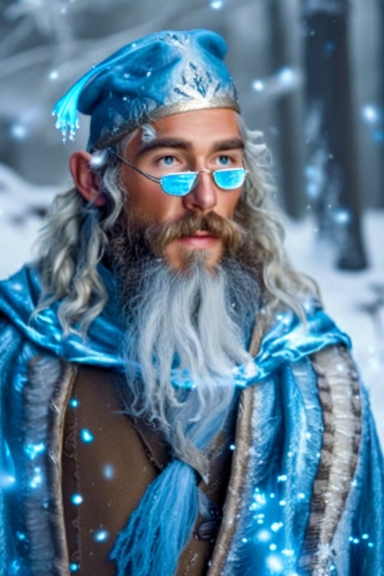
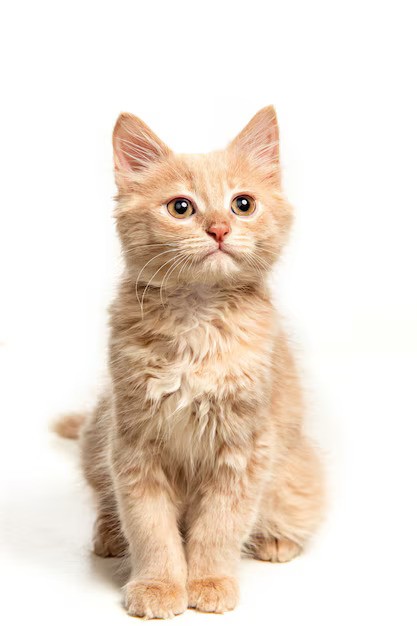
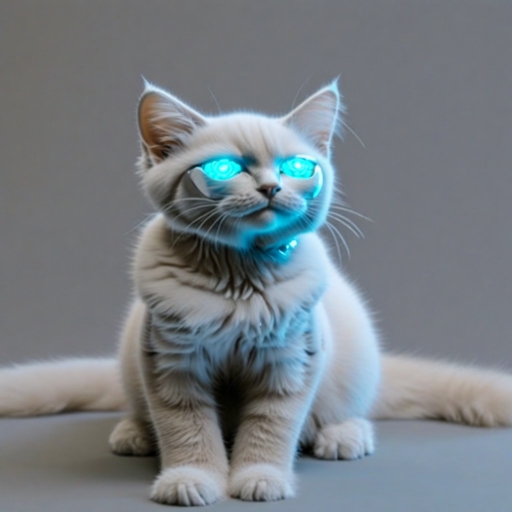
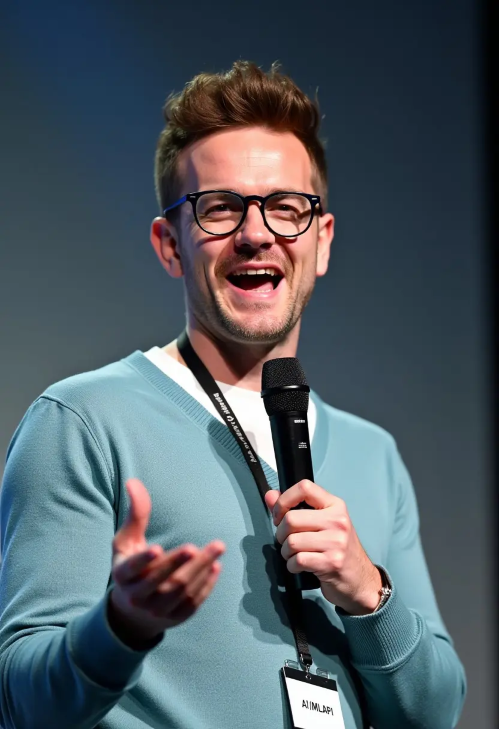
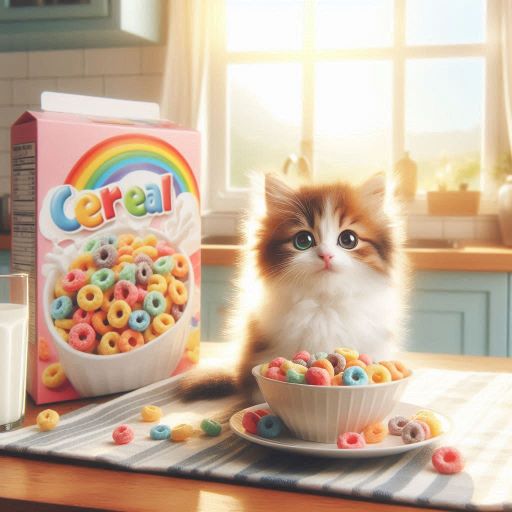
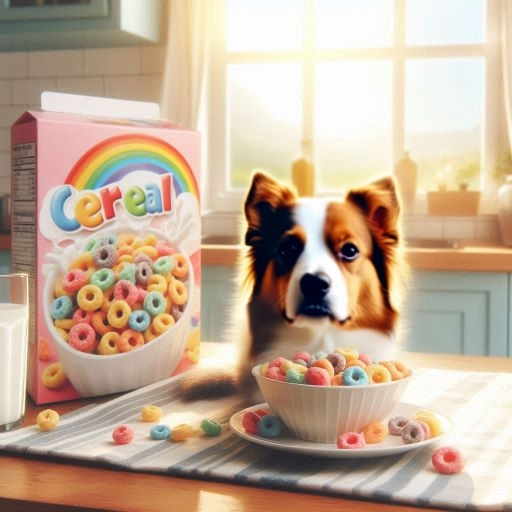
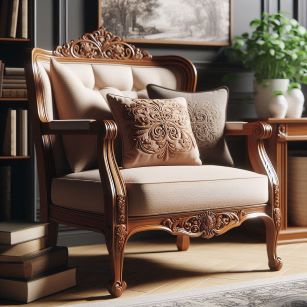
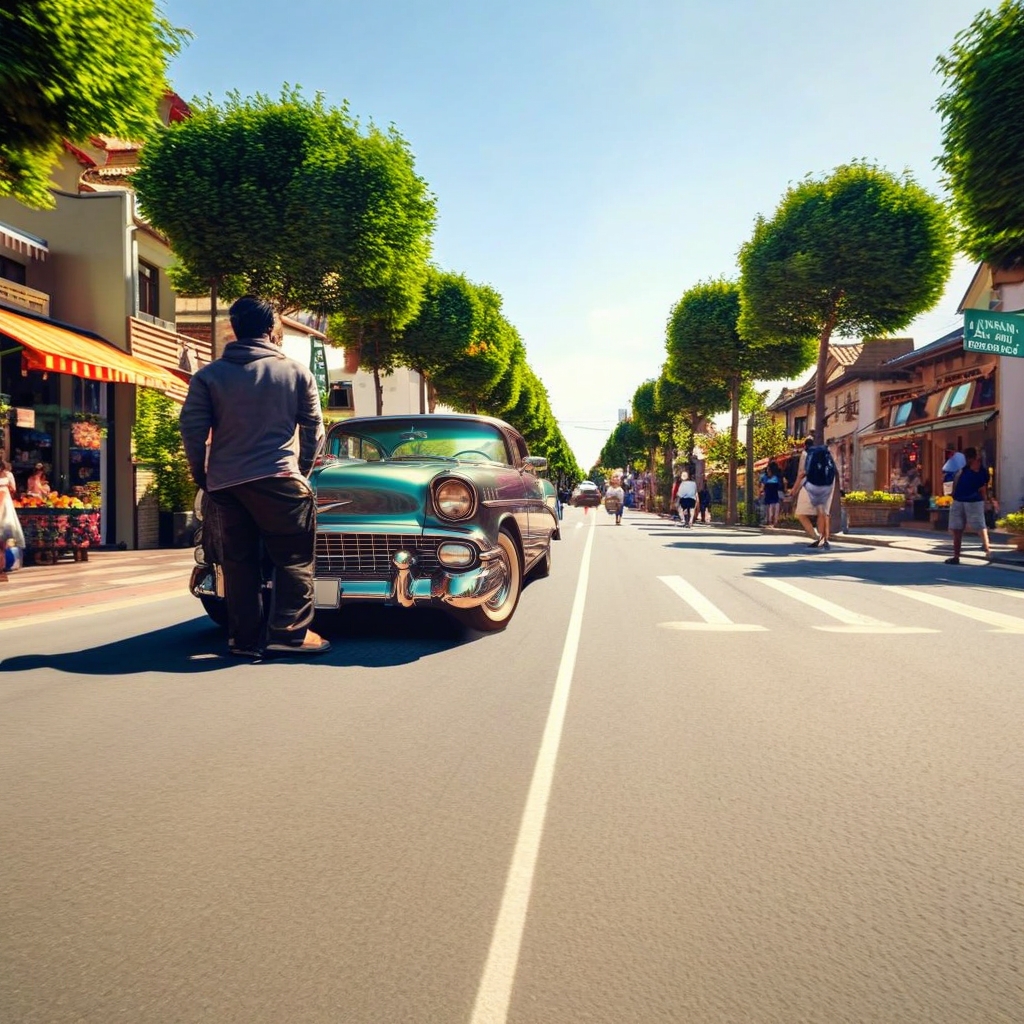
Taking image generation to the next level, my “Text to Image with Condition” tool lets you shape your creations with precision and intention. It goes beyond simple text prompts by using a reference image to guide the generation process, helping you achieve the exact look and feel you desire. This tool uses advanced image conditioning features, offering two powerful methods: Canny Edge Detection and Segmentation Maps.
Below is an example of what the app looks like after generating two images using the Canny Edge option. I used the reference image (Harry Potter/Daniel Radcliffe) shown in the “Uploaded Image” section and the prompt Reimagine this person in a cyberpunk cityscape with glowing neon lights. The other options were set to the default value.
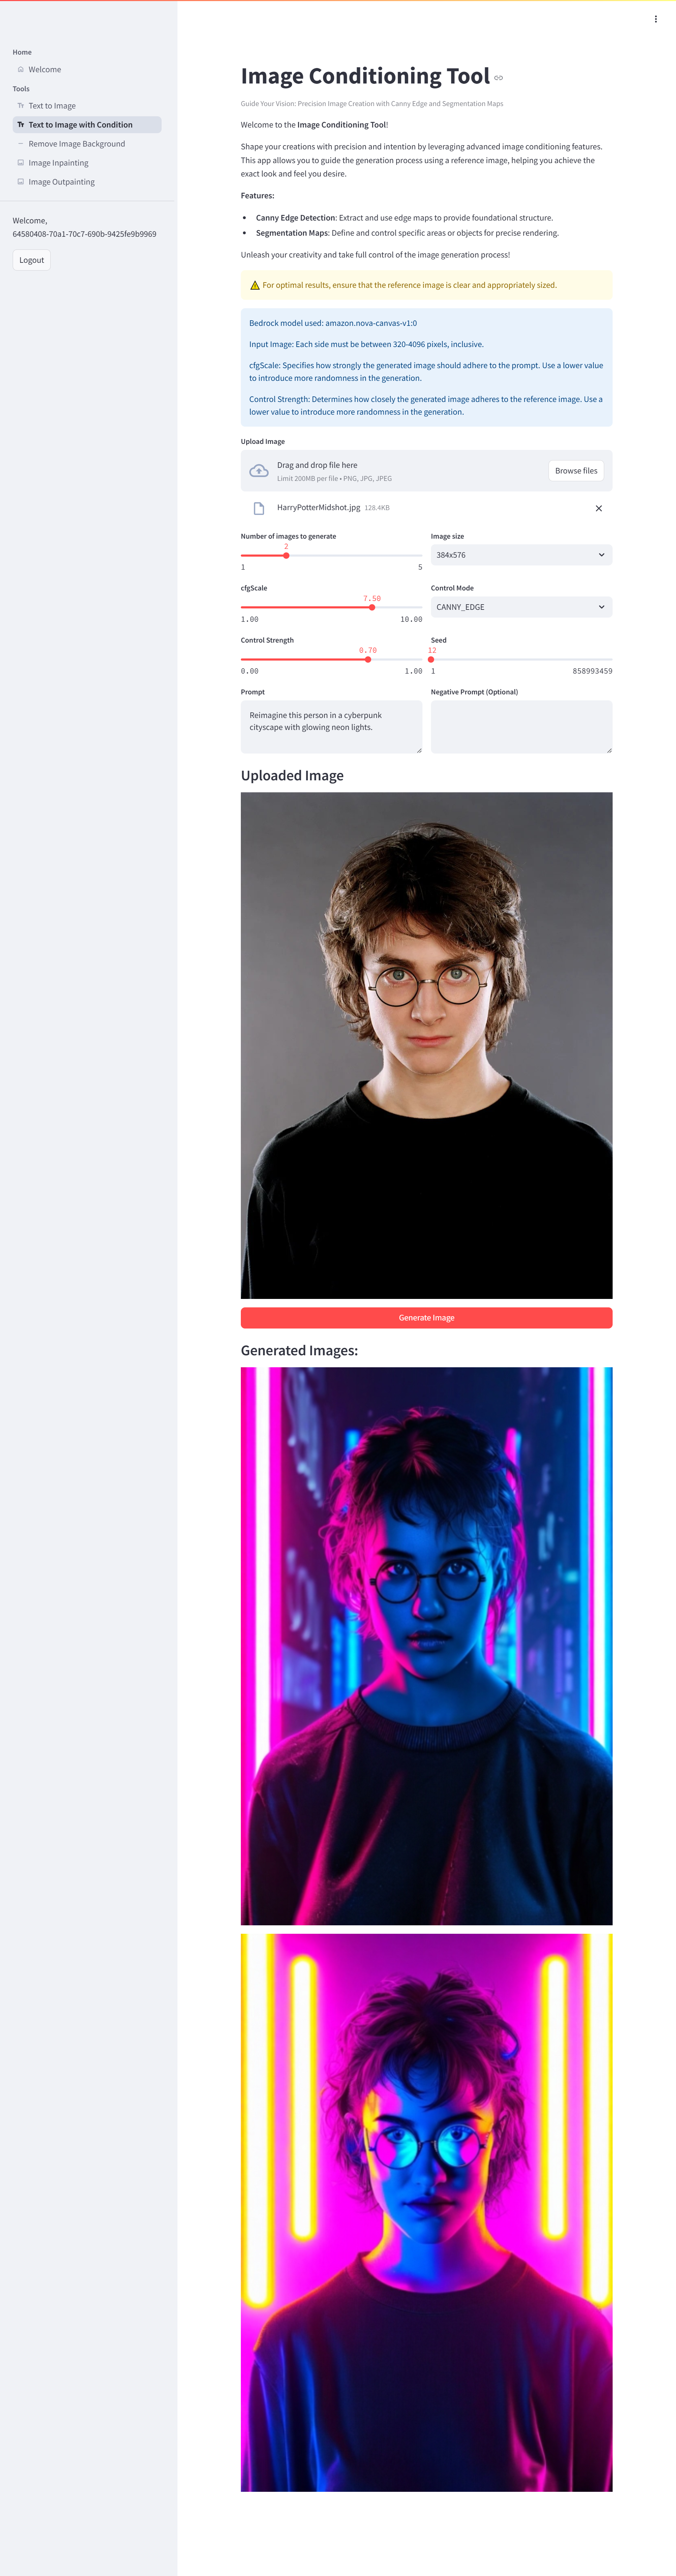
This tool allows you to take full control of the image generation process and unleash your creative possibilities. I have shared below some more examples of the generated images with different prompts, and the input image used for the condition.

Some more examples.


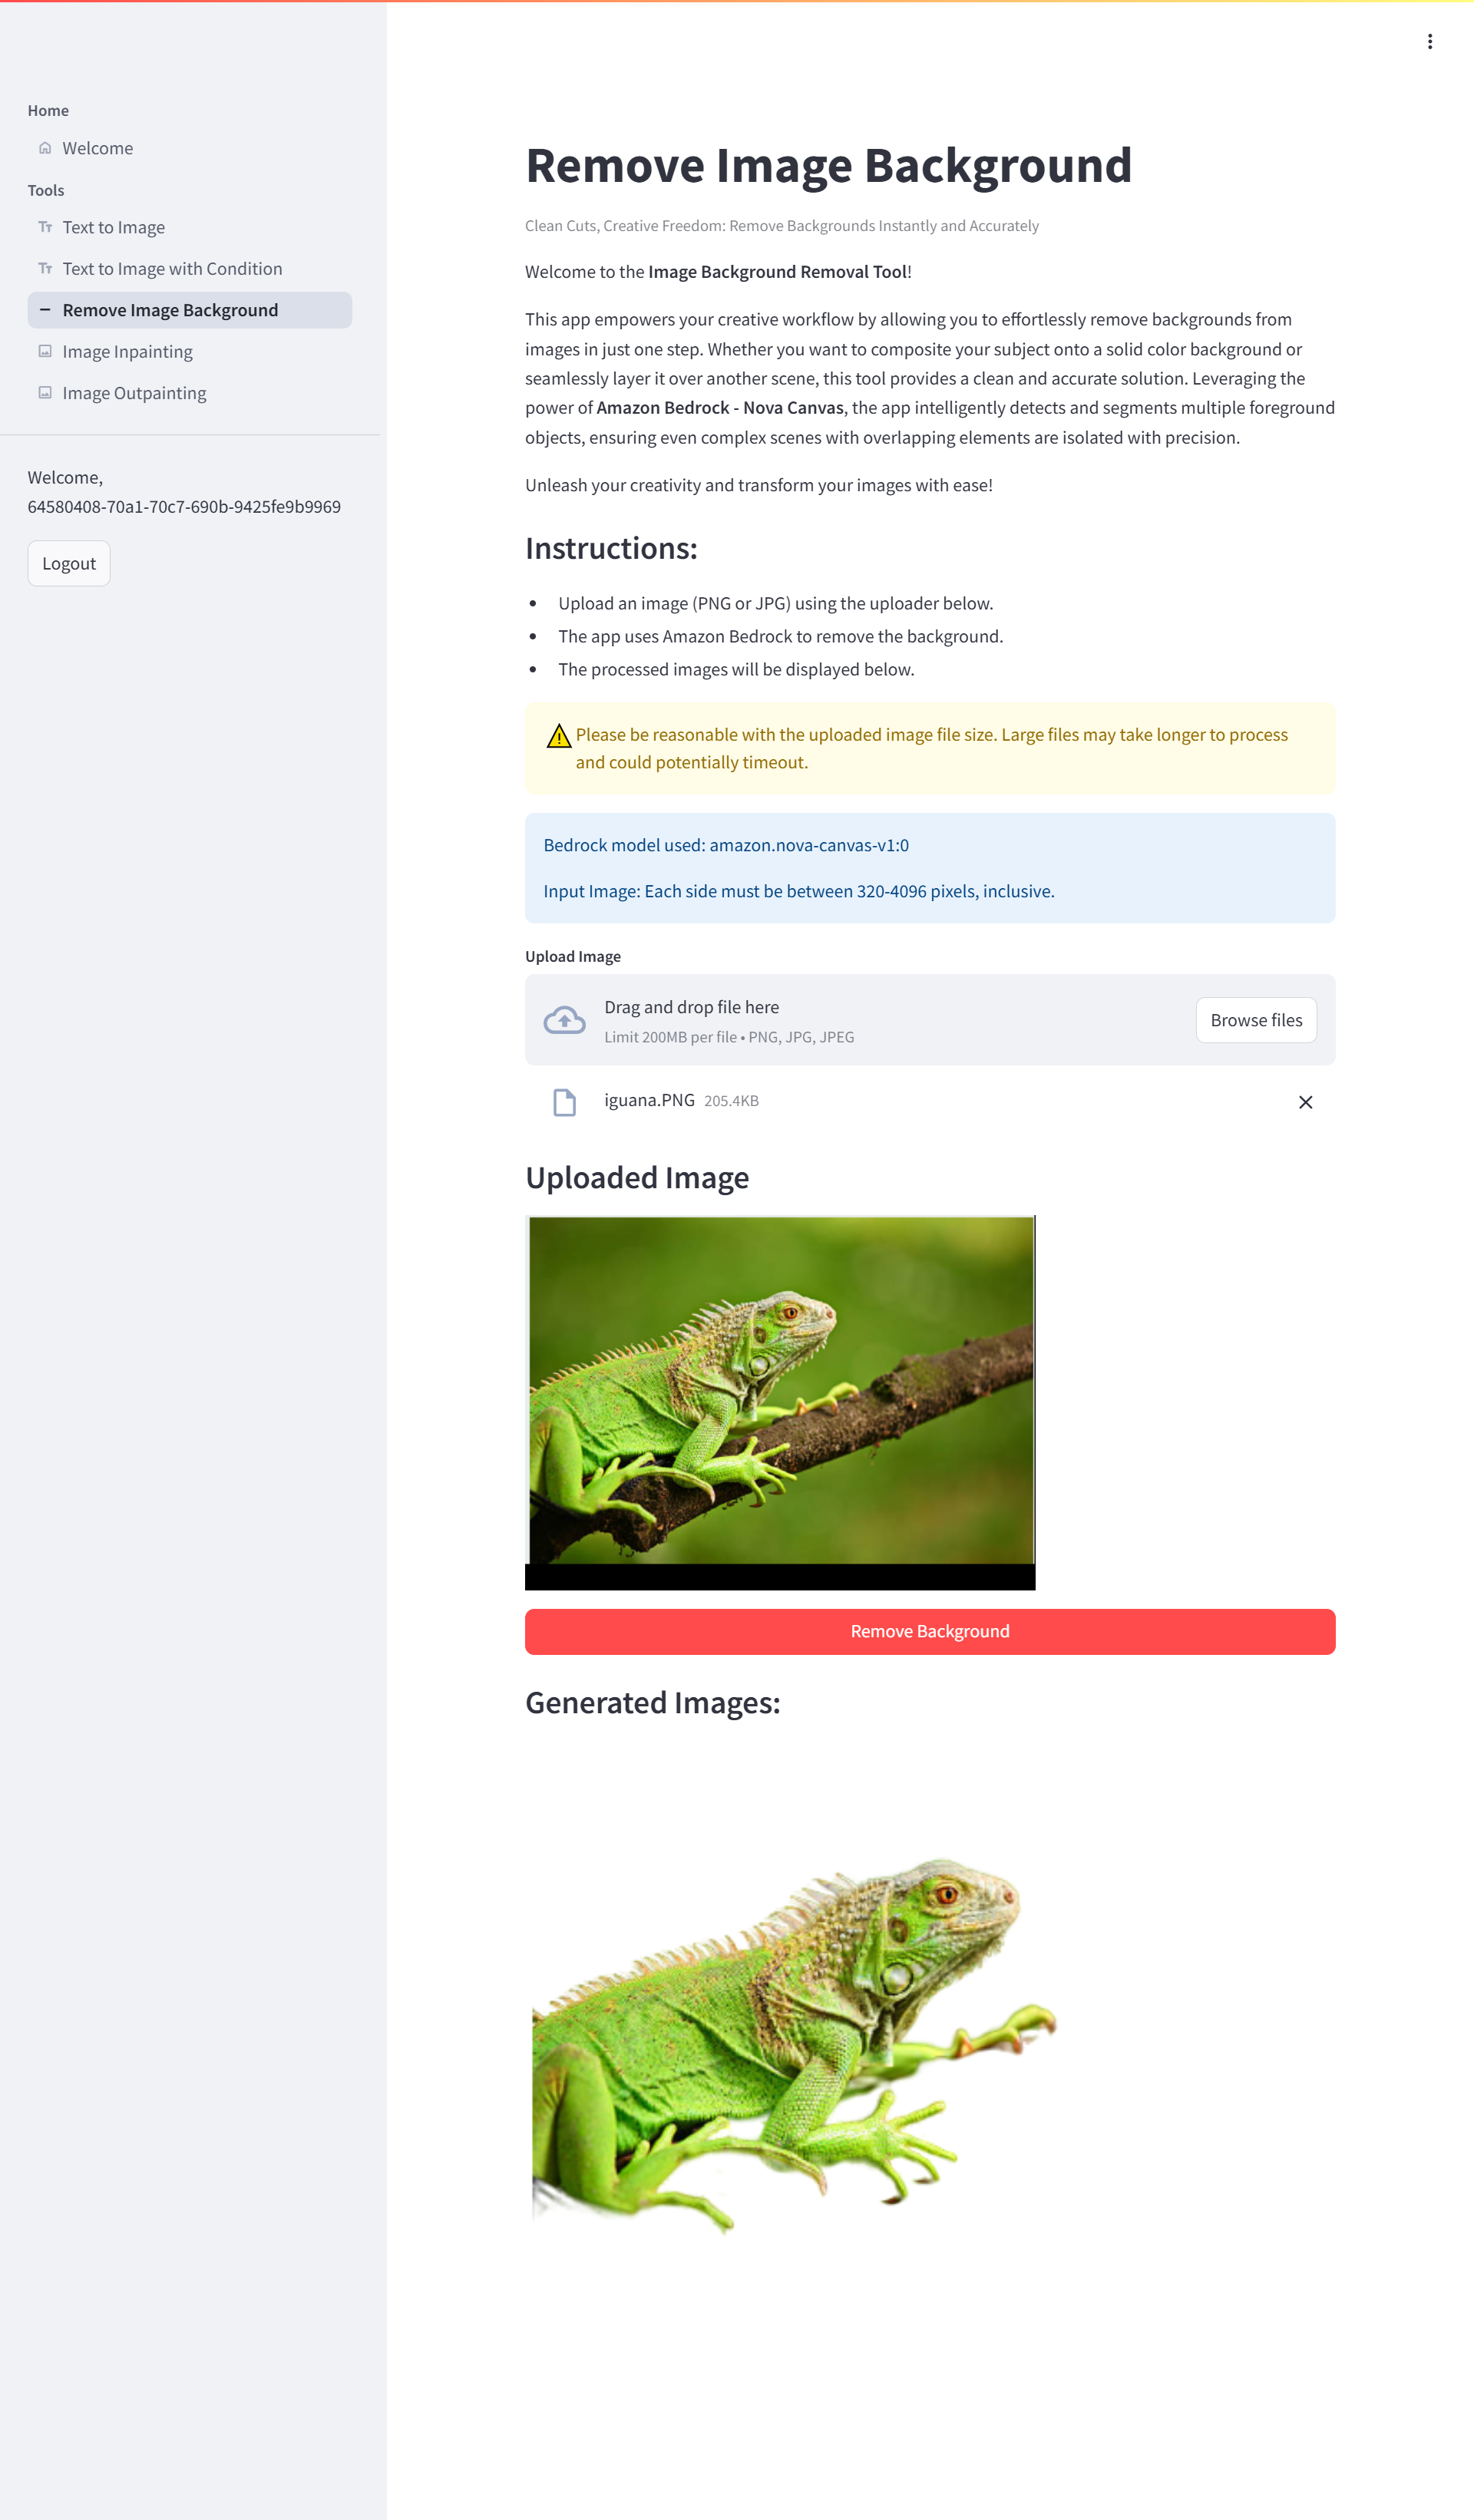
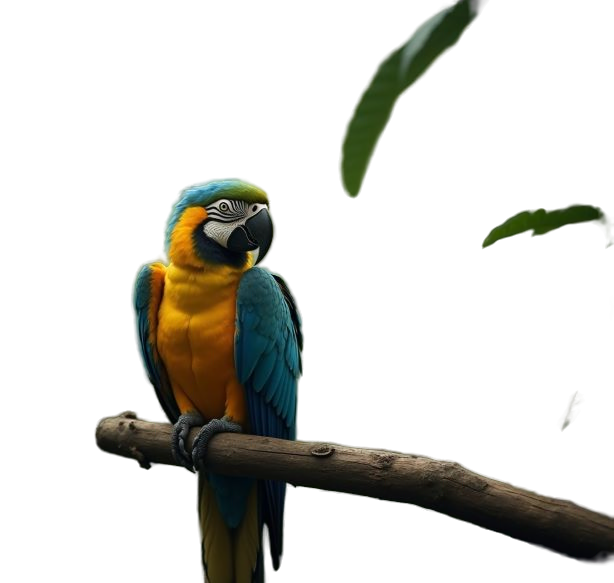
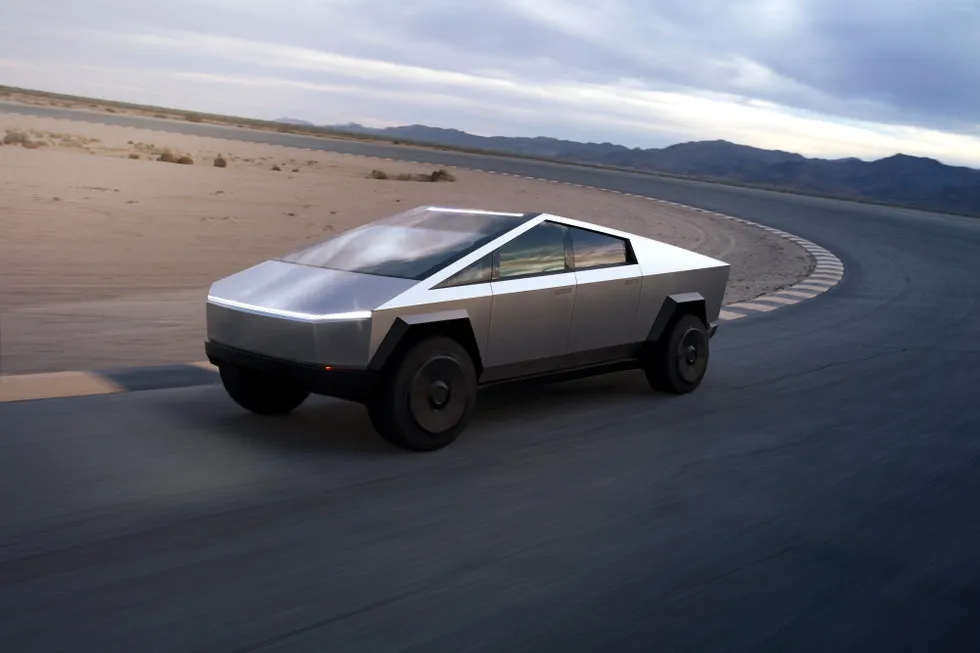
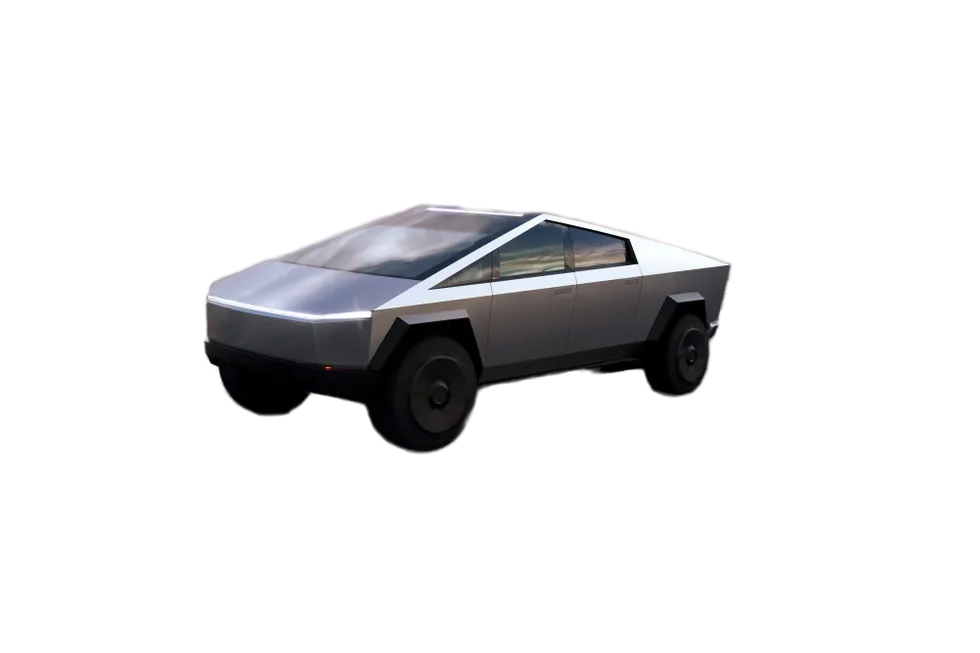
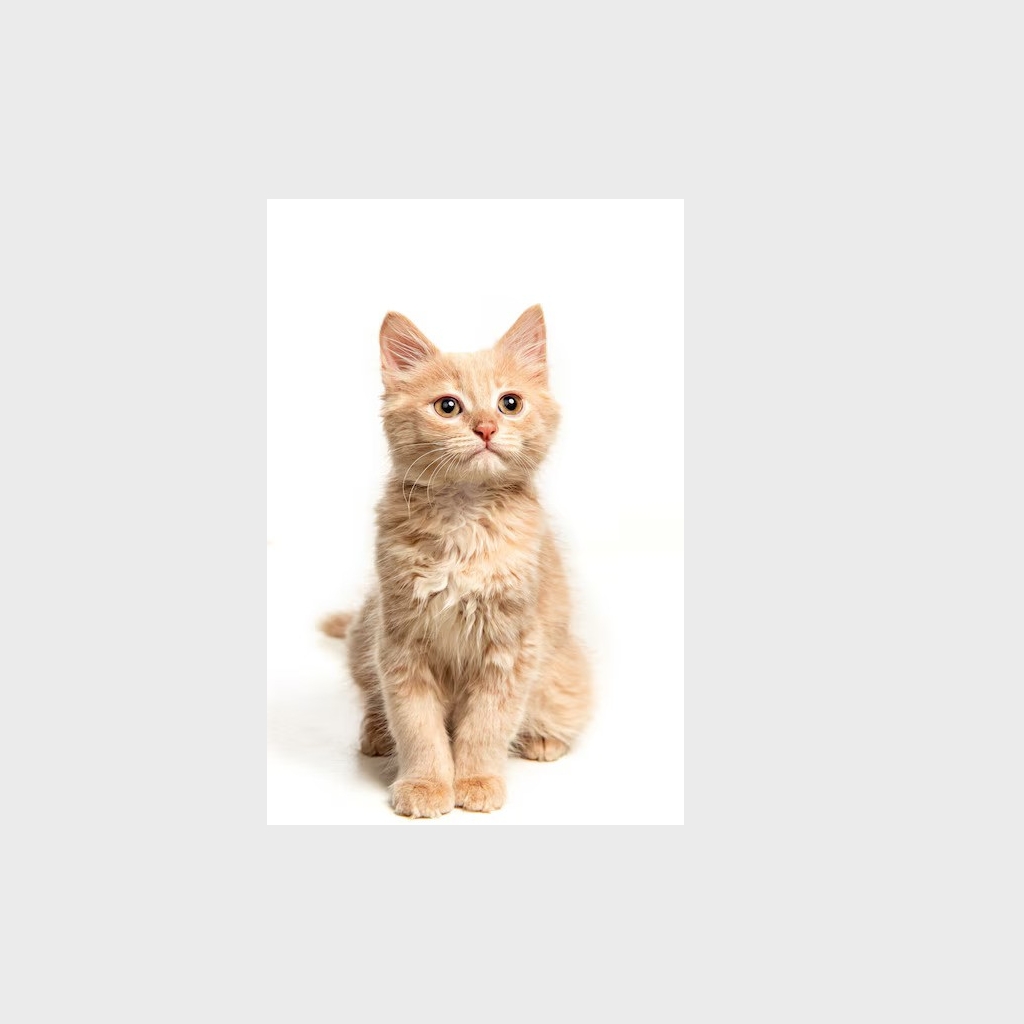
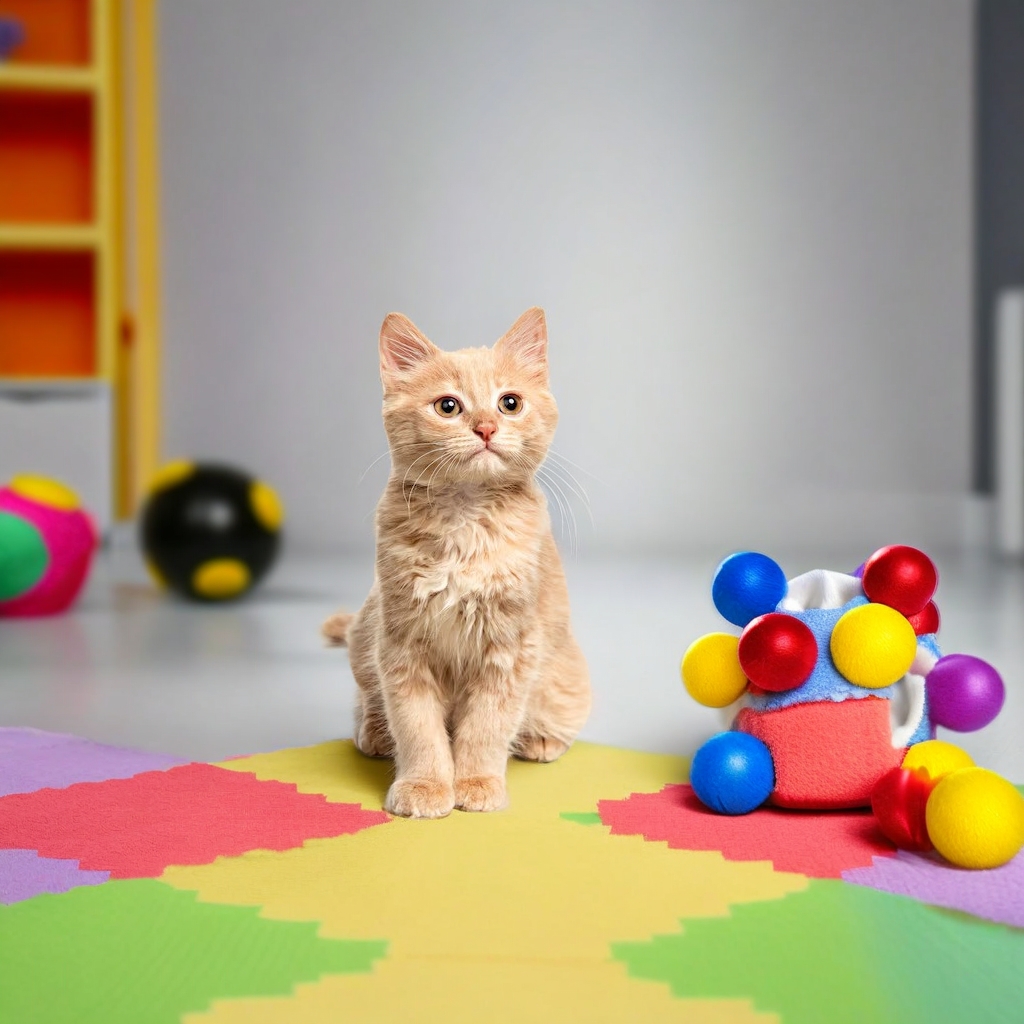
Sometimes, you need a clean subject without any background distractions. That’s where my “Background Removal Tool” comes in. This tool empowers your creative workflow by allowing you to effortlessly remove backgrounds from images in just one step. Whether you want to composite your subject onto a solid color background or seamlessly layer it over another scene, this tool provides a clean and accurate solution.
Leveraging the power of Nova Canvas, the app intelligently detects and segments multiple foreground objects, ensuring even complex scenes with overlapping elements are isolated with precision.
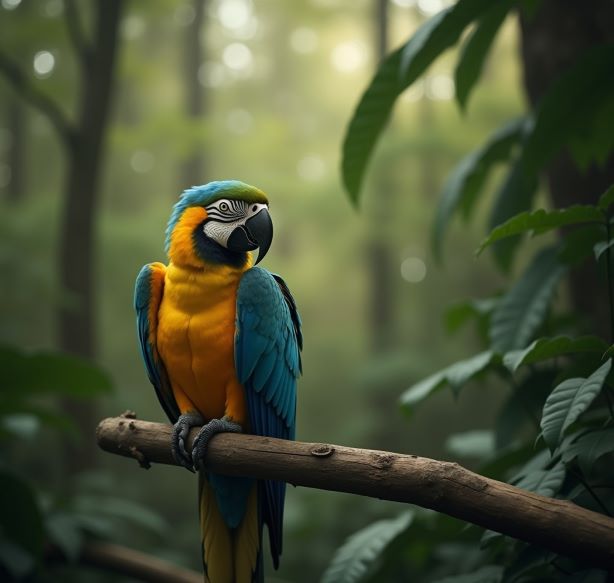
It’s that simple! With this tool, you can transform your images with ease. I’ll share some examples of the before and after results of the processed images.
Some more examples.
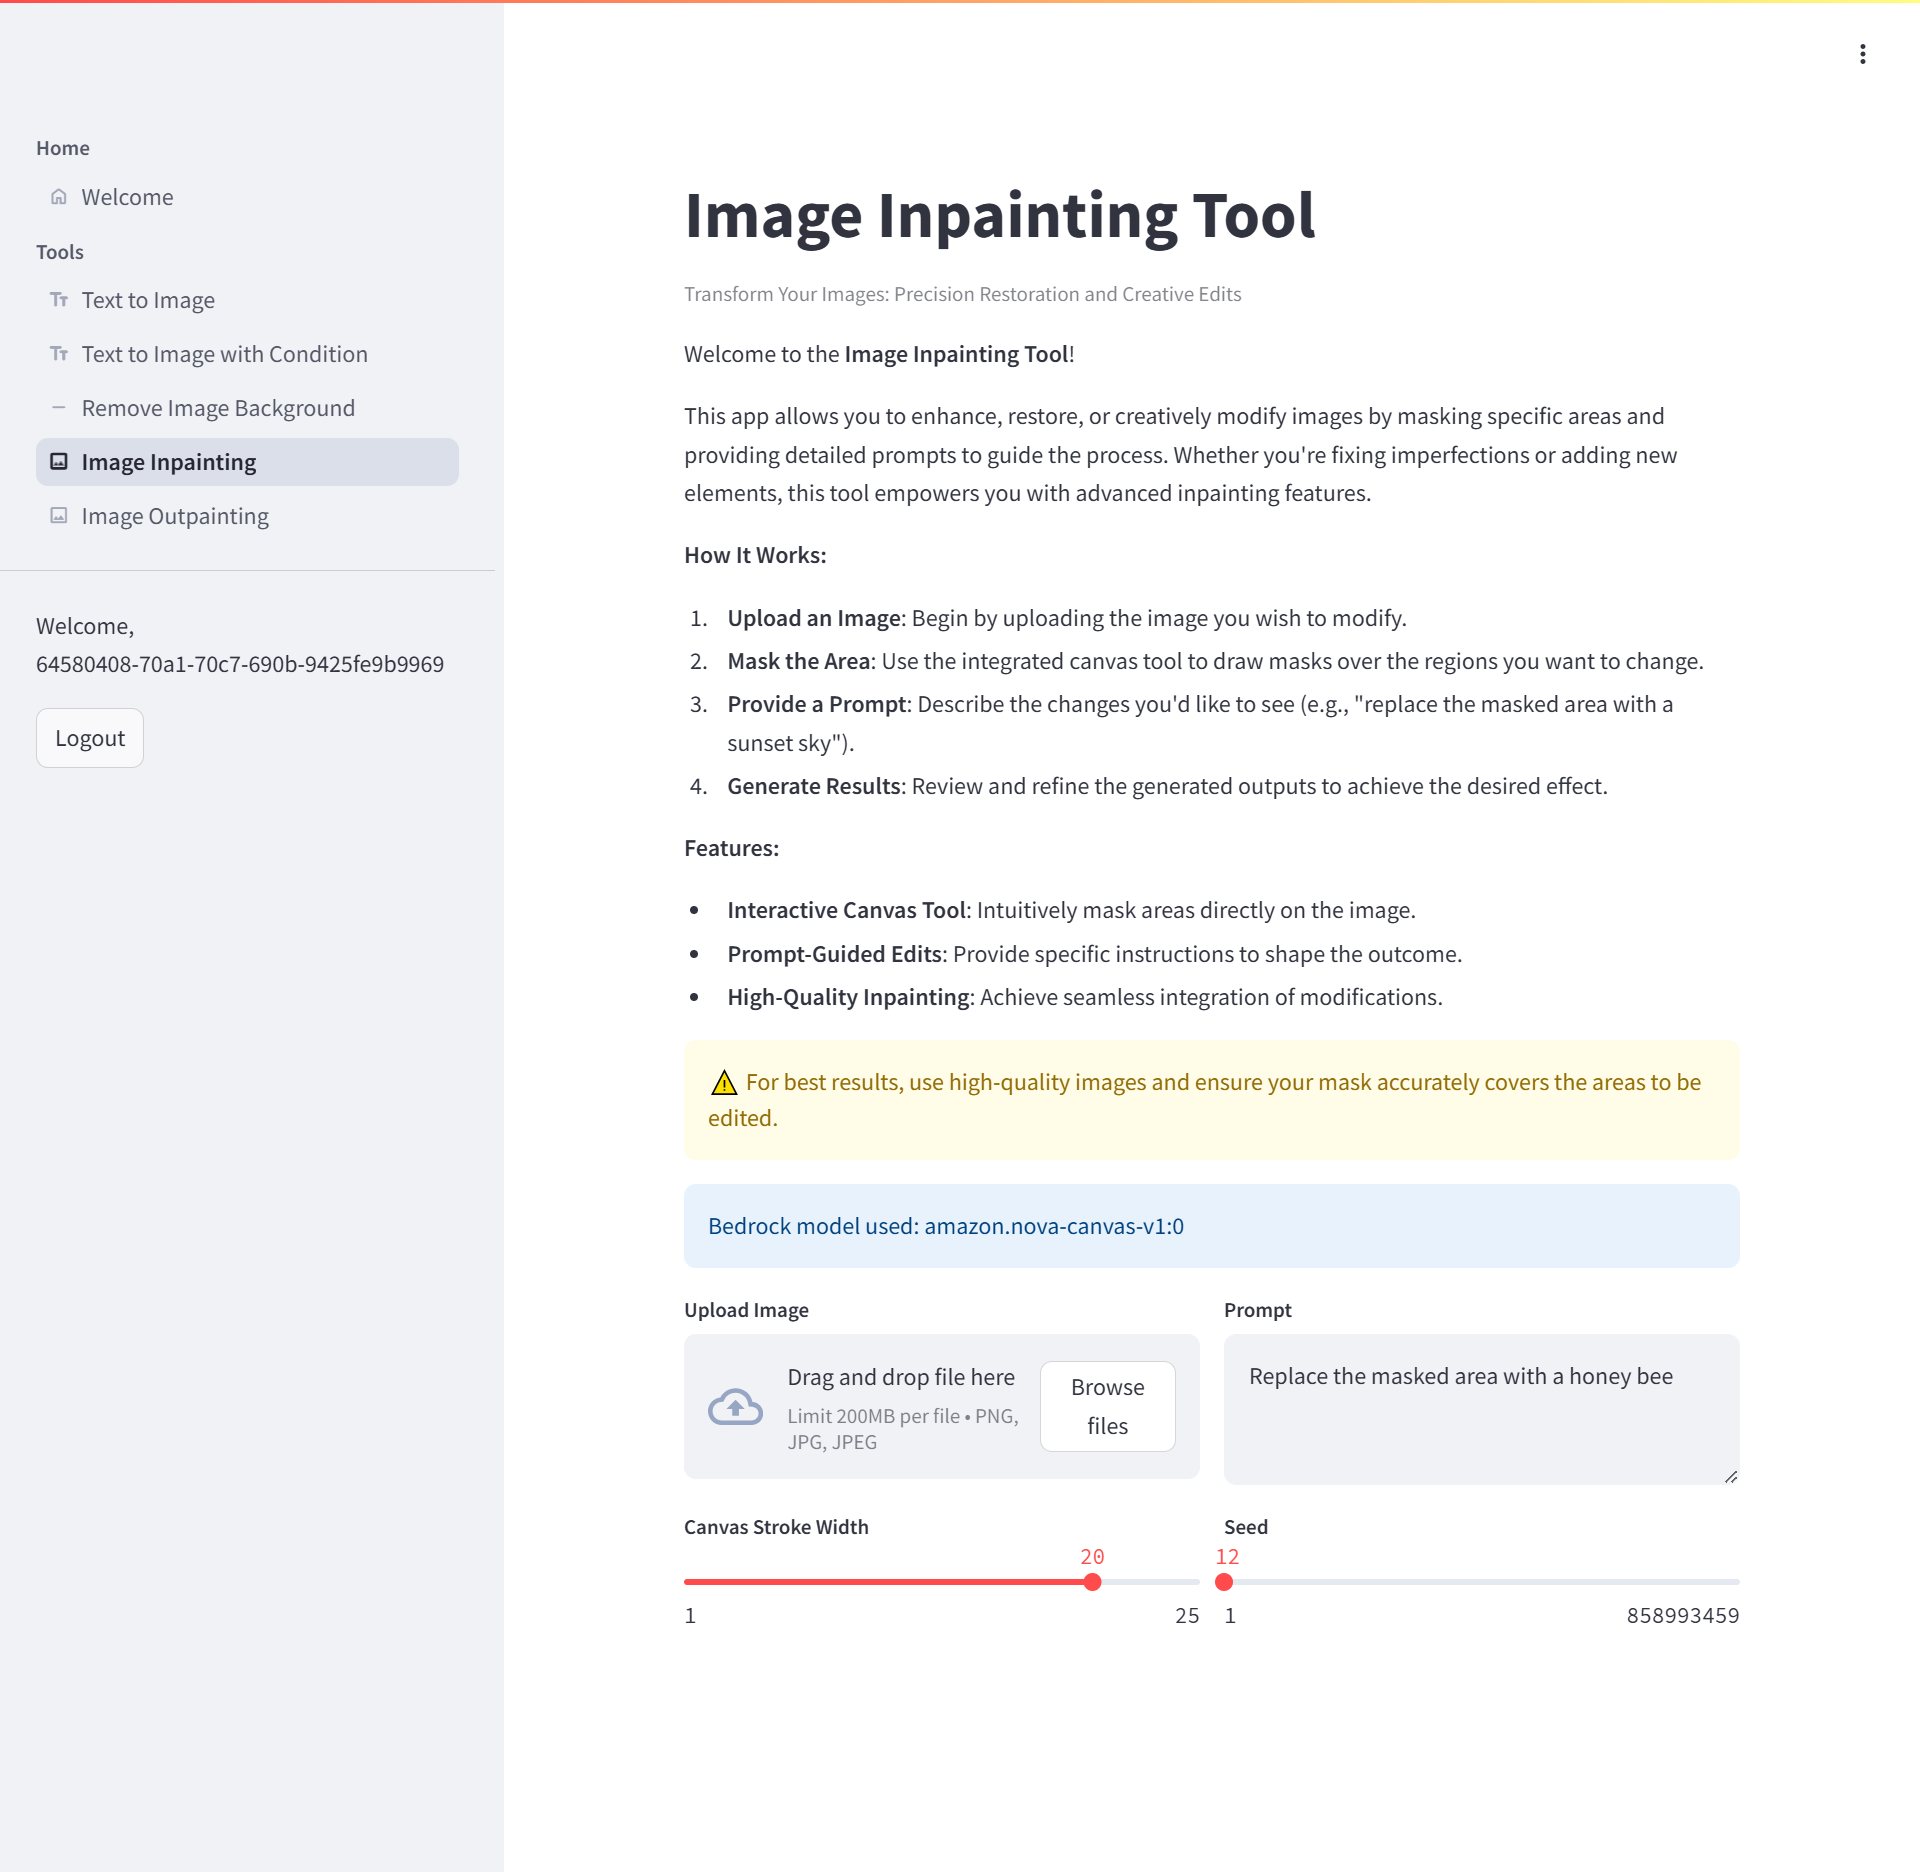
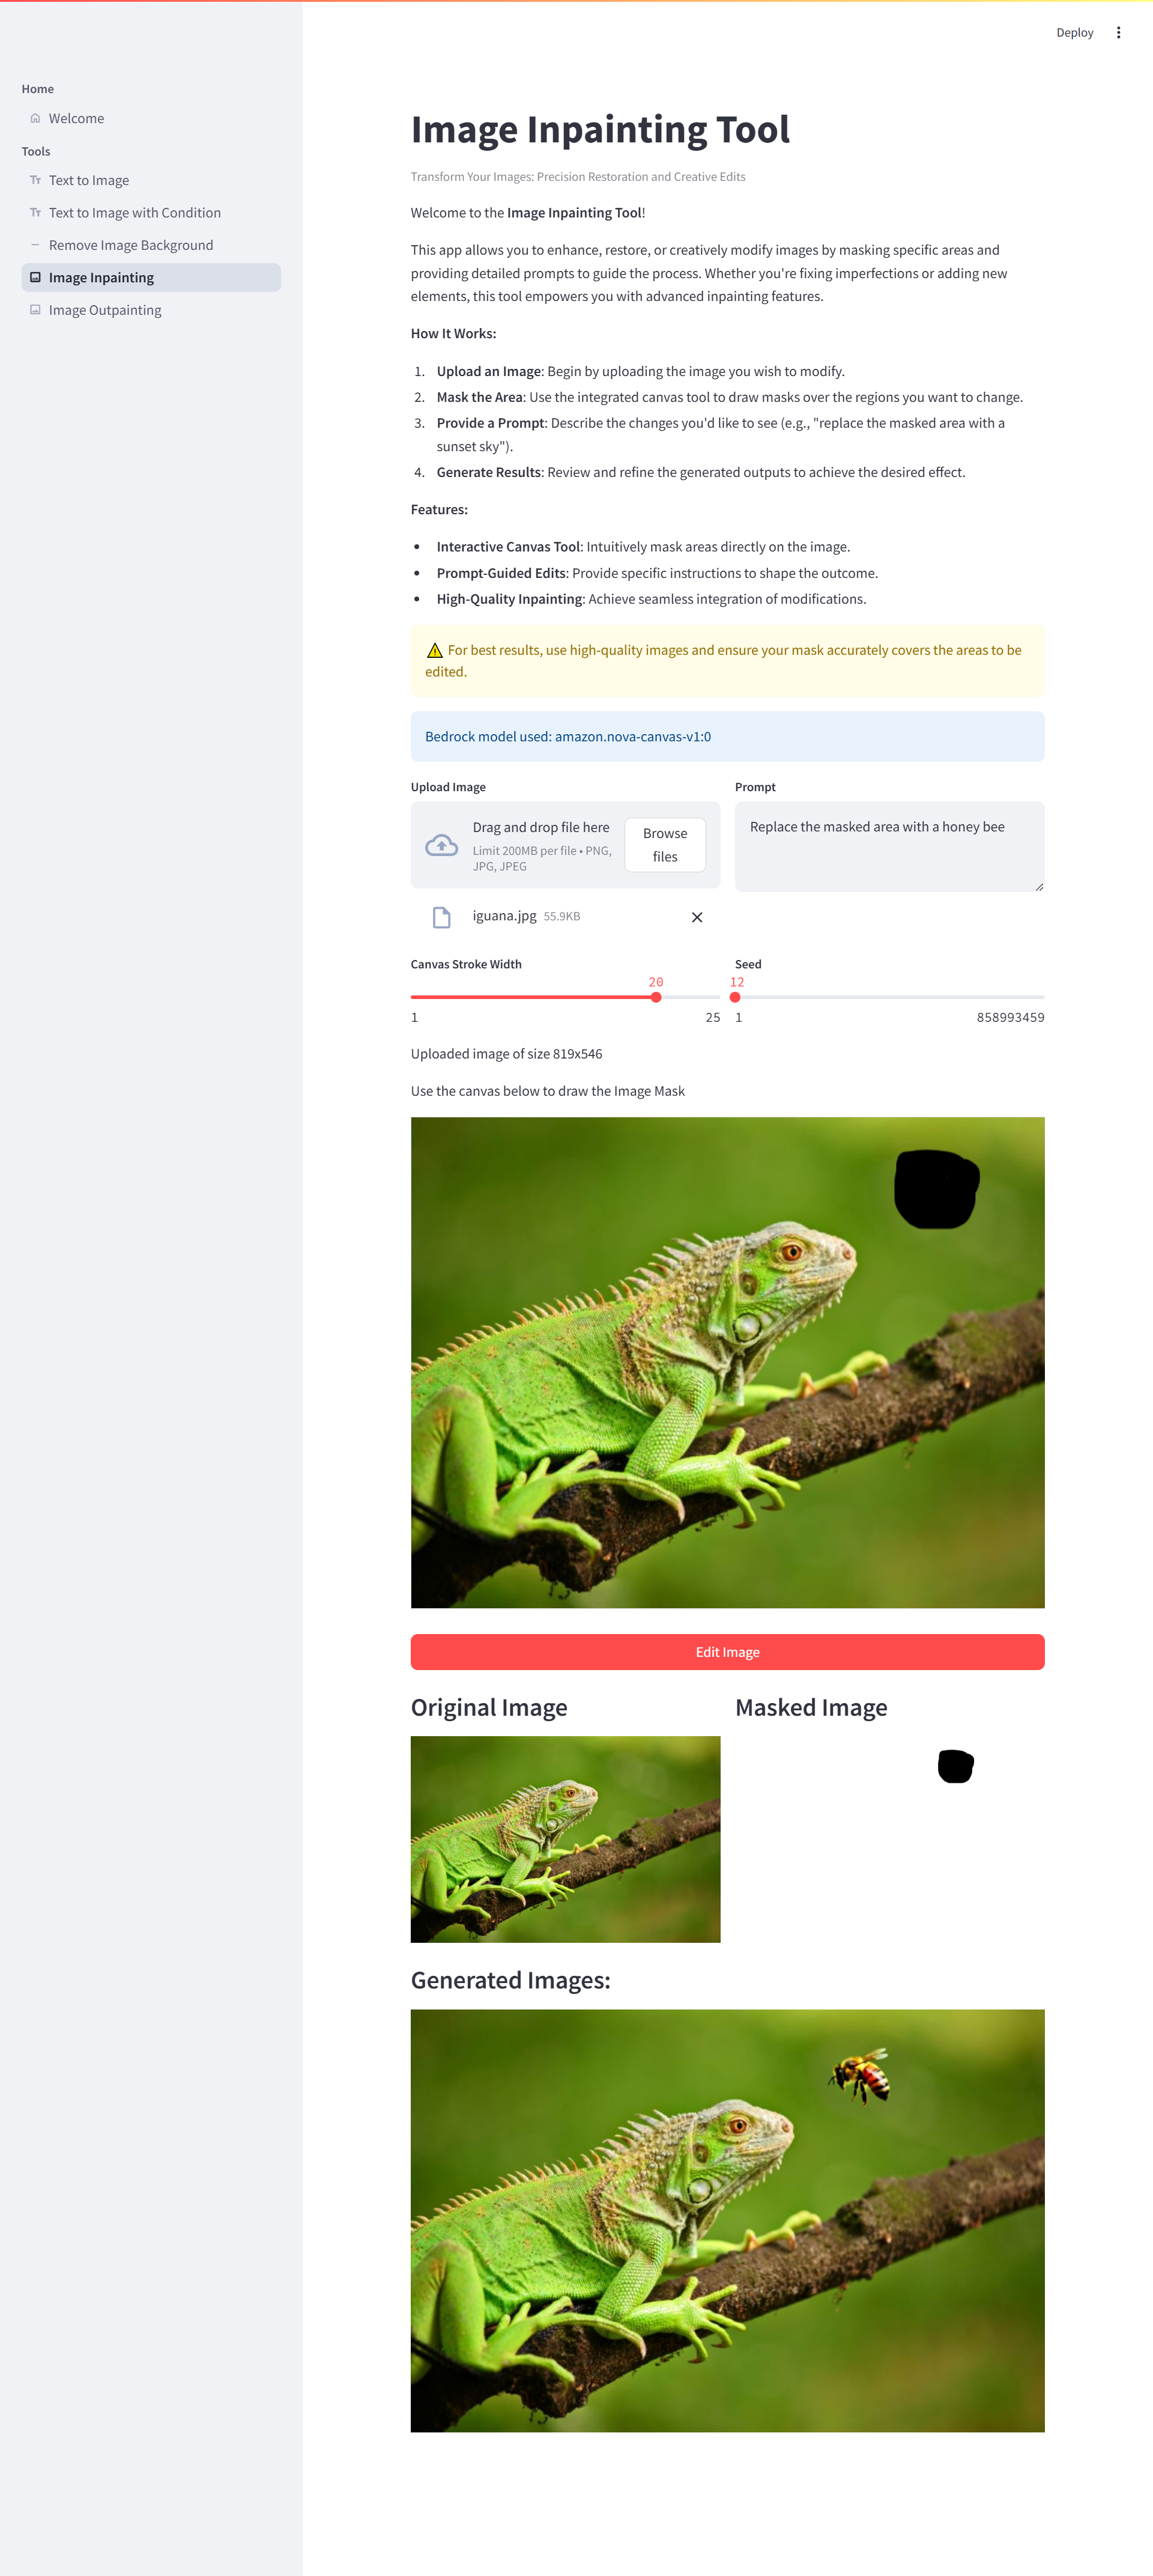
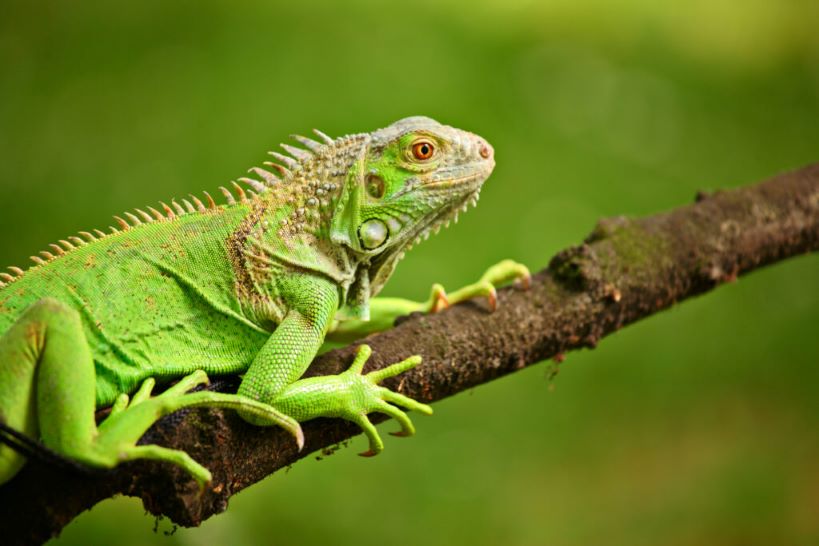
Sometimes, images have unwanted elements or imperfections. That’s when my “Image Inpainting Tool” becomes invaluable. This tool allows you to enhance, restore, or creatively modify images by masking specific areas and providing detailed prompts to guide the process. Whether you’re fixing imperfections or adding new elements, this tool empowers you with advanced inpainting features.
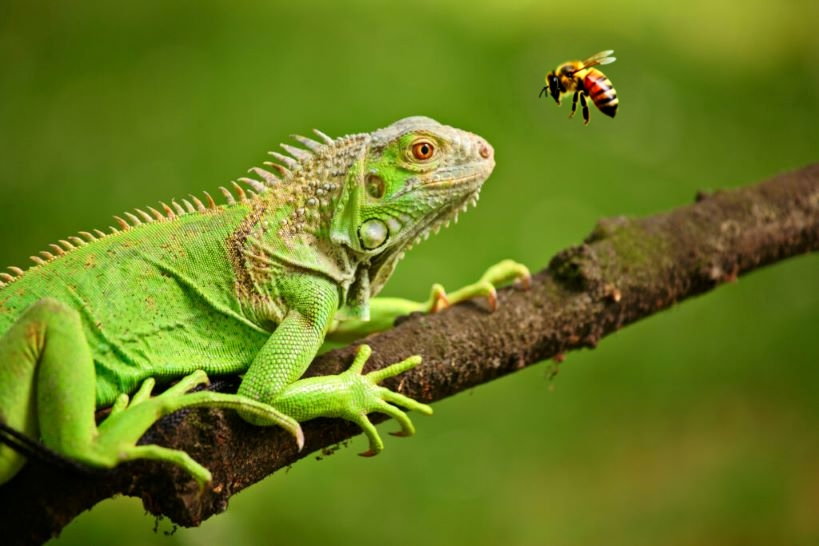
Below is an example of how to use this tool. I have uploaded an image and have masked a section of the image, and using the prompt “Replace the masked area with a honey bee” I was able to generate the image displayed below.
This tool gives you a high degree of control over the modifications, allowing you to achieve seamless and natural-looking results. I’ll share below some more examples of how you can creatively use this tool.


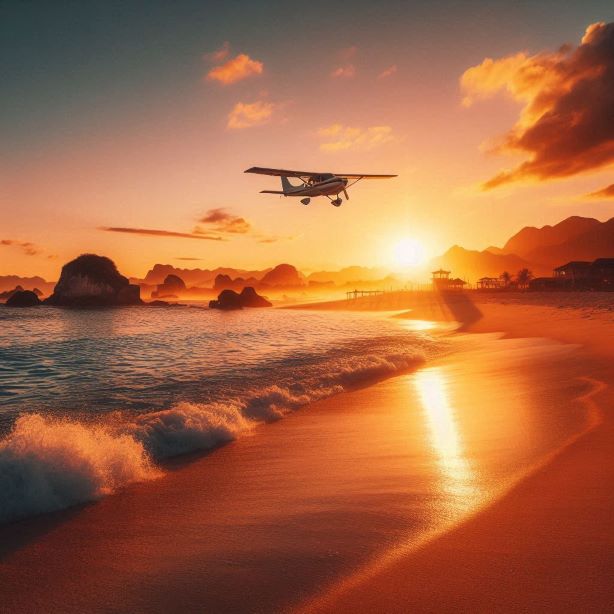

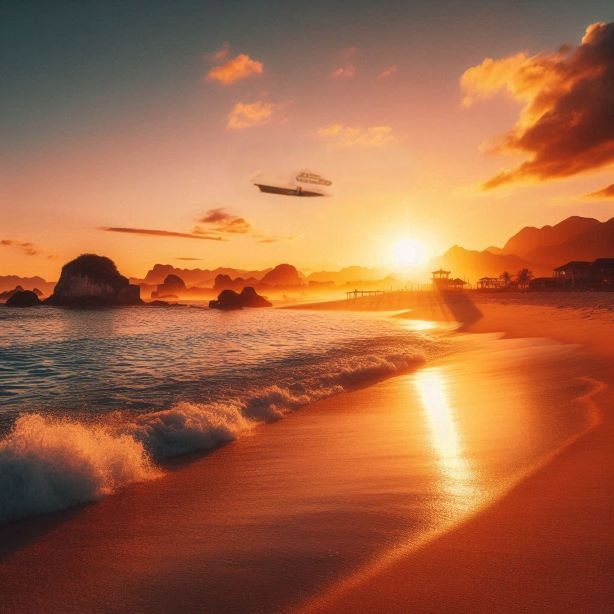


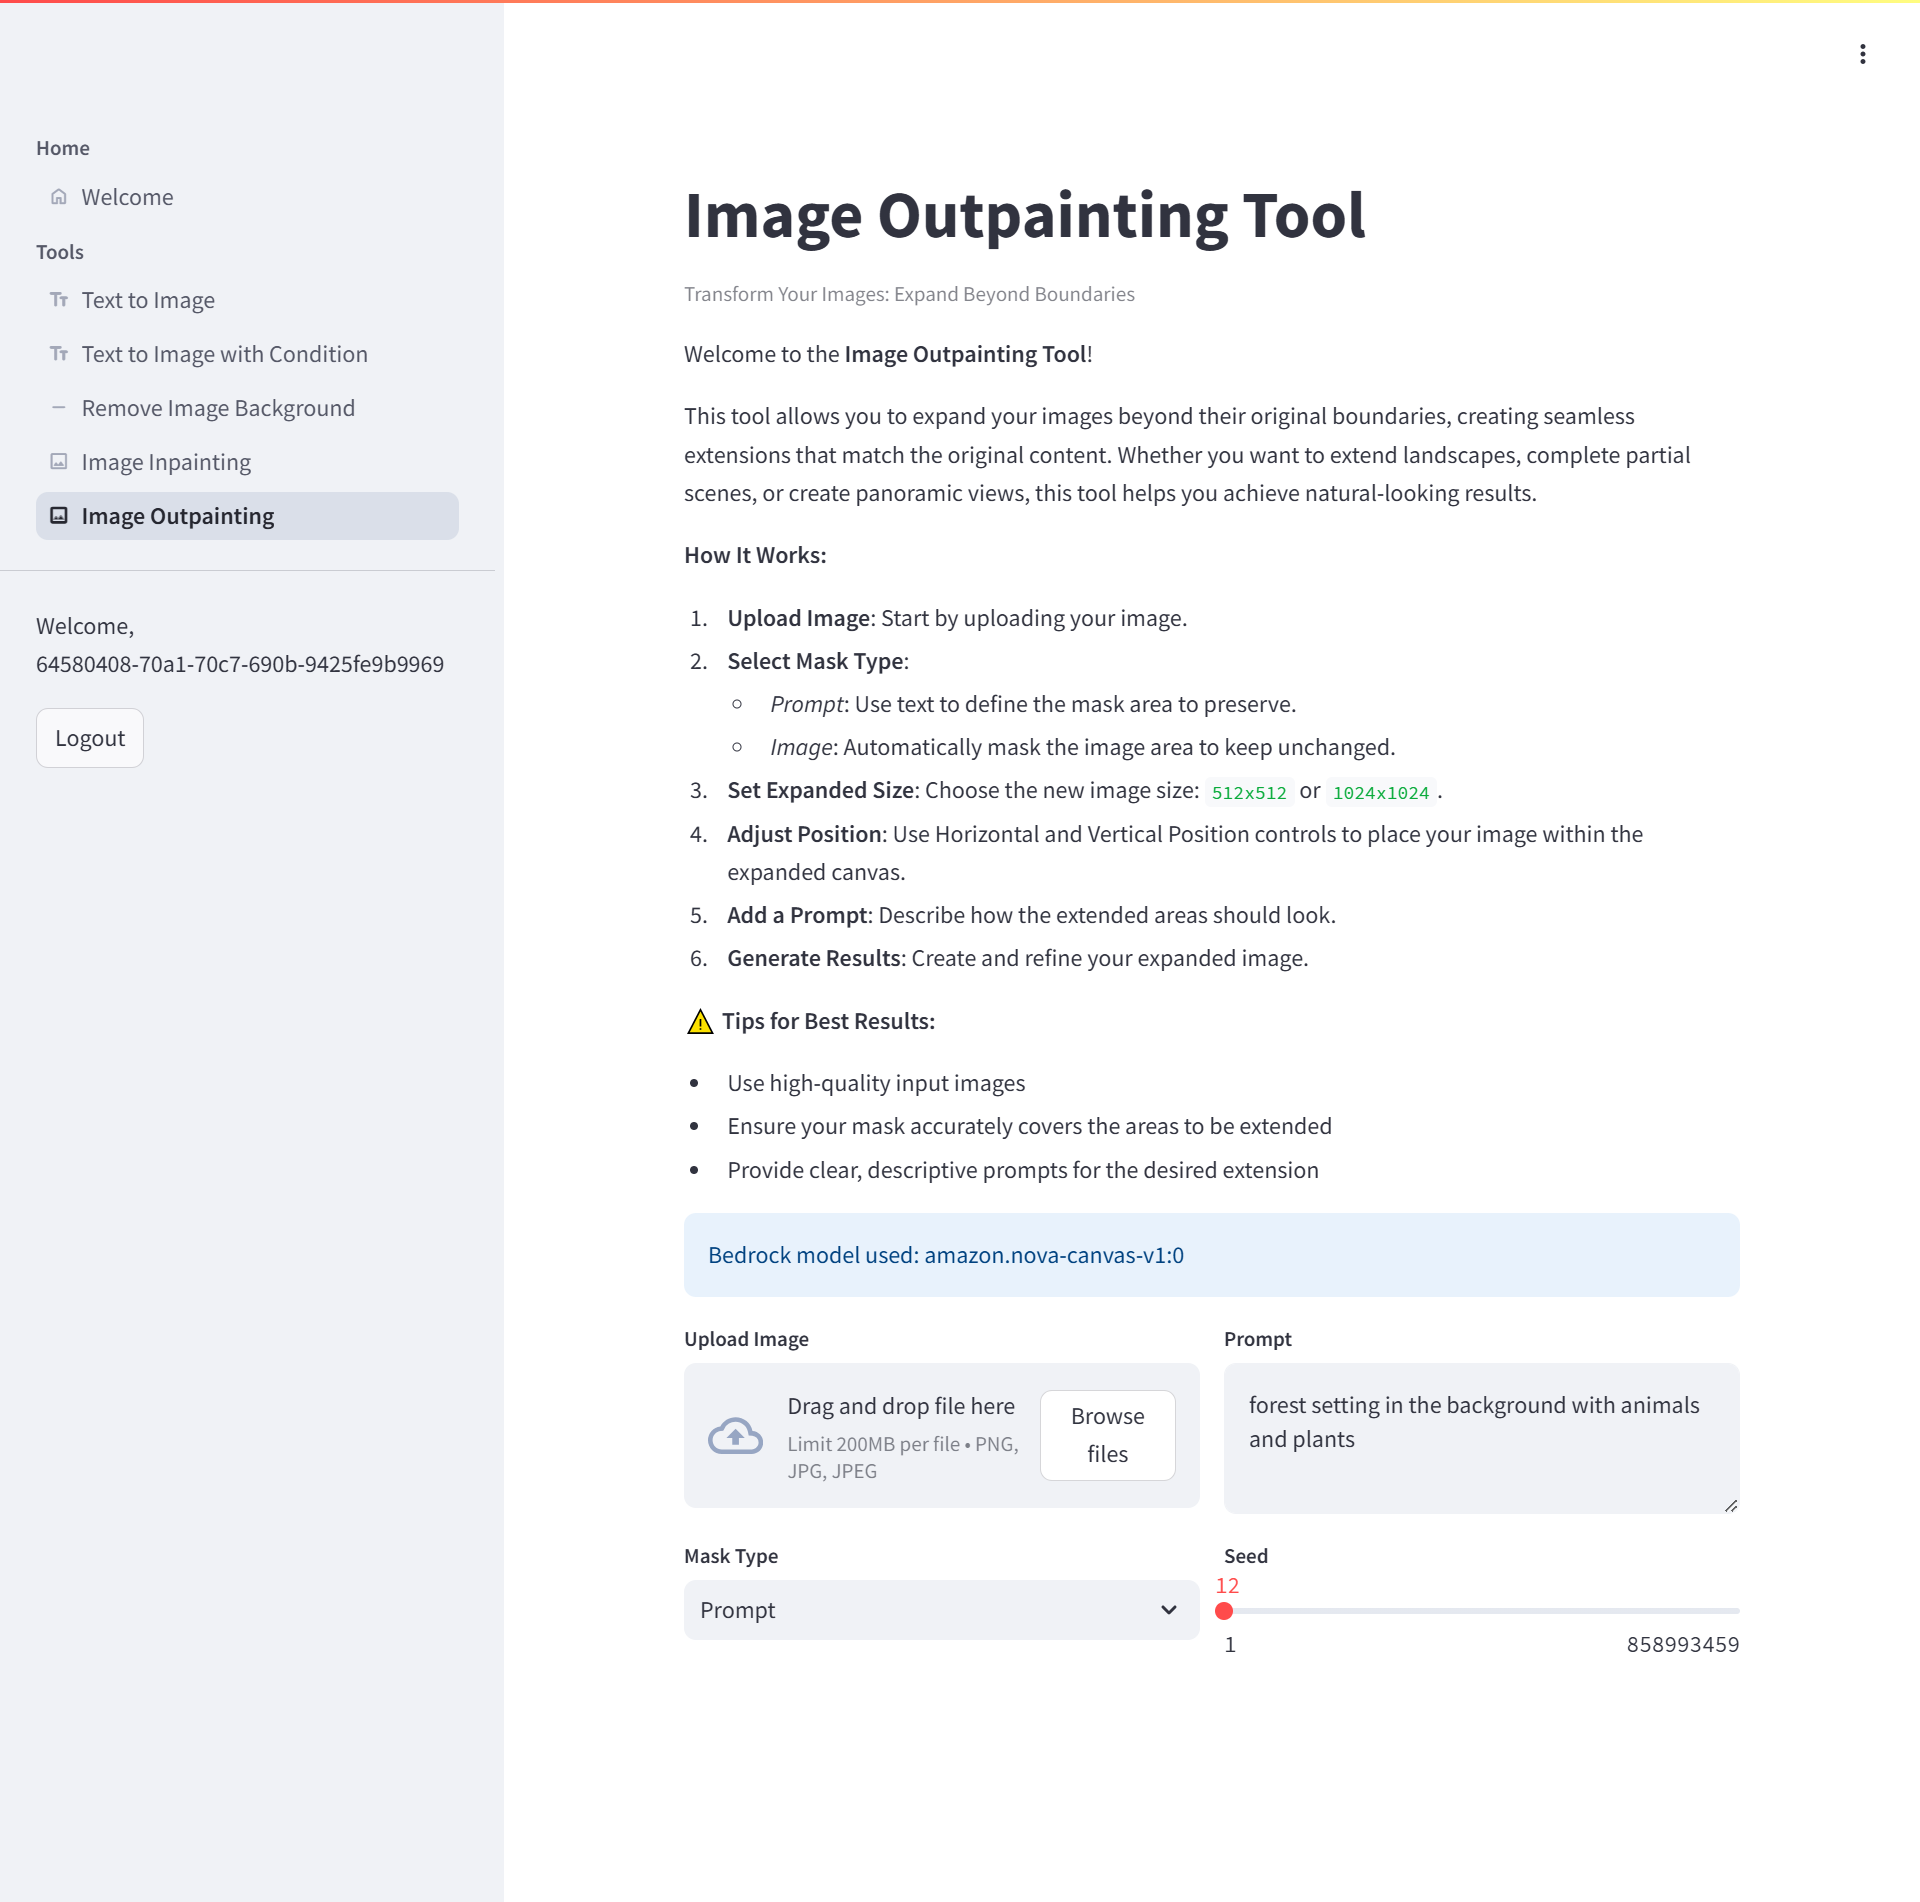
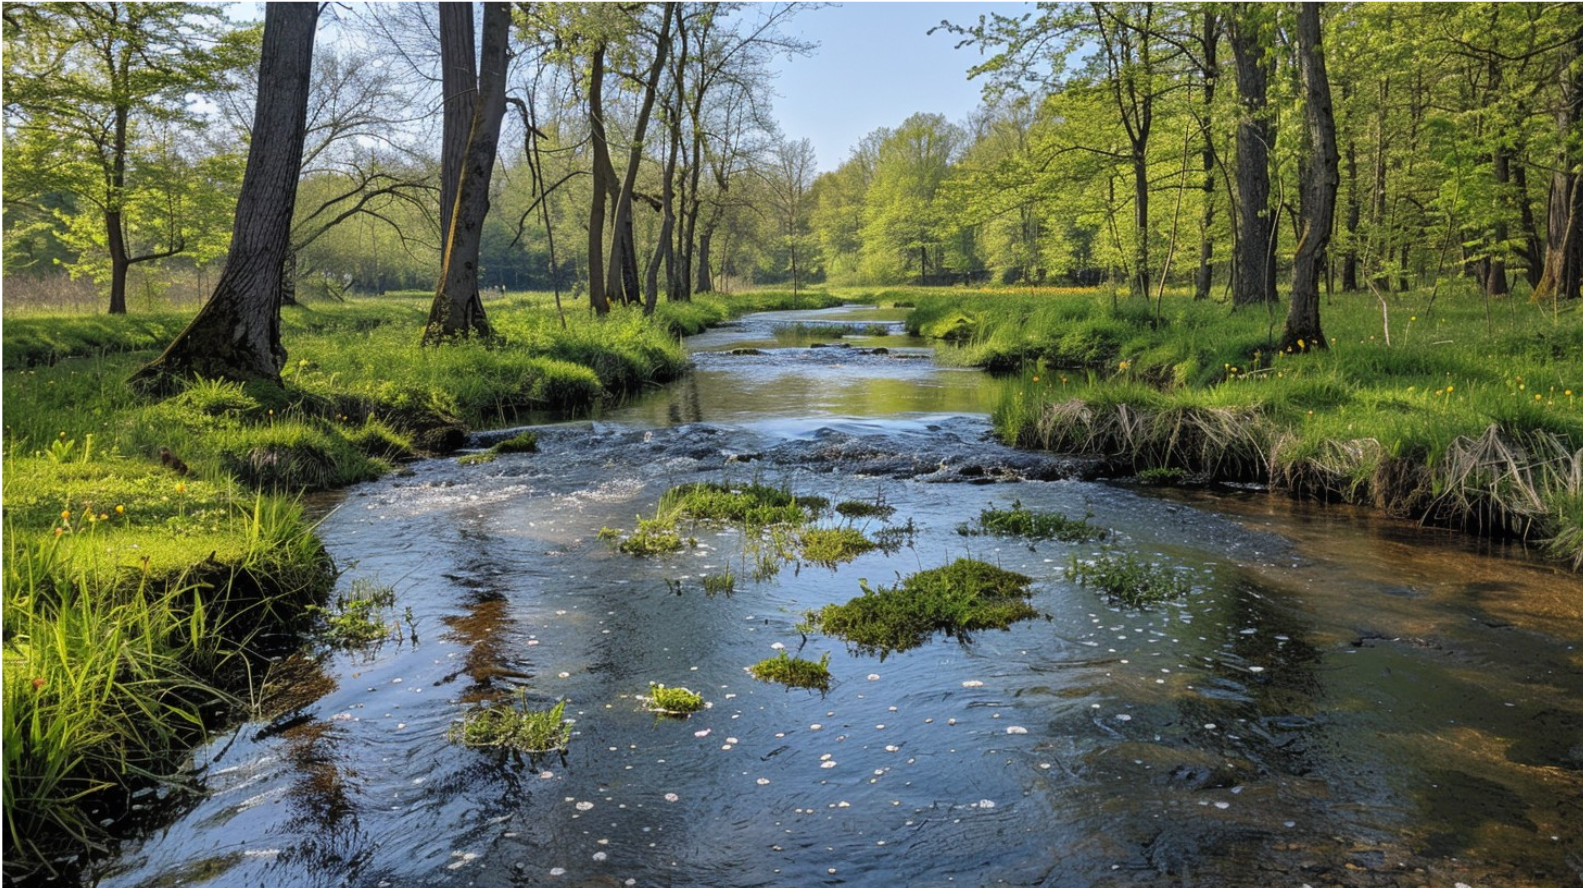
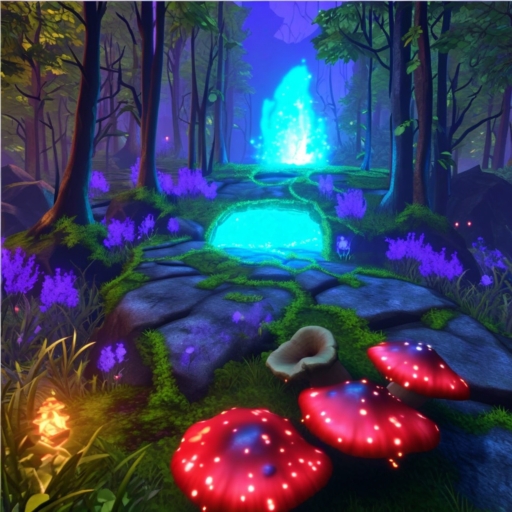
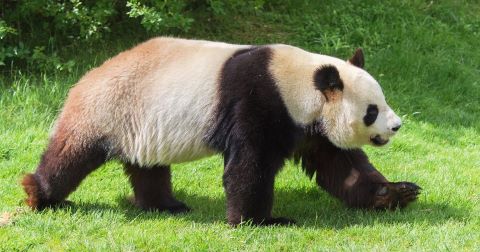
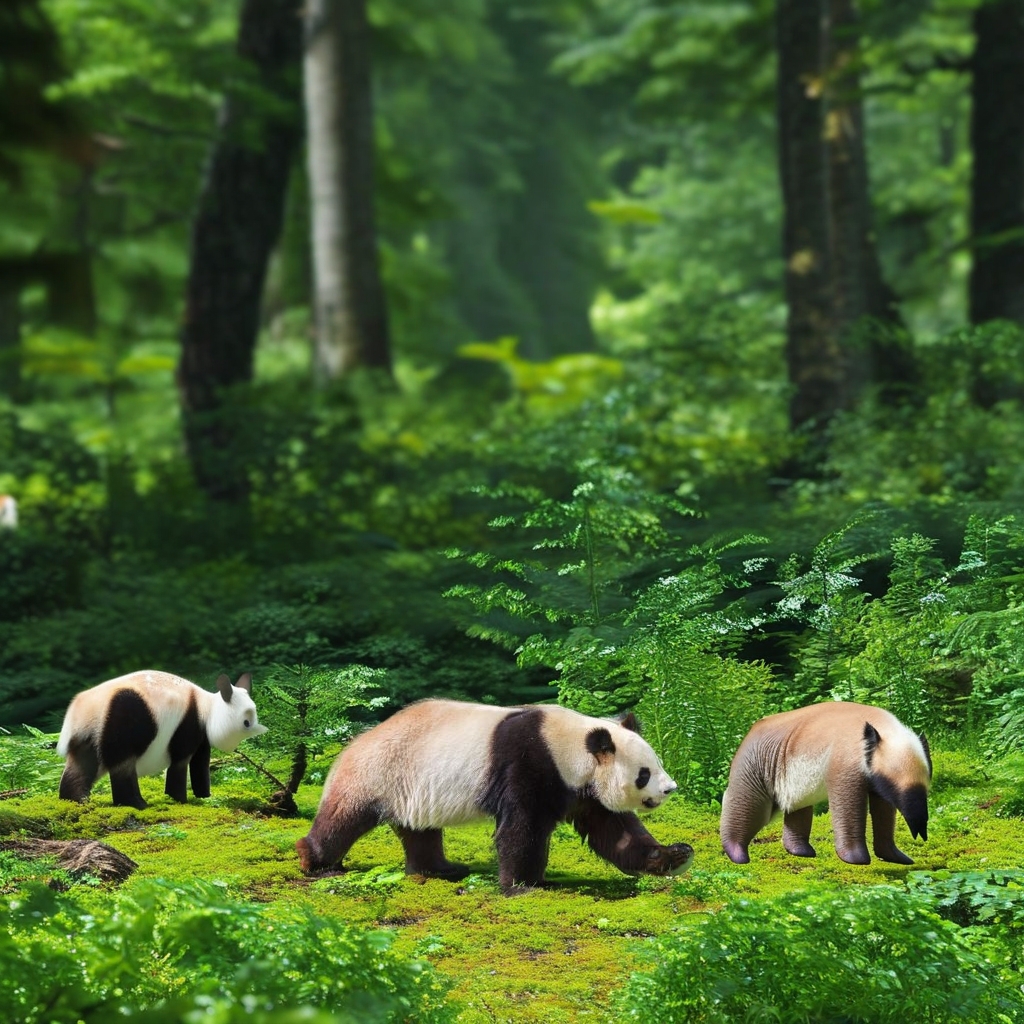
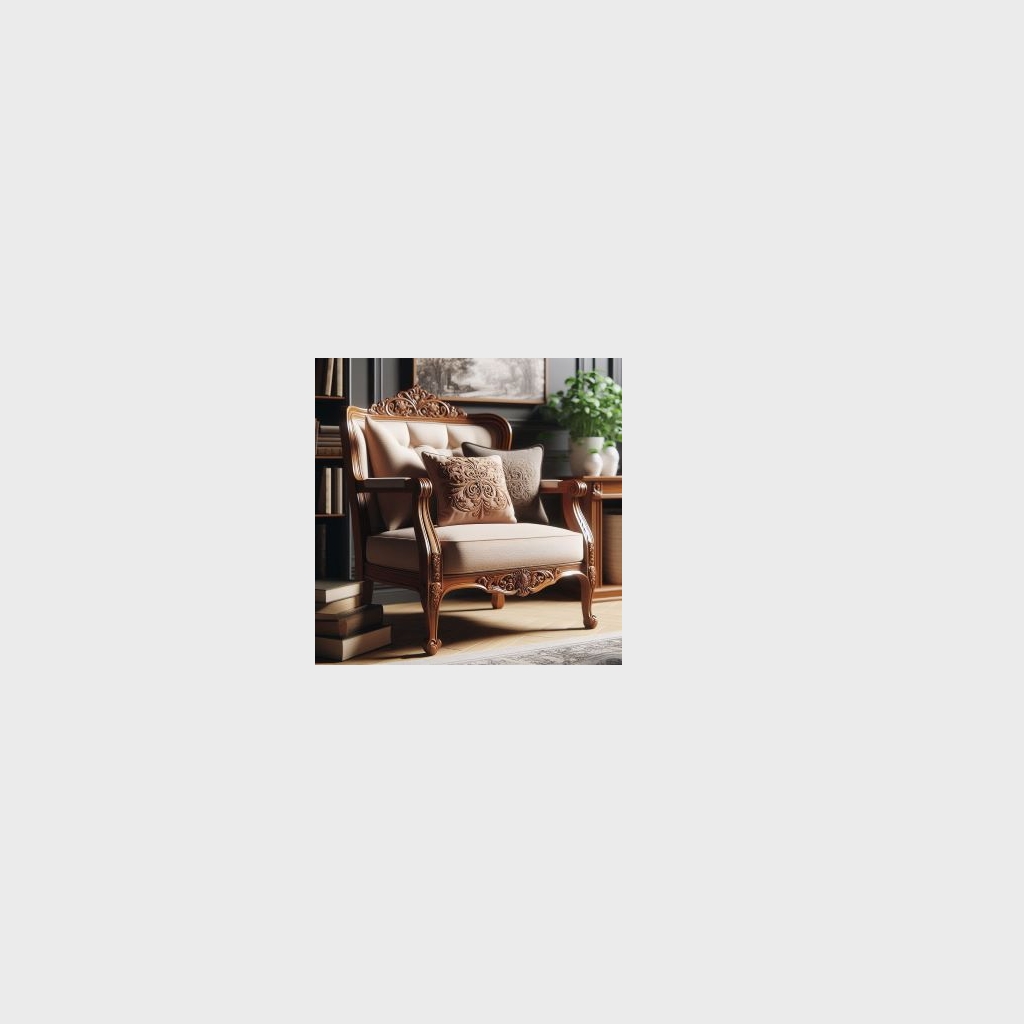
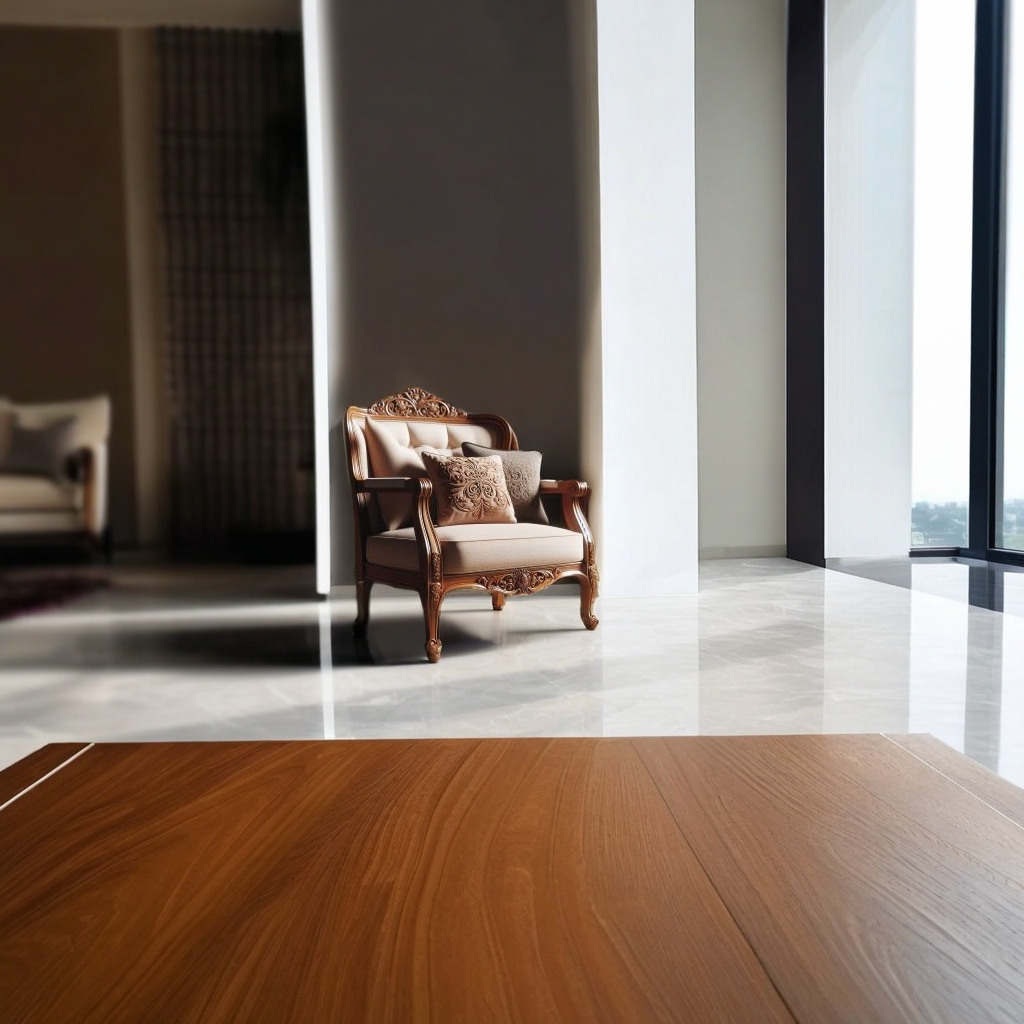
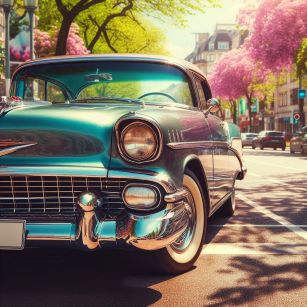
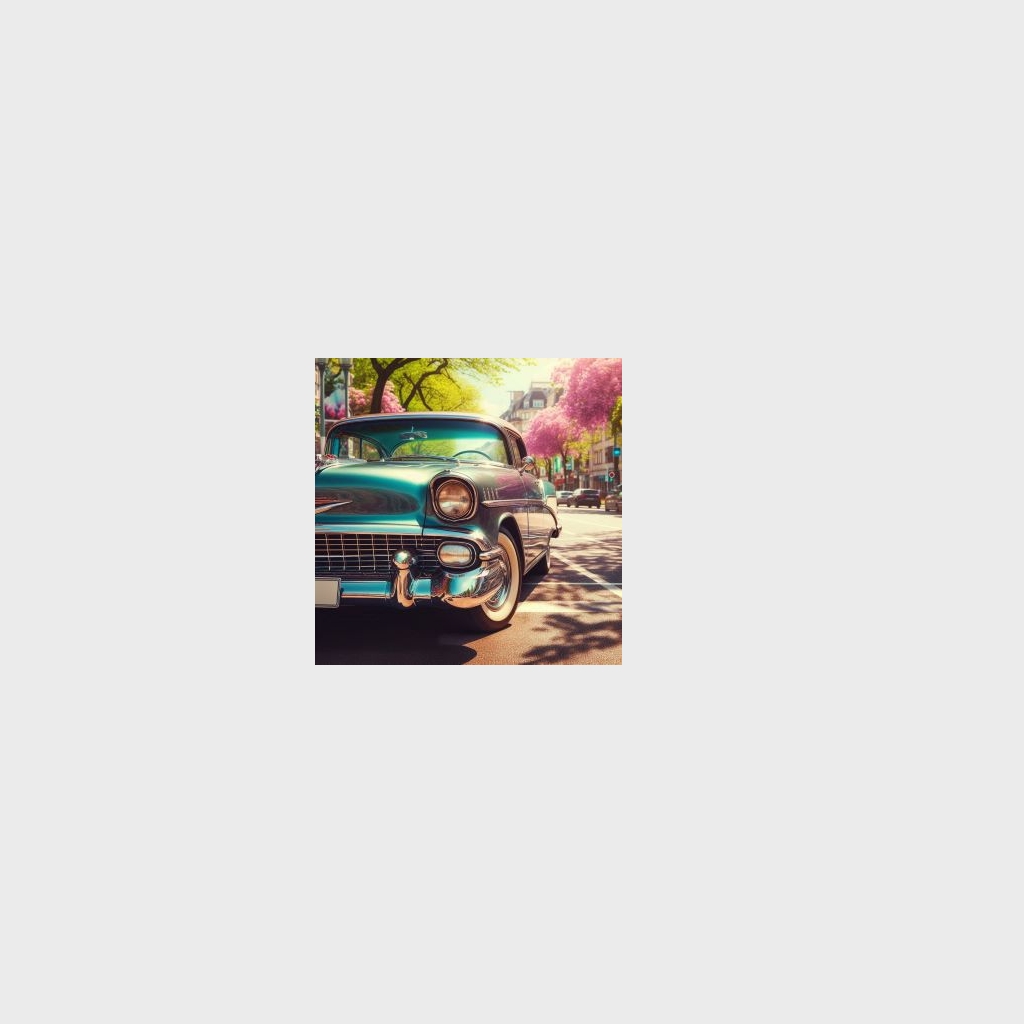
My final tool in this application is the “Image Outpainting Tool.” This tool lets you expand your images beyond their original boundaries, creating seamless extensions that match the original content. Whether you want to extend landscapes, complete partial scenes, or create panoramic views, this tool helps you achieve natural-looking results.
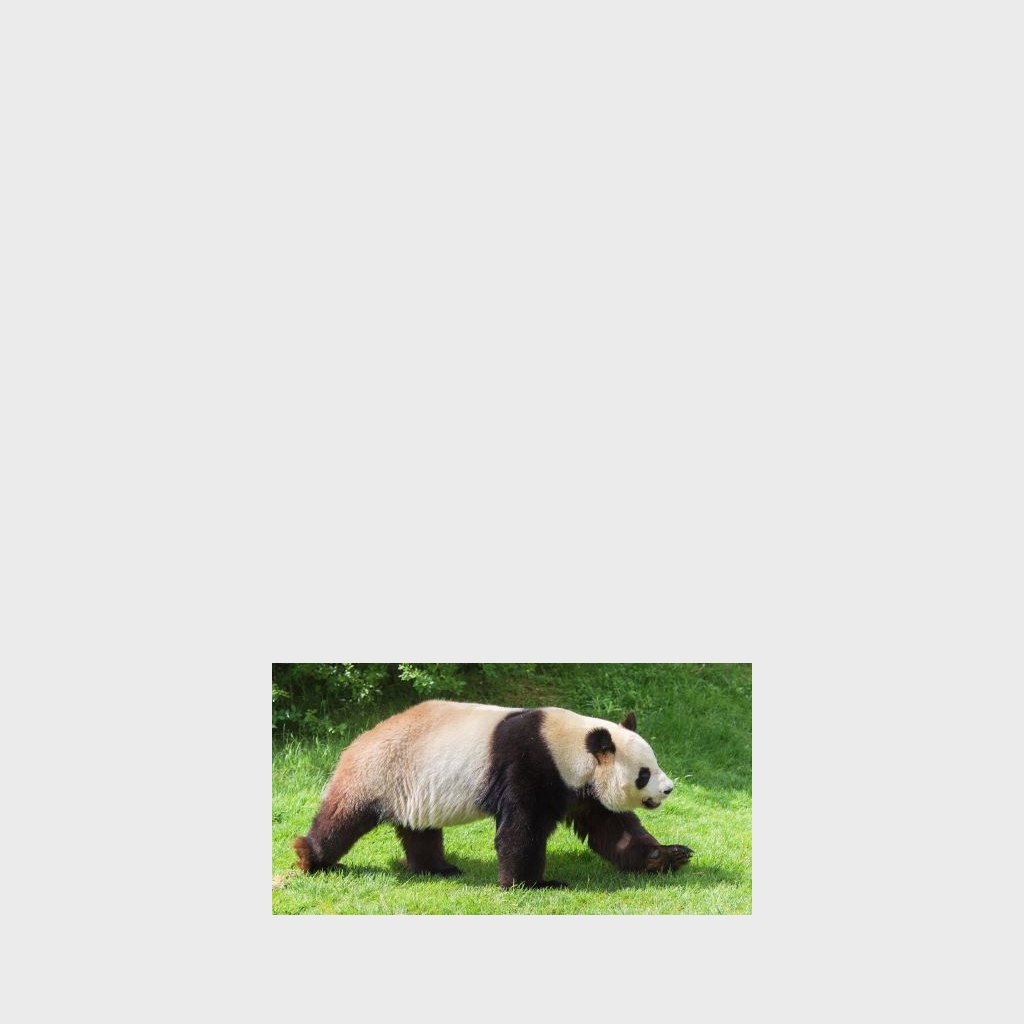
512x512 or 1024x1024 using the dropdown.Below is an example of what the app looks like after outpainting an uploaded image. Here I have used the “Image” mask type and the prompt “forest setting in the background with animals and plants.” I have kept the other options at their default value.
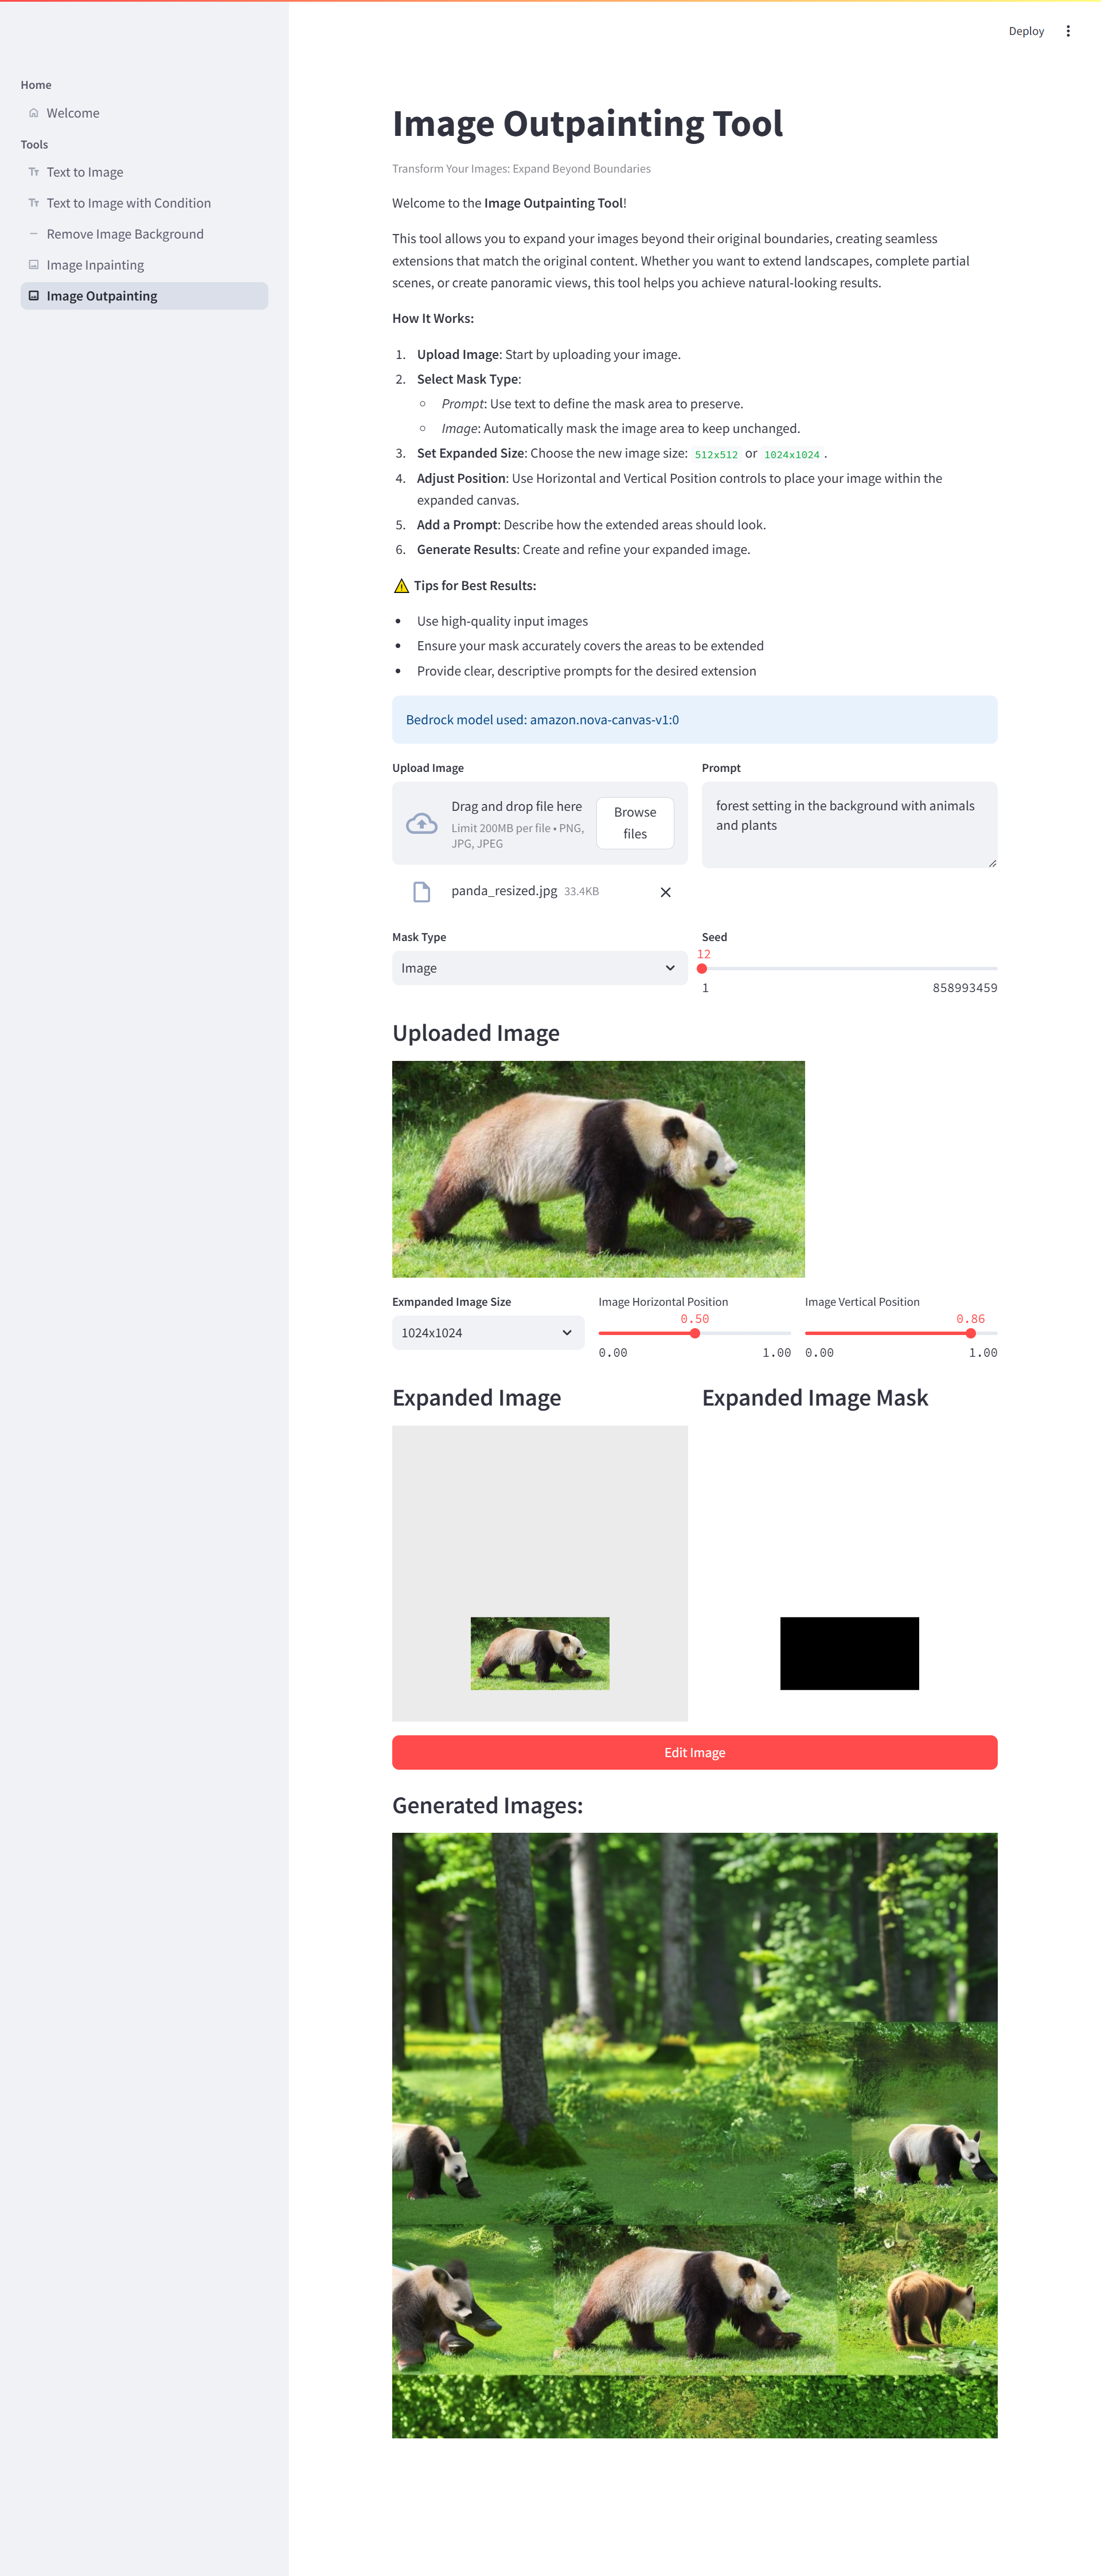
With this tool, you can easily bring your creative visions to life by expanding images beyond their boundaries!I have provided below more examples of the creative possibilities of this tool.

Before deploying the app, you might want to experiment with it on your local system. Here’s how you can quickly get the app up and running:
Code Hierarchy
├── home
│   └── welcome.py
├── llm
│   ├── __init__.py
│   └── utils.py
├── tools
│   ├── inpainting.py
│   ├── outpainting.py
│   ├── remove_background.py
│   ├── text_to_image_condition.py
│   ├── text_to_image.py
│   └── __init__.py
├── .gitignore
├── app.py
├── config.py
├── Dockerfile
├── README.md
└── requirements.txt
Here’s a brief explanation of the important files:
config.py: This file is used to set up important configurations for the app. Below is the snippet from the file to give you an overview.
config.py
In this file, you can specify the Bedrock model ID and region. Make sure that the BEDROCK_REGION matches the region where you have access to the Nova Canvas model. You can also disable Cognito user authentication for local testing by setting LOGIN_REQUIRED to False.
requirements.txt: This file lists the required Python libraries for the app. Make sure these dependencies are installed in your local environment.
streamlit run app.py. You should see the following output in your terminal: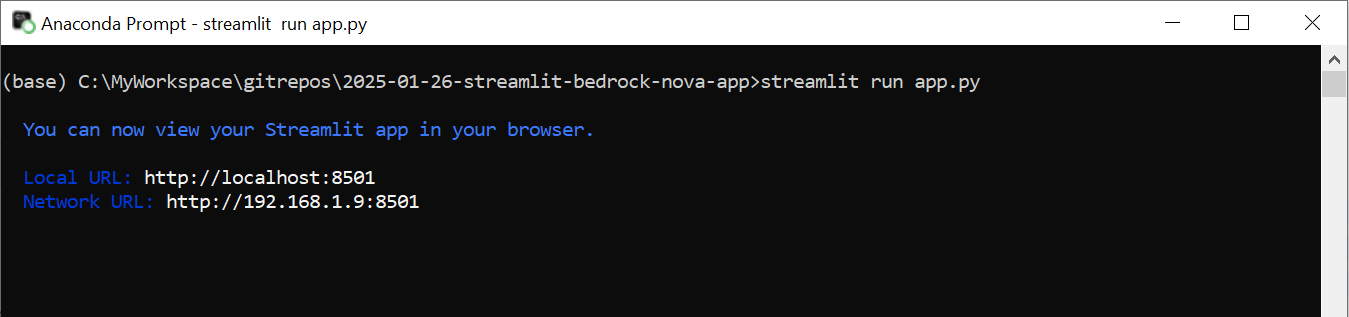
Open your web browser and visit the URL shown in the output (http://localhost:8501) to access the app.
Now that you’ve experimented with the app locally, it’s time to deploy it to the cloud. I’ll be focusing on using Amazon Lightsail, which is a cost-effective and easy-to-use service for deploying containerized applications.
If you are interested in learning about the alternative approaches in deploying this app, then
Here’s a step-by-step guide for deploying your Streamlit app on Amazon Lightsail:
Head over to your AWS console and create a new Elastic Container Registry (ECR) repository. This repository will be used to store your application’s Docker container image. I would recommend that you use a descriptive name for your repo, such as streamlit/bedrock-nova-app.
Make sure you create the ECR in the same AWS region where you have access to the Amazon Bedrock models.
I have used AWS private ECR repo in the above step. But you are open to use any other public service of your choice like Docker Hub.

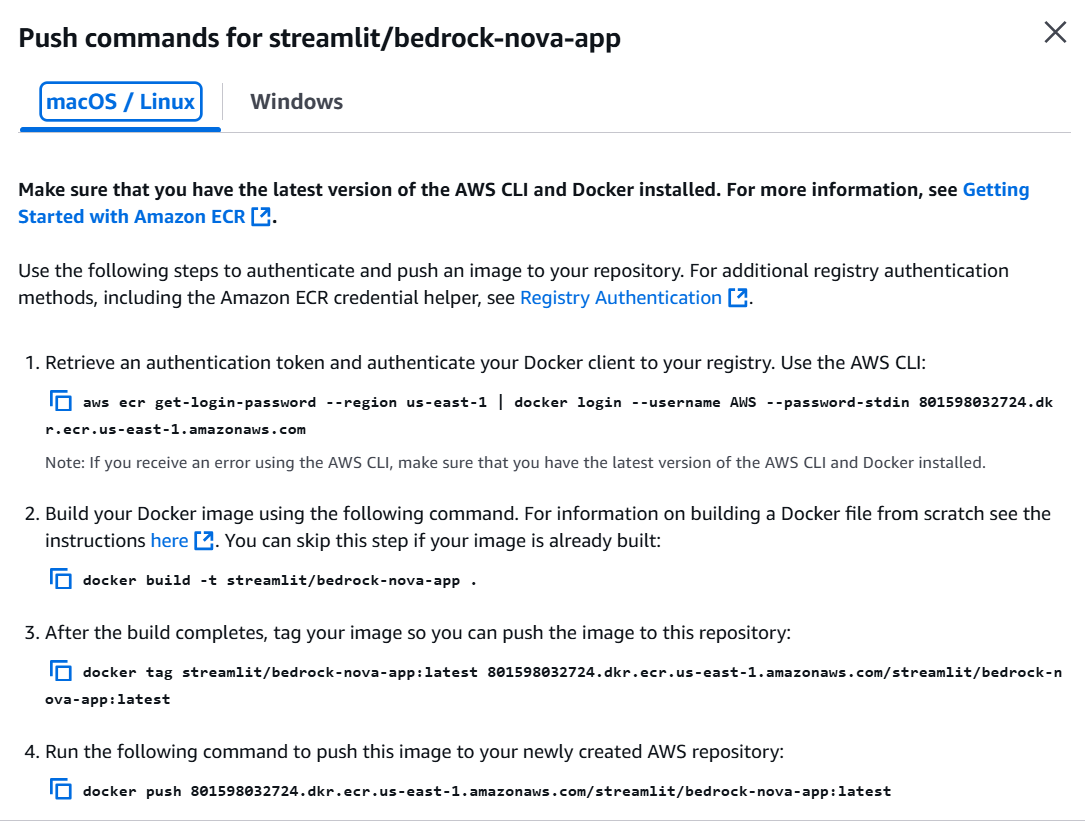
On your local machine, build the Docker container image and then push it to your newly created ECR. Use the commands provided by AWS for your specific account and registry. Here is an example of the commands, specific to my account. Remember that the command provided by AWS in the console is very specific to your account and you should use that only:
Navigate to the AWS Lightsail service in your console. We’ll be using Lightsail container service.
Lightsail’s interface is very intuitive. Follow the guided steps to create the container service, making sure you select the same region where your ECR repository is located. For a simple Streamlit app, a Nano compute power (512MB RAM, 0.25 vCPU) will be sufficient.
In the “Images” tab of your Lightsail container service, select the correct ECR repository and grant Lightsail access to it. This allows Lightsail to pull the container image from your repository.
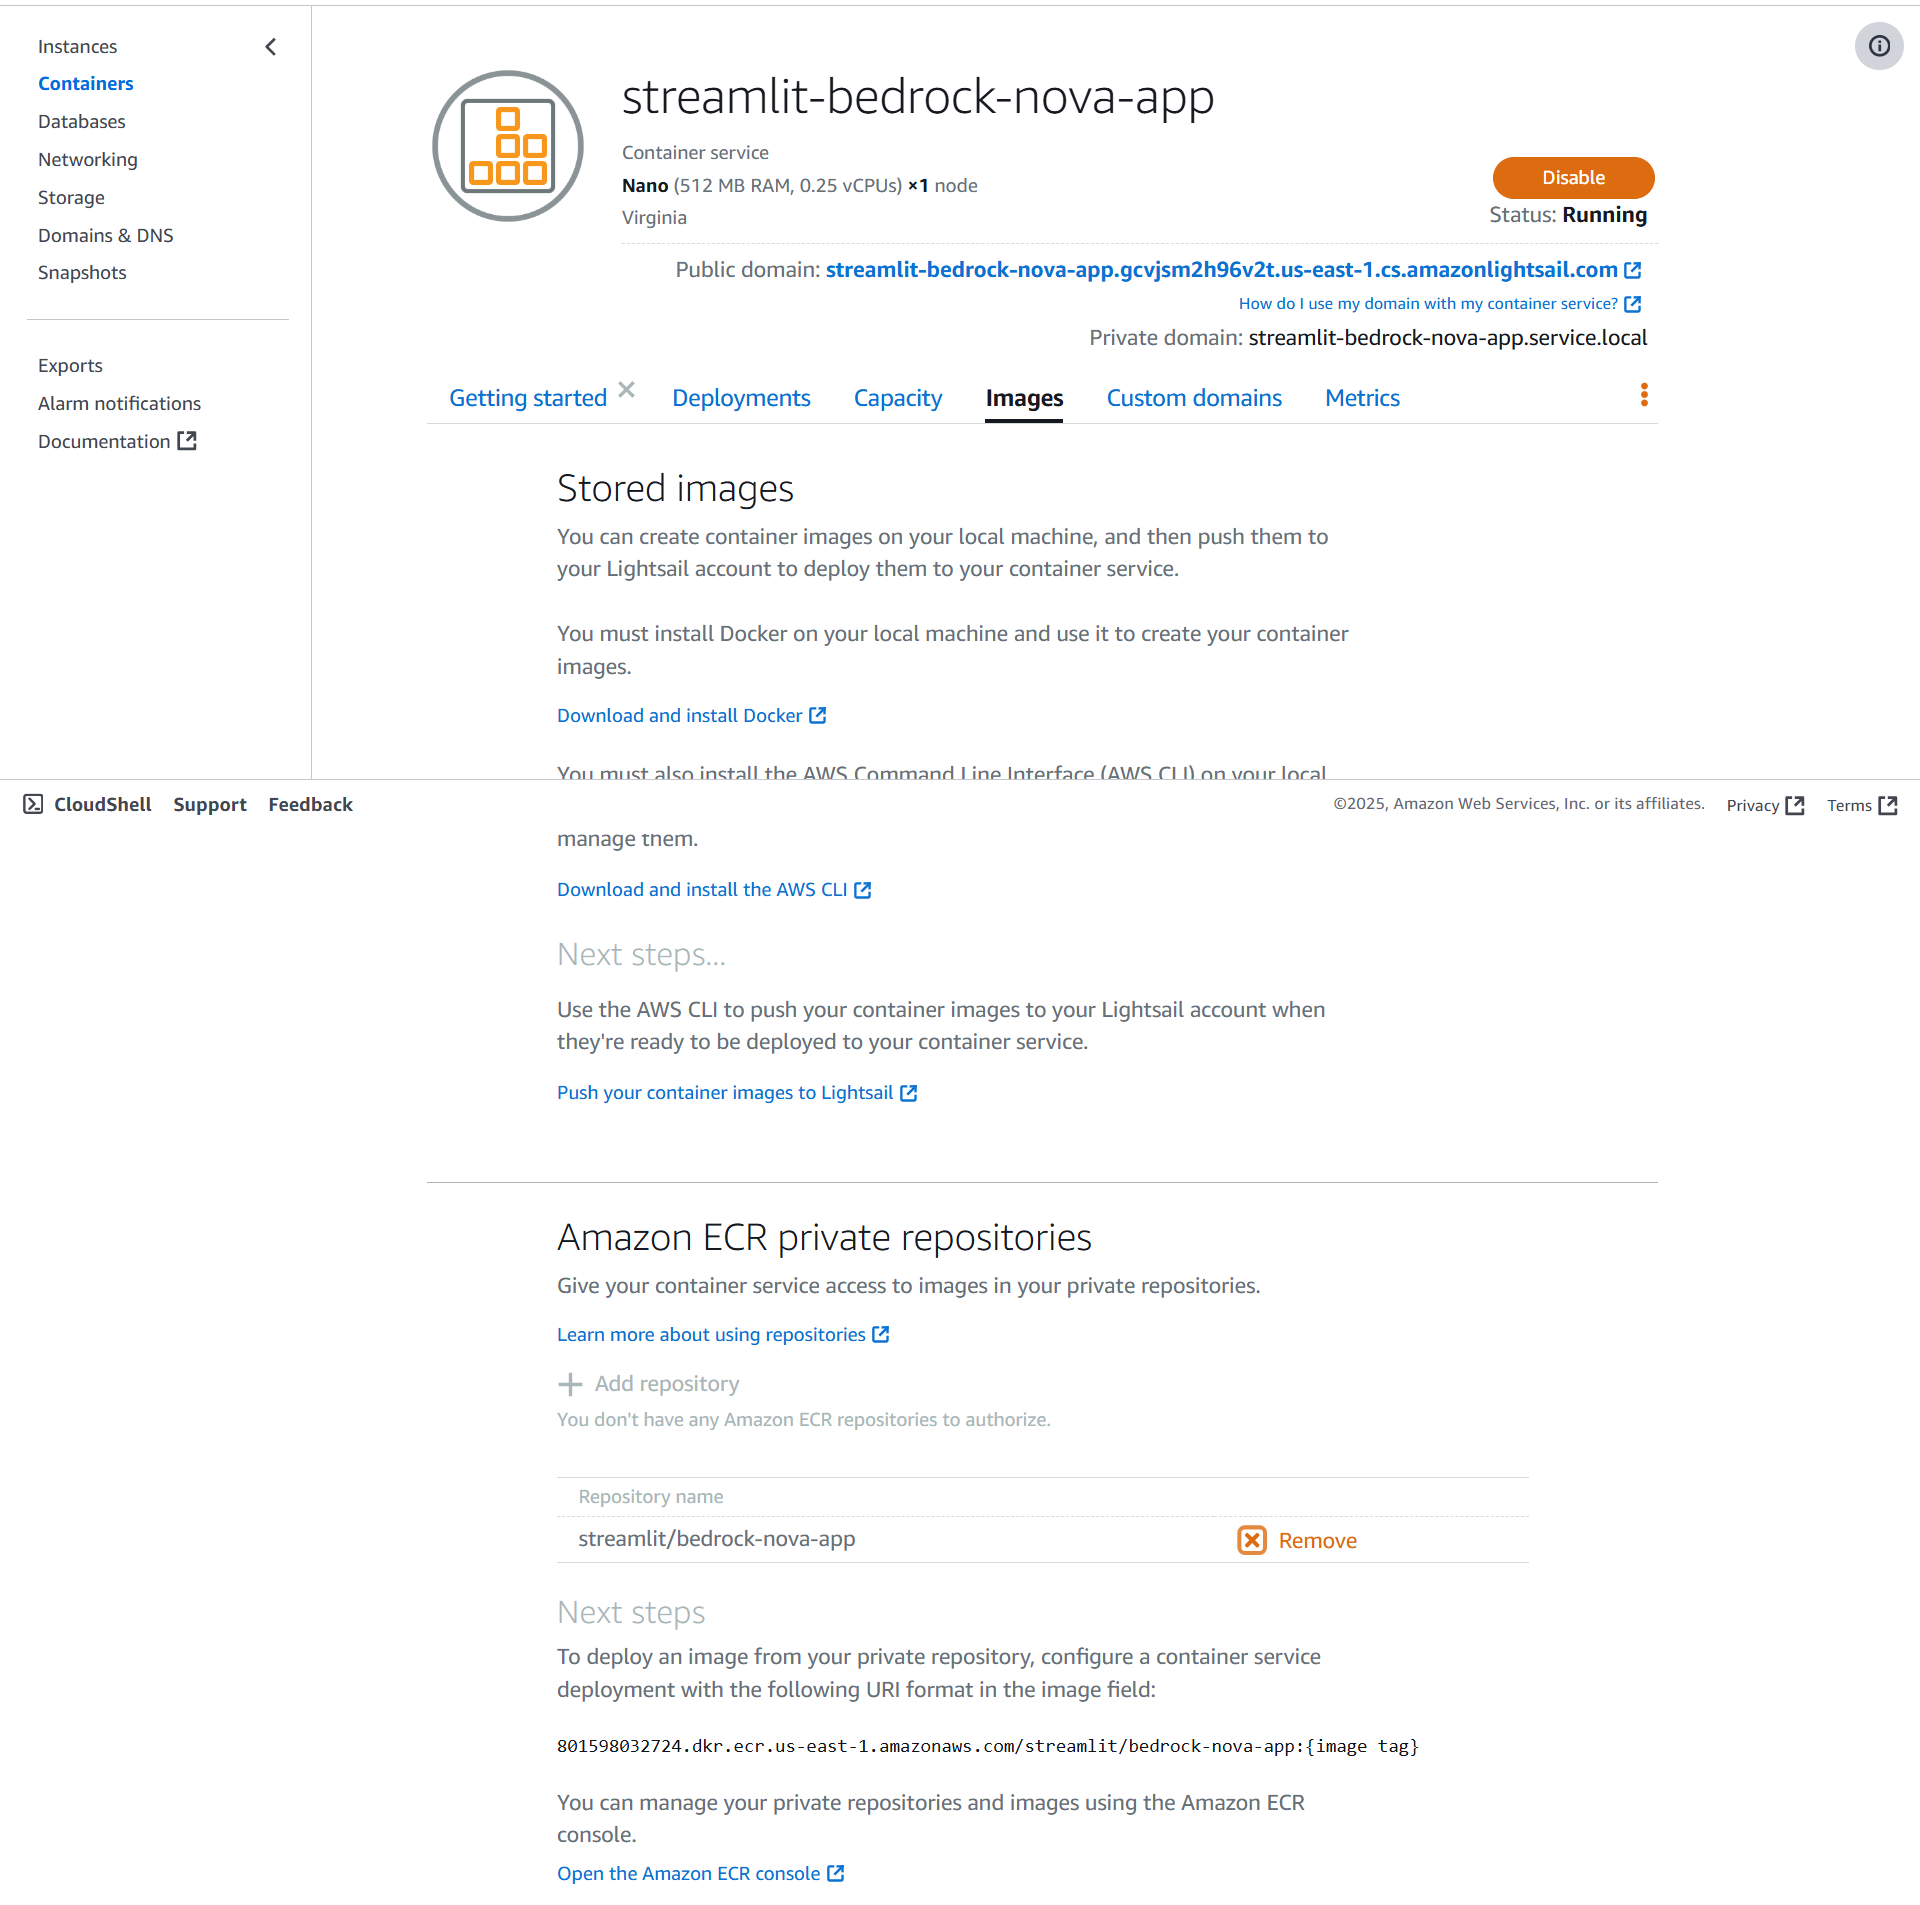
Here is a link to another post that explains the similar step in a very detailed manner: containers-on-aws-amazon-lightsail
To enable your Lightsail container to access Bedrock models, you’ll need to create a new IAM user.
bedrock:InvokeModel policy to this user.AWS_ACCESS_KEY_ID and AWS_SECRET_ACCESS_KEY for later use.Amazon Lightsail is a special service and you cannot assign IAM roles/permissions to it like you do for other services. Similarly Lightsail cannot access AWS Secrets Manager to keep the credentails. So we will create a new IAM user with the required persmissions, and assign it to our app.
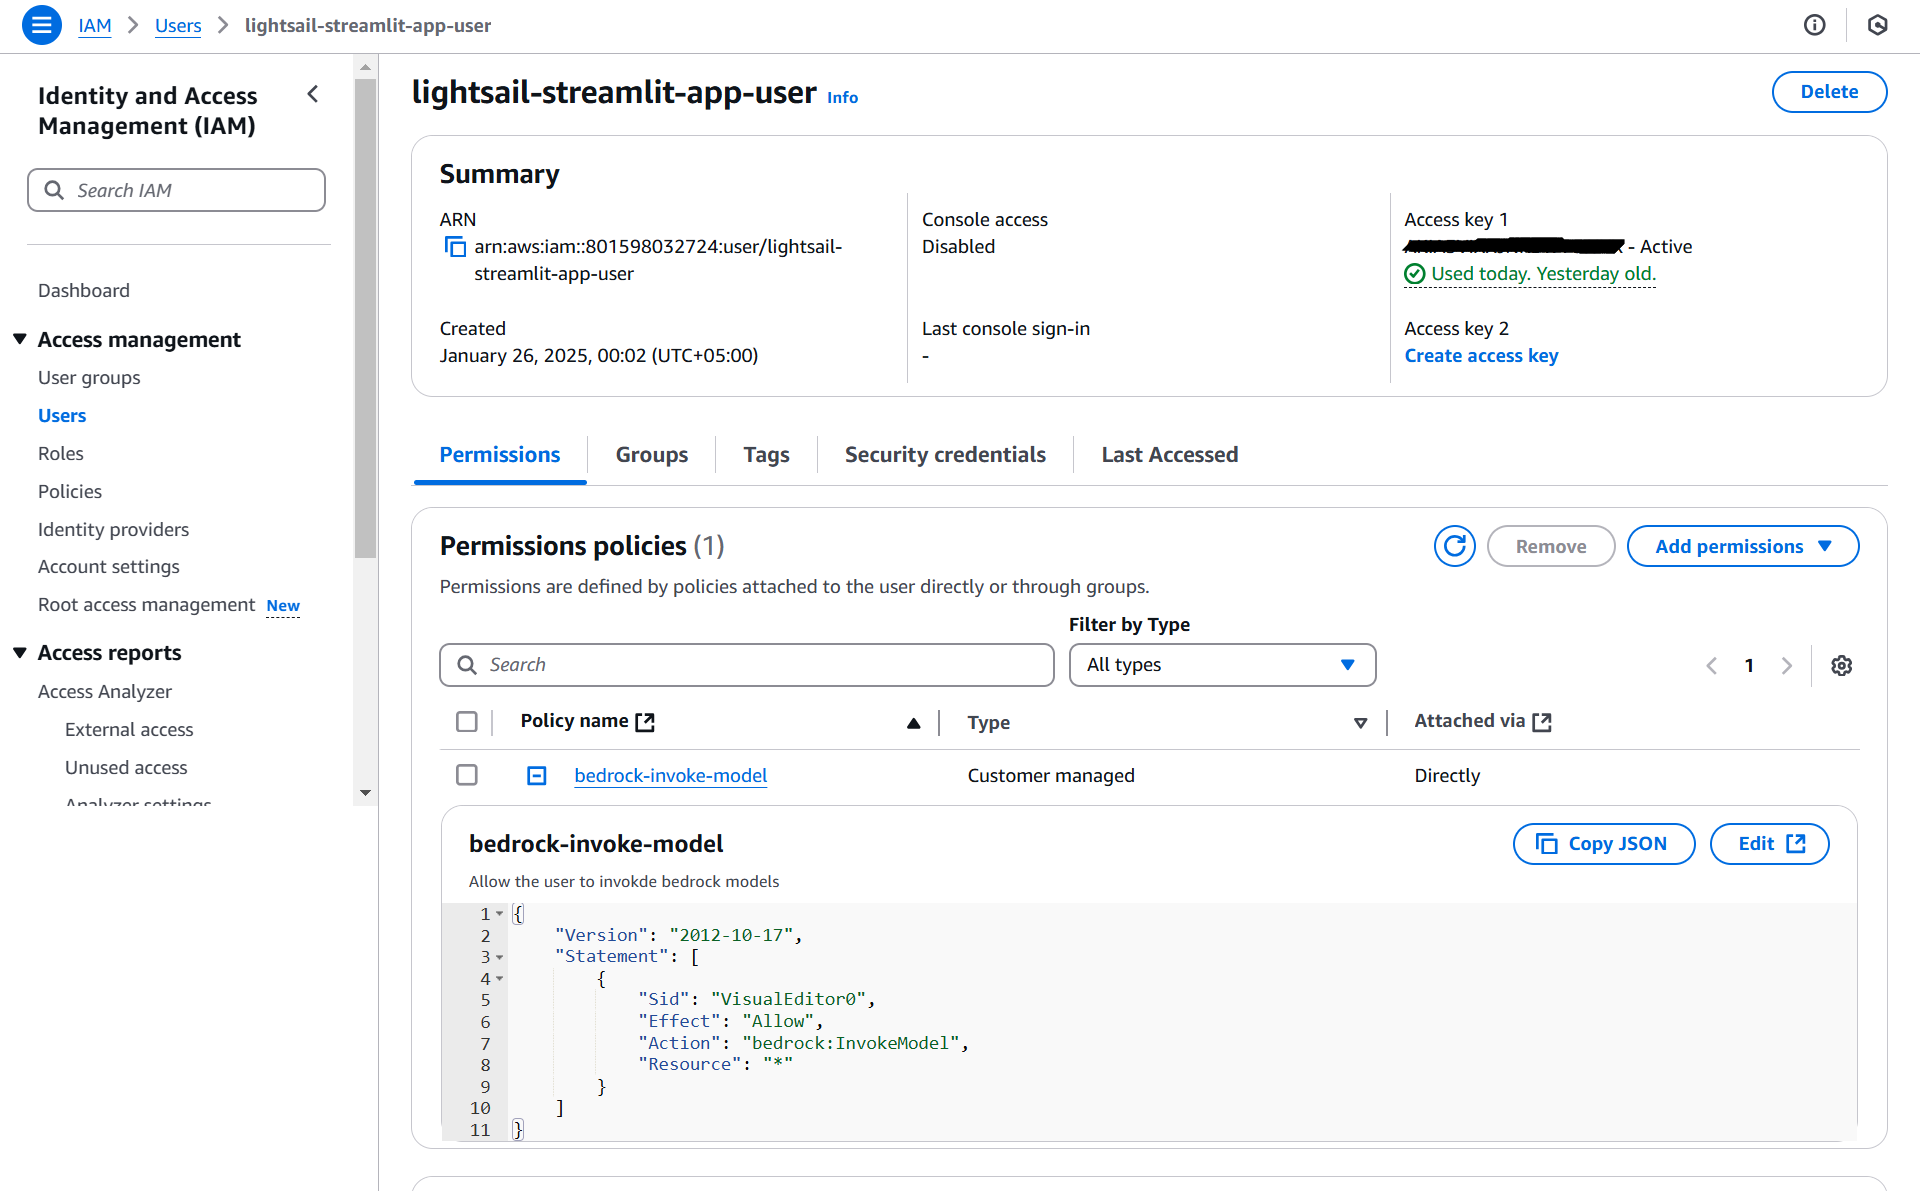
Do not share your AWS access key ID or secret access key publicly, and keep them secure.
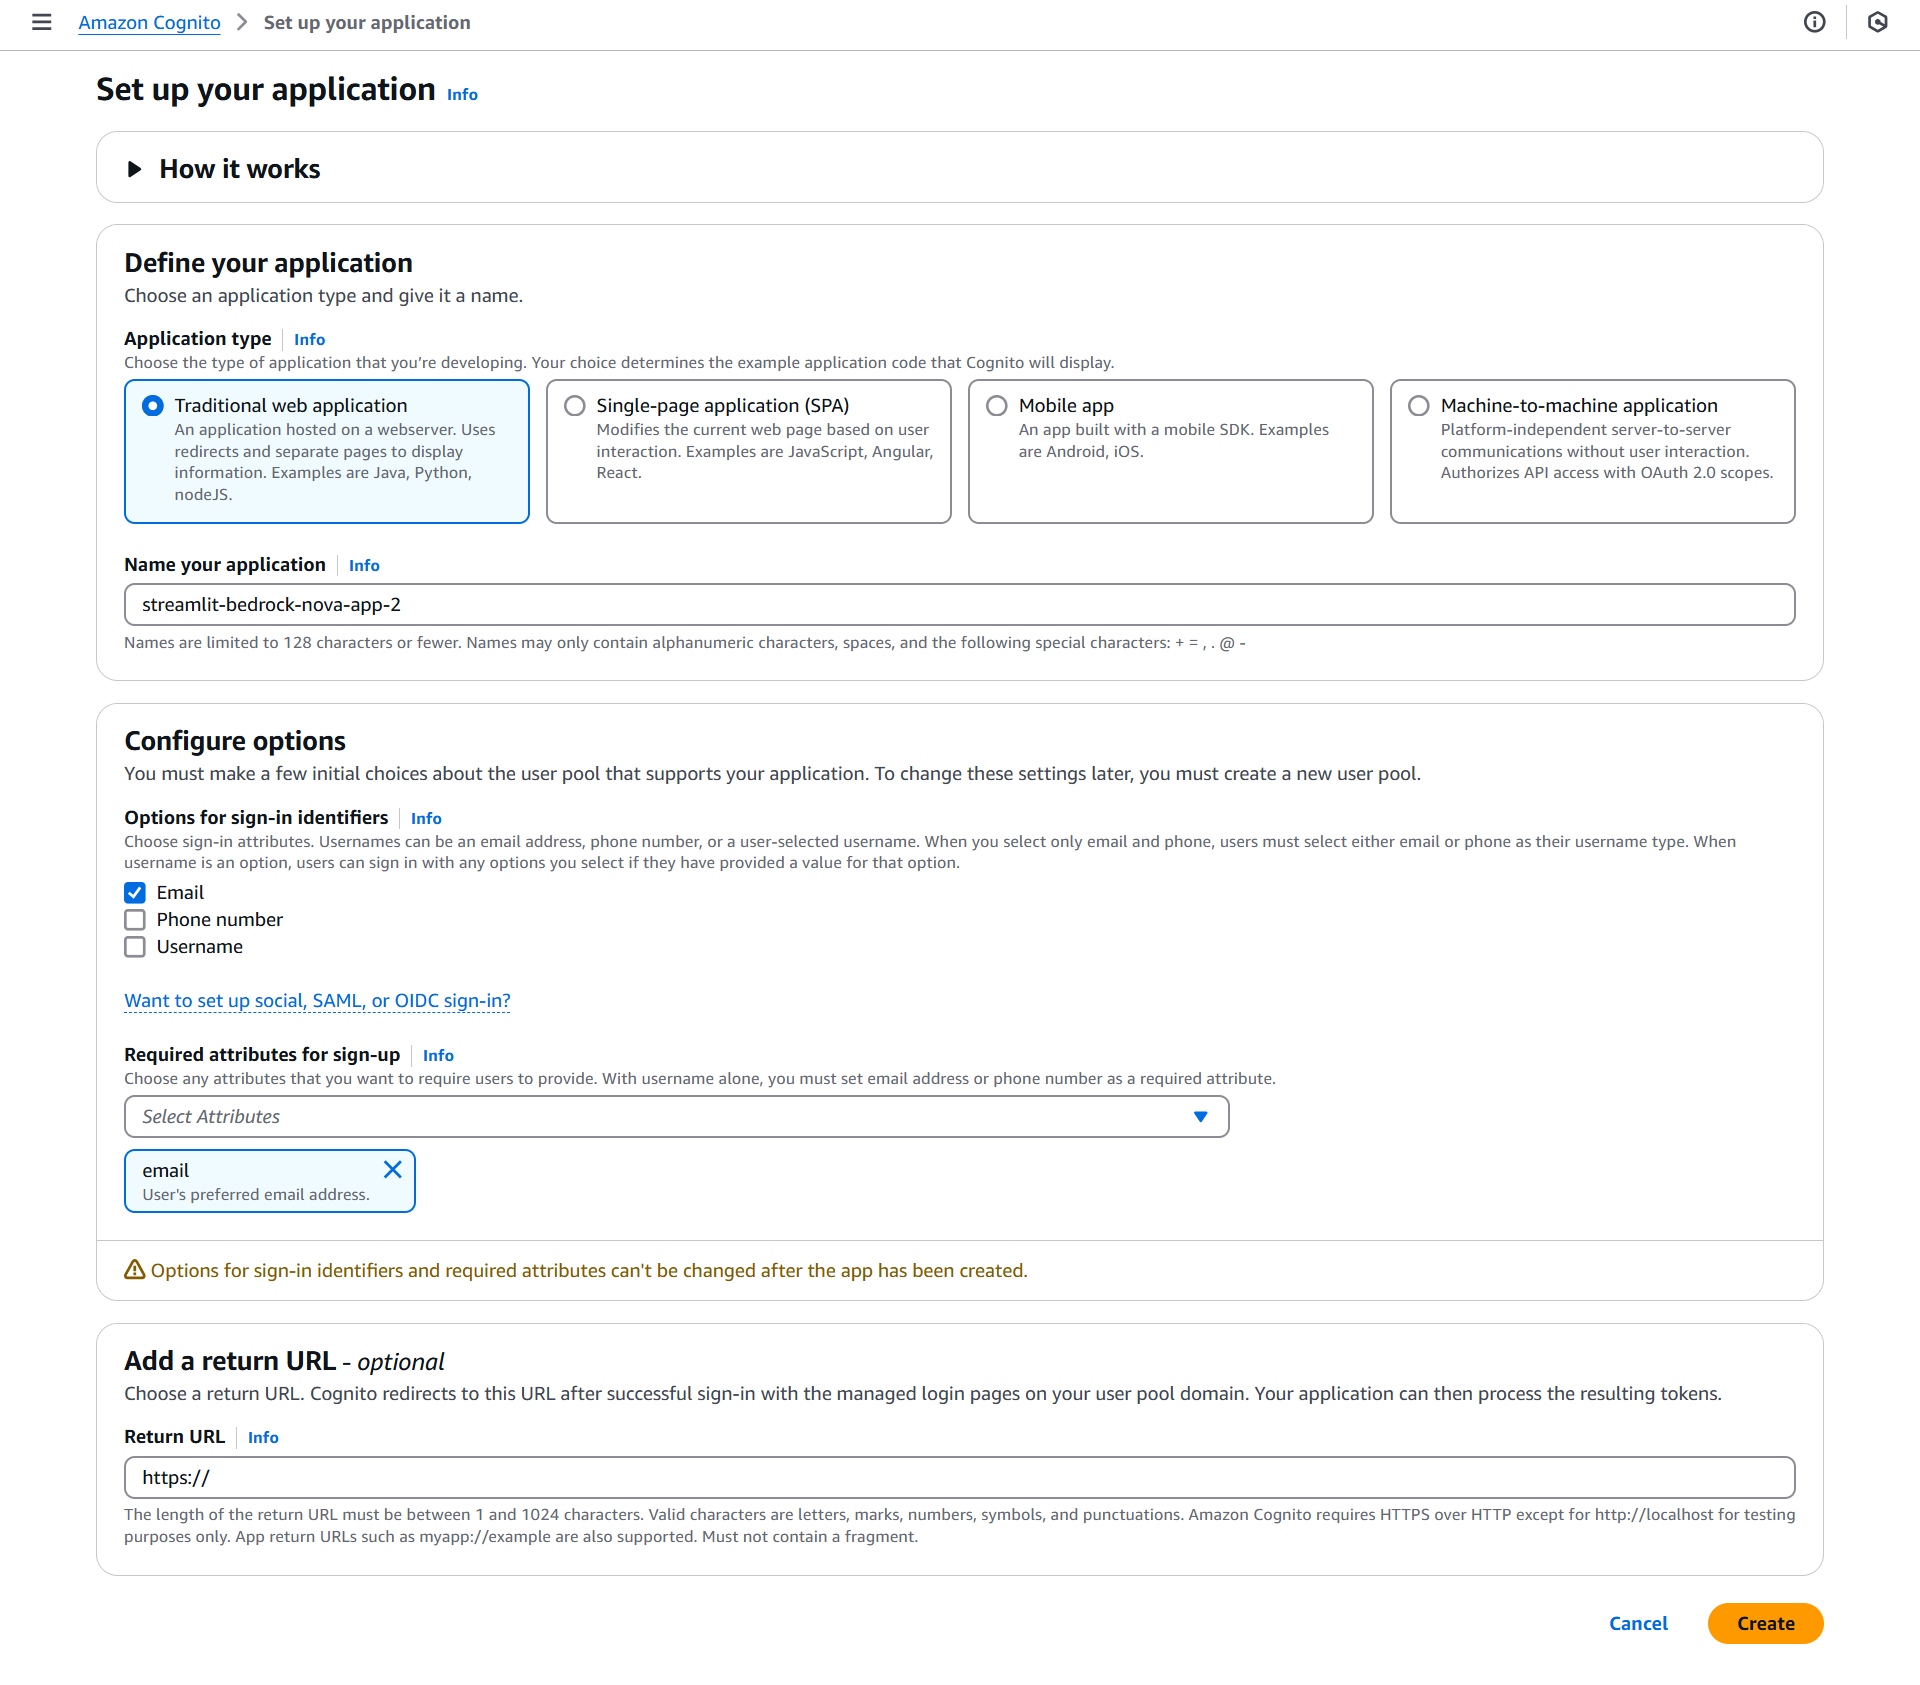
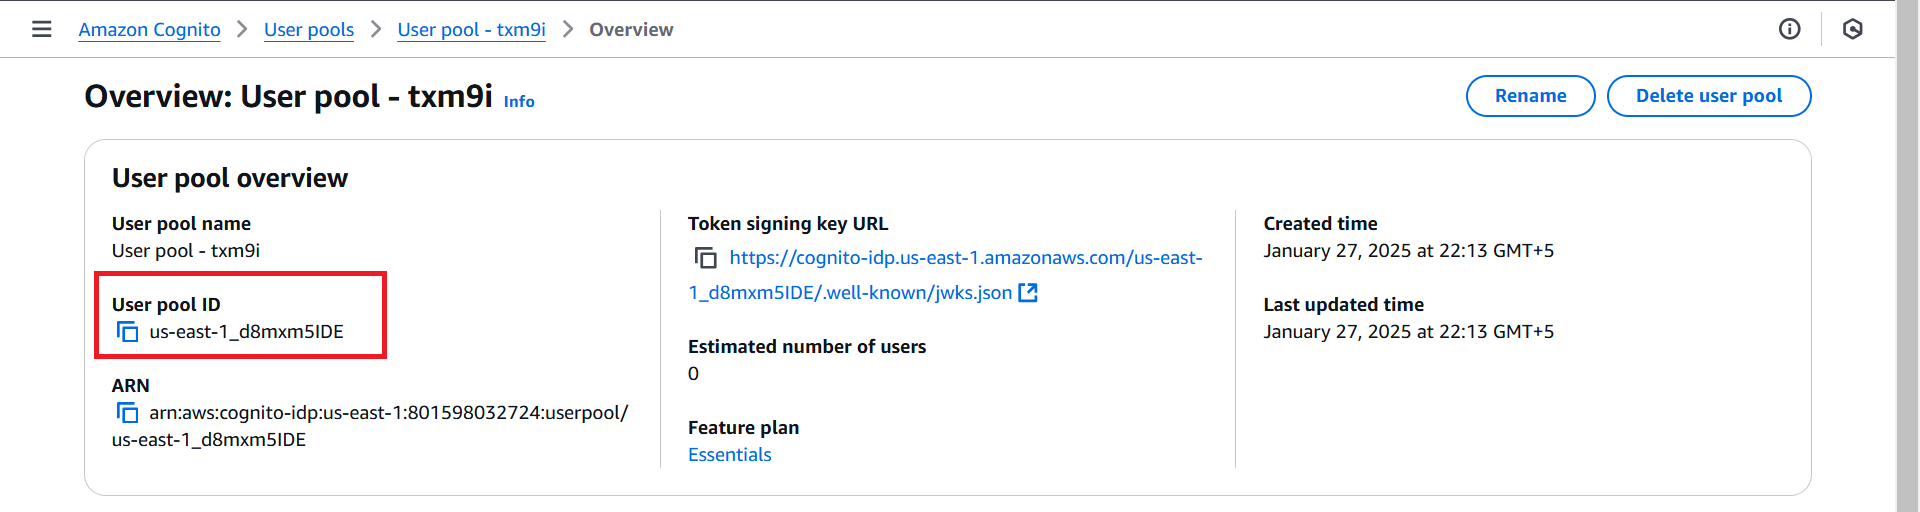
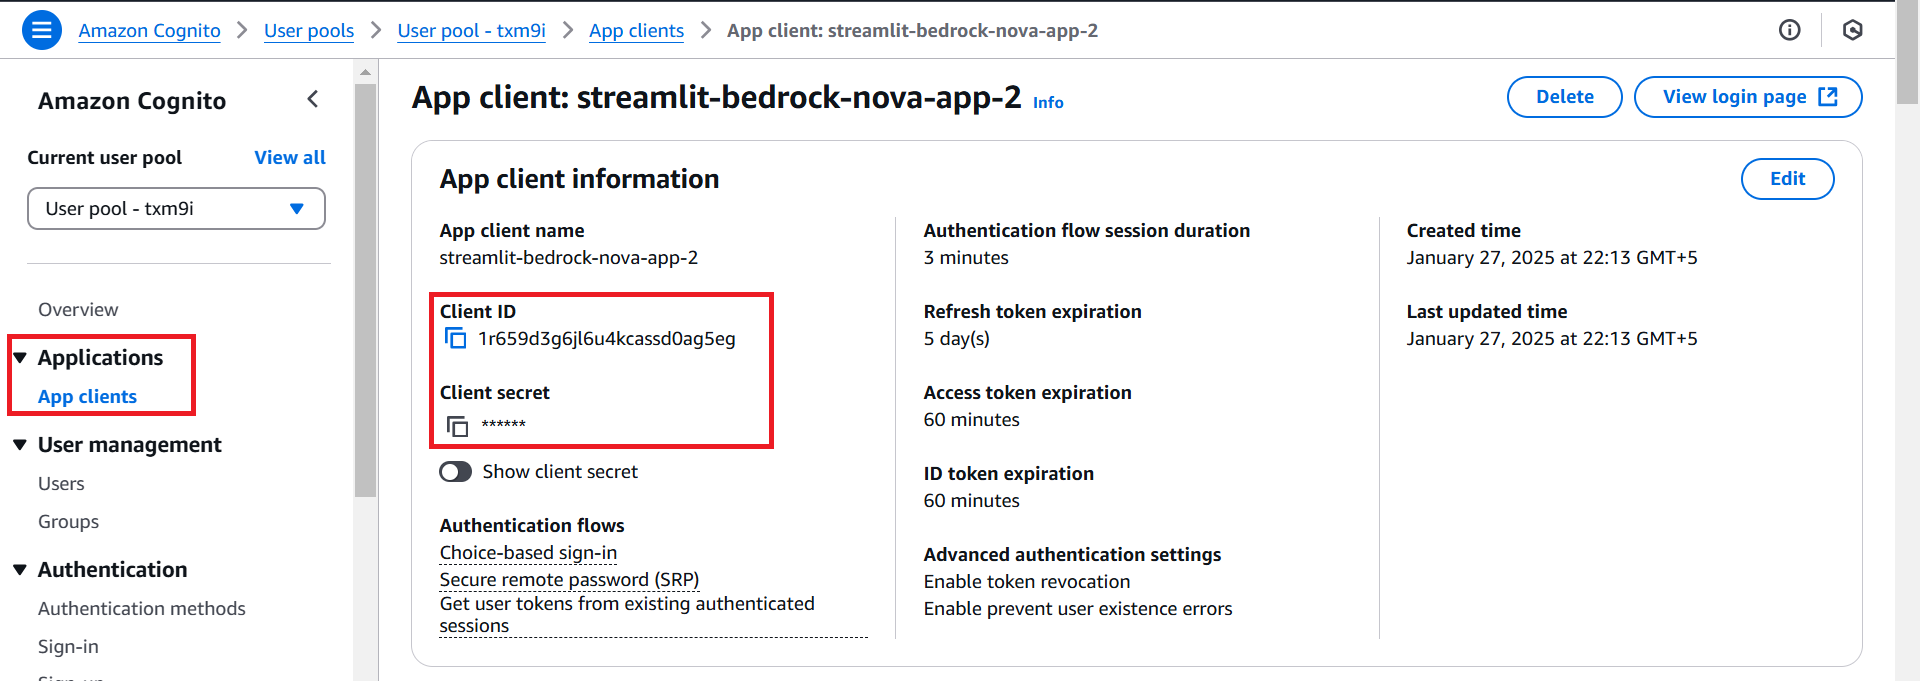
If you have enabled user authentication (LOGIN_REQUIRED = True) in your config.py file, you’ll need to set up a Cognito User Pool.
Create a Cognito User Pool and get the POOL_ID, APP_CLIENT_ID, and APP_CLIENT_SECRET.
Note: Do not share your app client secret publicly and keep it secure!
In the “Deployments” tab of your Lightsail container service, provide the following environment variables:
If Cognito is enabled
Set the container port to 8501 and the protocol to HTTP.
Click the “Deploy” button.

Your app should now be deployed and accessible via the public domain URL provided by Lightsail! For login you will be required to create a verified cognito user.

In this post, I’ve shared my journey of creating an application using Streamlit and the powerful Amazon Nova Canvas model. From generating images from text to performing advanced editing operations like inpainting and outpainting, this app offers a hands-on experience with some of the latest advancements in AI-powered image processing.
I’ve shown you how to get started by running the app locally, and I’ve also provided a detailed guide on deploying the application to AWS using Lightsail. Now, you can easily create amazing visuals using the different tools that I have developed and even share it with your friends.
I encourage you to explore the app, experiment with different prompts and parameters, and unleash your creativity. This is a starting point, and I’m excited to see what you create with these tools. I’d also love to hear your feedback and any ideas you have for future enhancements!
Thank you for joining me on this journey. I hope this app inspires your creative projects and helps you discover the exciting possibilities of AI-powered image generation.