Data Preparation with SageMaker Data Wrangler (Part 5)

Enviornment
This notebook is prepared with Amazon SageMaker Studio using Python 3 (Data Science) Kernel and ml.t3.medium instance.
About
This is a detailed guide on using AWS SageMaker Data Wrangler service to prepare data for machine learning models. SageMaker Data Wrangler is a multipurpose tool with which you can * import data from multiple sources * explore data with visualizations * apply transformations * export data for ml training
This guide is divided into five parts * Part 1: Prepare synthetic data and place it on multiple sources * Part 2: Import data from multiple sources using Data Wrangler * Part 3: Explore data with Data Wrangler visualizations * Part 4: Preprocess data using Data Wrangler * Part 5: Export data for ML training (You are here)
Part 5: Export data for ML training
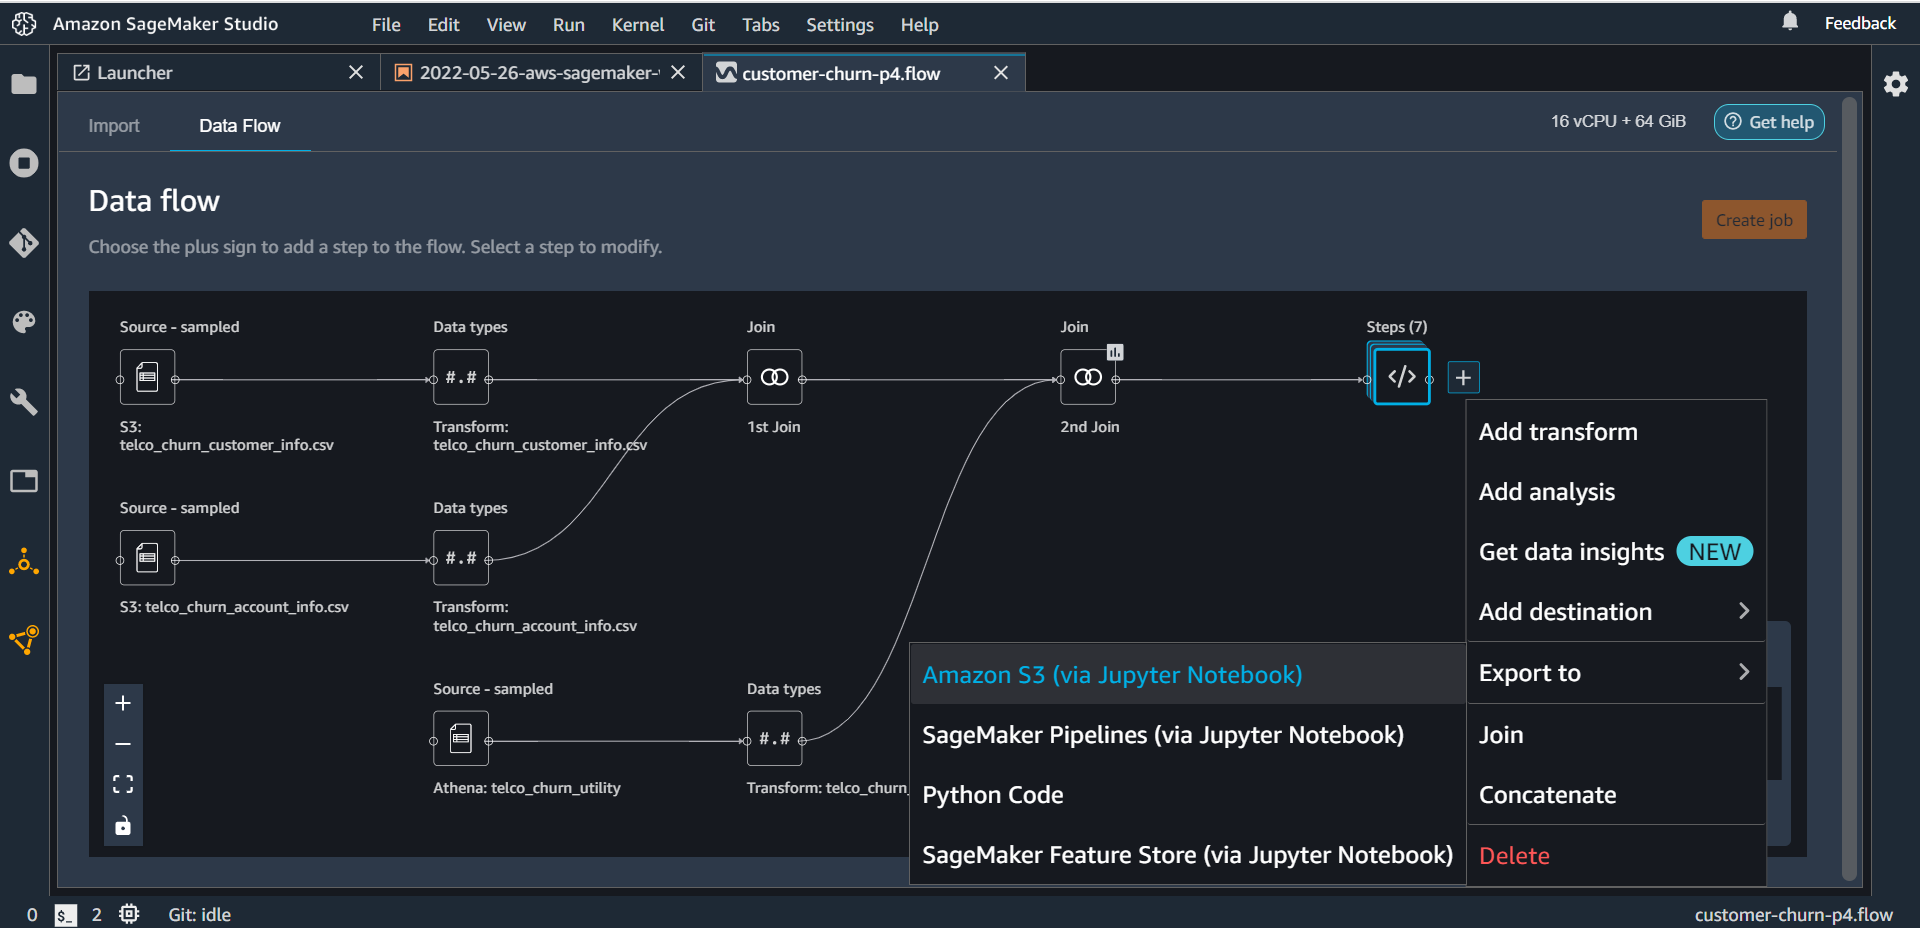
It is important to note that the transformations we have used are not applied to the data yet. These transformations need to be executed to get the final transformed data. When we export Data Wrangler flow it generates the code that when executed will perform the data transformations. Data Wrangler supports four export methods: Save to S3, Pipeline, Python Code, and Feature Store. In this post, we will see how to export data to S3 as this is the most common use case.
Open the customer-churn-p4.flow file from part-4. On the last step click the plus sign and select Export to > Amazon S3 (via Jupyter Notebook)
Sagemaker Data Wrangler will auto-generate a Jupyter notebook that will contain all the required code to transform and put data on the S3 bucket.
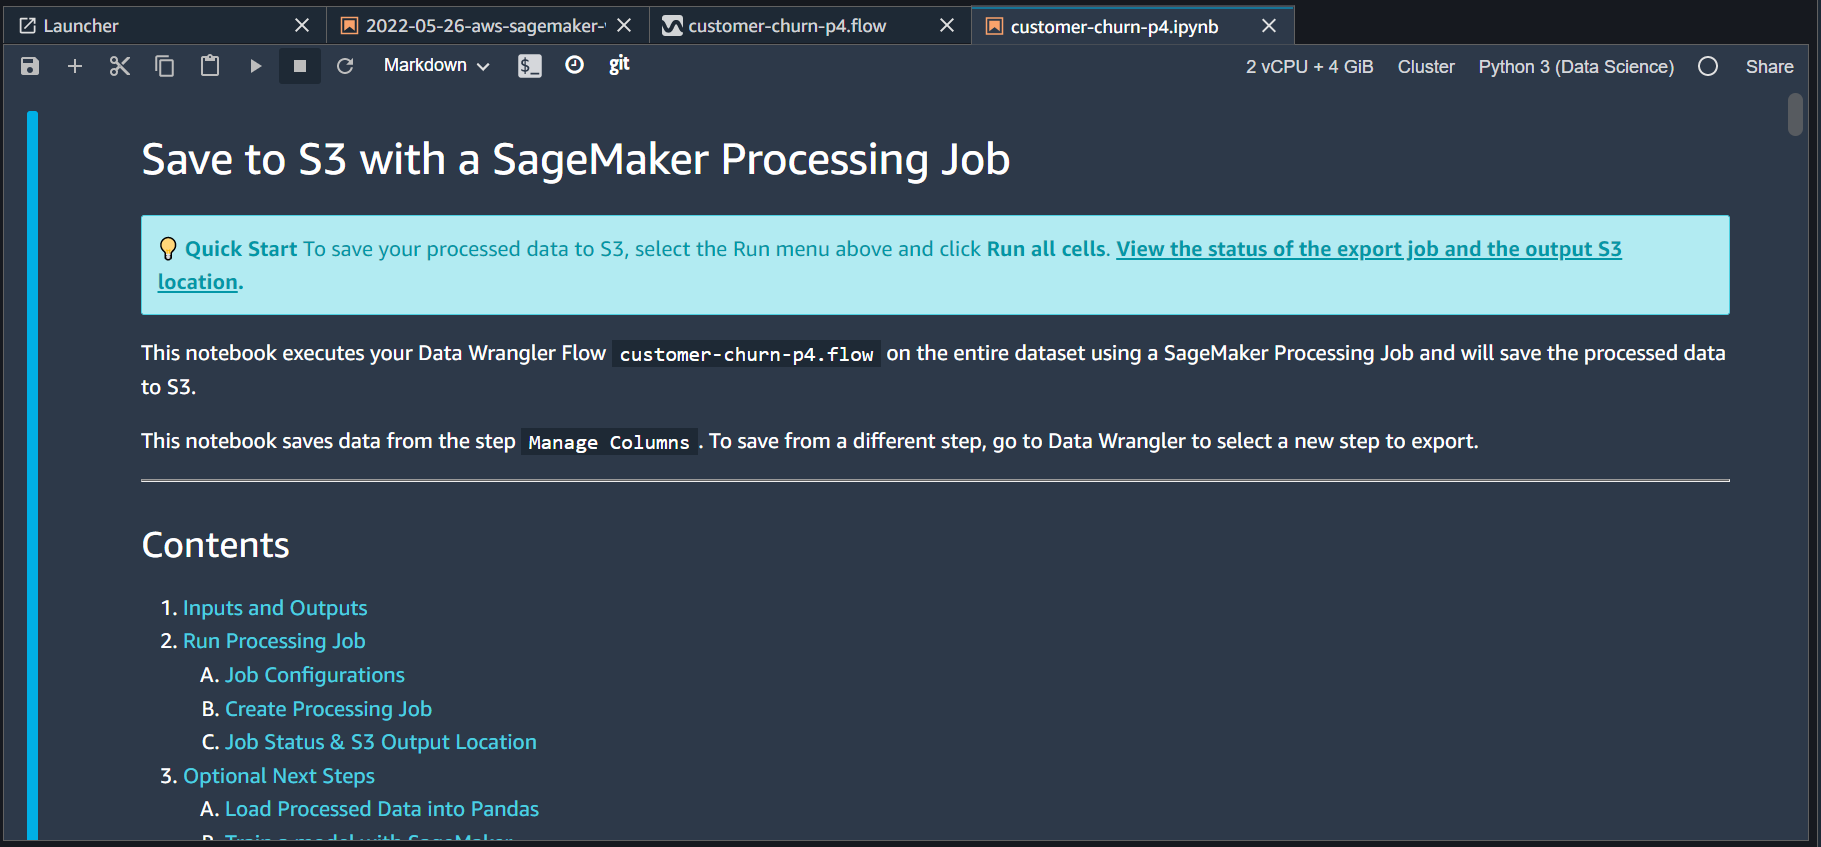
You may review the code and make any changes otherwise run it as it is till point (Optional)Next Steps. This is the first time SageMaker will process the data and place the output on S3 bucket. SageMaker may take a couple of minutes to execute all the cells. It is important to note that this notebook will initiate a container running on a separate machine to do all the processing. The machine specs are defined in the notebook as
# Processing Job Instance count and instance type.
instance_count = 2
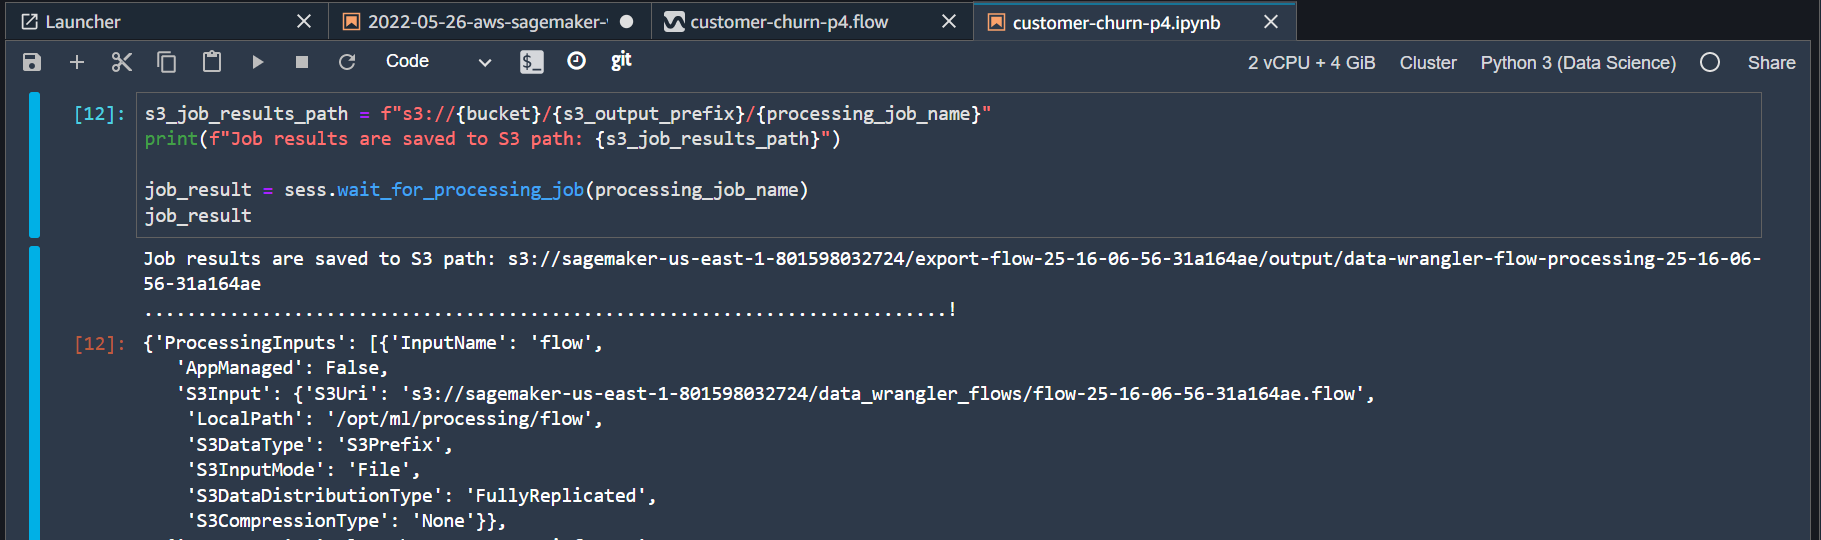
instance_type = "ml.m5.4xlarge"Once execution is complete you see the output message containing the S3 bucket location where the final output is stored.
The optional part of this notebook also contains code to generate xgboost model on the transformed data. To execute these steps make the following changes in the notebook.
Change the flag to run the optional steps.
run_optional_steps = TrueNext, update the xgboost hyperparameters to train a binary classification model (customer churn or not?).
hyperparameters = {
    "max_depth":"5",
    "objective": "binary:logistic",
    "num_round": "10",
}
Execute the optional steps. Again note that these steps will initiate a container running on a separate machine (“ml.m5.2xlarge”) to do the training work. The training job will take a few minutes to complete and once it is done trained model will be available on the S3 bucket for inference use. This autogenerated notebook customer-churn-p4.ipynb is available on GitHub here.
Summary
In this last post of the series, we used SageMaker Data Wrangler to auto-generate code to preprocess the data and store the final output on S3 bucket. We also used the same notebook to train an xgboost model on the processed data.