// config-cloudwatchagent.json
{
    "agent": {
      "metrics_collection_interval": 10,
      "logfile": "/opt/aws/amazon-cloudwatch-agent/logs/amazon-cloudwatch-agent.log",
      "run_as_user": "ubuntu",
      "debug": false
    },
    "metrics": {
      "namespace": "myblog/cloudwatchagent/demo",
      "metrics_collected": {
        "cpu": {
          "resources": [
            "*"
          ],
          "measurement": [
            {"name": "cpu_usage_idle", "rename": "CPU_USAGE_IDLE", "unit": "Percent"},
            {"name": "cpu_usage_nice", "unit": "Percent"},
            "cpu_usage_guest",
            "cpu_usage_active"

          ],
          "totalcpu": true,
          "metrics_collection_interval": 10
        },
        "disk": {
          "resources": [
            "/",
            "/tmp"
          ],
          "measurement": [
            {"name": "free", "rename": "DISK_FREE", "unit": "Gigabytes"},
            "total",
            "used"
          ],
           "ignore_file_system_types": [
            "sysfs", "devtmpfs"
          ],
          "metrics_collection_interval": 60
        },
        "diskio": {
          "resources": [
            "*"
          ],
          "measurement": [
            "reads",
            "writes",
            "read_time",
            "write_time",
            "io_time"
          ],
          "metrics_collection_interval": 60
        },
        "swap": {
          "measurement": [
            "swap_used",
            "swap_free",
            "swap_used_percent"
          ]
        },
        "mem": {
          "measurement": [
            "mem_used",
            "mem_cached",
            "mem_total"
          ],
          "metrics_collection_interval": 1
        },
        "net": {
          "resources": [
            "eth0"
          ],
          "measurement": [
            "bytes_sent",
            "bytes_recv",
            "drop_in",
            "drop_out"
          ]
        },
        "netstat": {
          "measurement": [
            "tcp_established",
            "tcp_syn_sent",
            "tcp_close"
          ],
          "metrics_collection_interval": 60
        },
        "processes": {
          "measurement": [
            "running",
            "sleeping",
            "dead"
          ]
        }
      },
      "force_flush_interval" : 30
    },
    "logs": {
      "logs_collected": {
        "files": {
          "collect_list": [
            {
              "file_path": "/opt/aws/amazon-cloudwatch-agent/logs/amazon-cloudwatch-agent.log",
              "log_group_name": "myblog/onprem/ubuntu/amazon-cloudwatch-agent",
              "log_stream_name": "myblog-cloudwatchagent-demo.log",
              "timezone": "UTC"
            }
          ]
        }
      },
      "log_stream_name": "my_log_stream_name",
      "force_flush_interval" : 15
    }
}Collecting metrics and logs from on-premises servers with the CloudWatch agent
aws
cloudwatch
A detailed guide on using cloudwatch agent to collect logs and metrics from an on-premises Ubuntu server.
Keywords
logs, aws, cloudwatch

About
This post is a detailed guide on using AWS CloudWatch Agent to collect logs and metrics from on-premises Ubuntu server. * The CloudWatch agent is open-source tool under the MIT license, and is hosted on GitHub amazon-cloudwatch-agent * With this agent you can collect more system-level metrics from Amazon EC2 instances or onprem servers across operating systems. You can retrieve custom metrics from your applications or services using the StatsD and collectd protocols. StatsD is supported on both Linux servers and servers running Windows Server. collectd is supported only on Linux servers * For the list of metrics that can be collected by CloudWatch agent follow this link metrics-collected-by-CloudWatch-agent
Environment Details
For on-premises Ubuntu server, we will use an EC2 machine with Ubuntu OS. Enable Auto-assign public IP and keep all the default settings. Once the instance is in a running state use SSH Key to connect to it.
If you are using Windows OS and while connecting to Ubuntu machine you are getting “Permissions for ‘ssh-key.pem’ are too open.” then take help from this post to resolve it windows-ssh-permissions-for-private-key-are-too-open
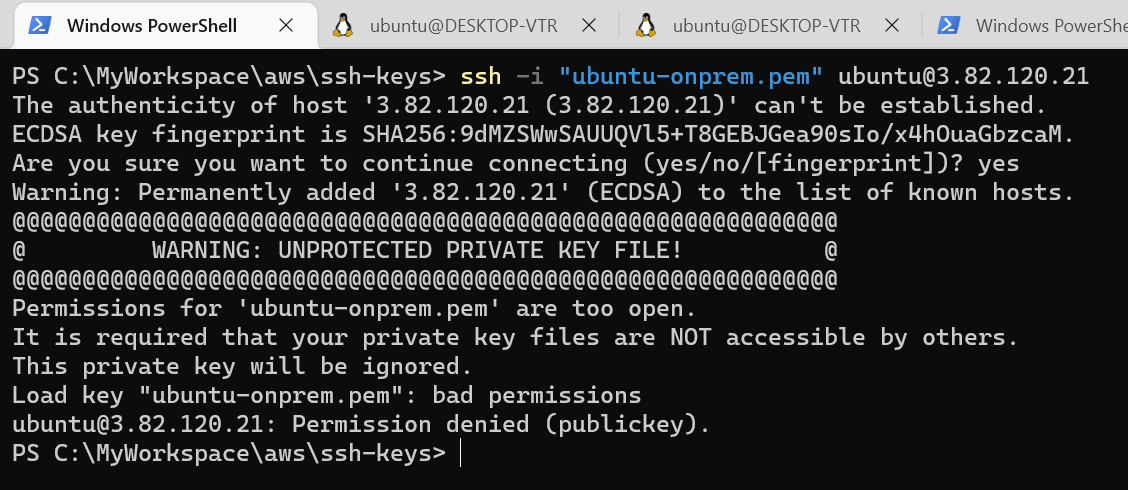
Once you are successfully connected to EC2 Ubuntu machine you will get the following message on the terminal. 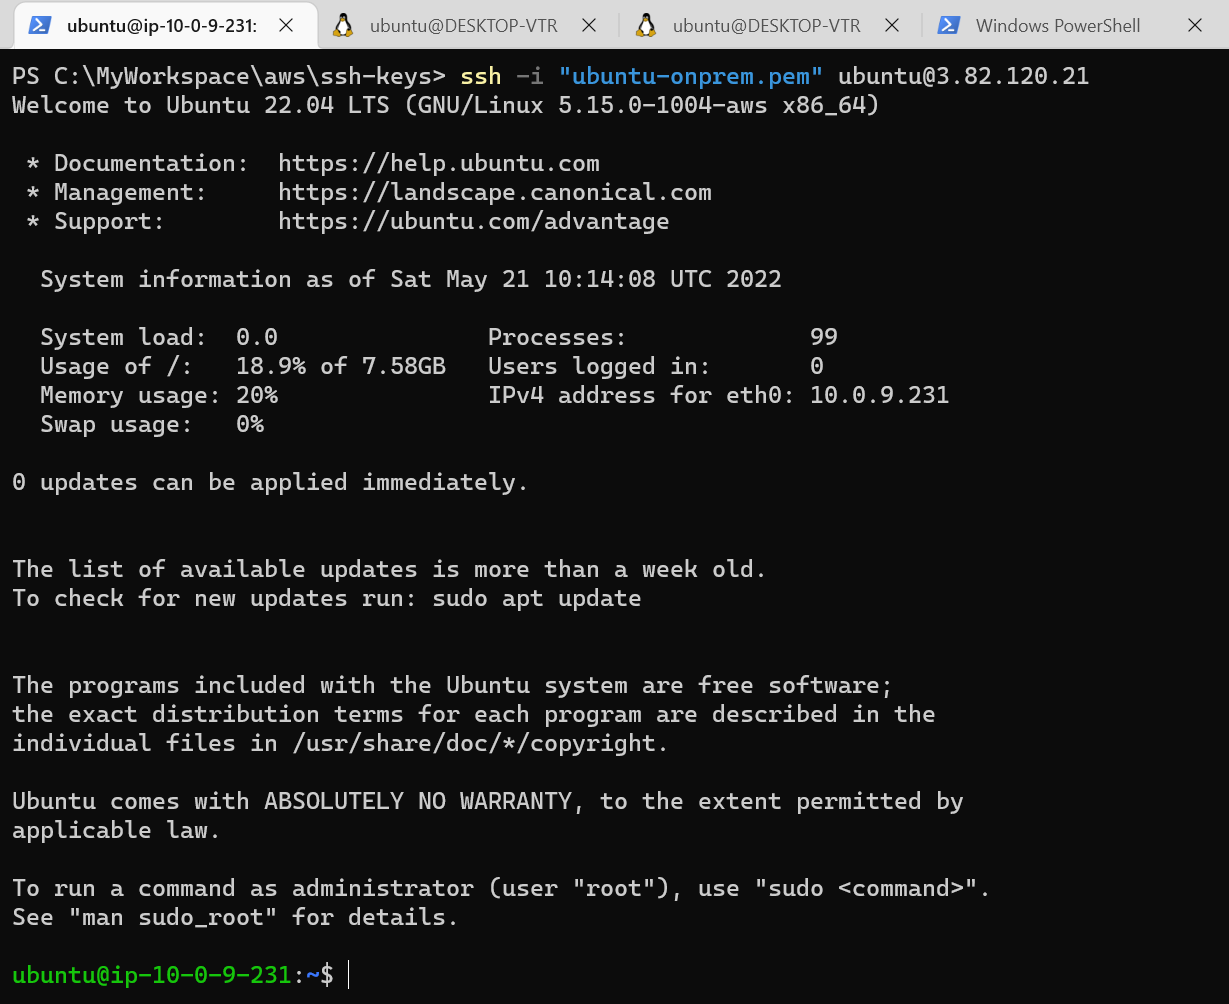
CloudWatch Agent Installation and Configuration Steps
Create IAM roles and users for use with CloudWatch agent
Access to AWS resources requires permissions. You create an IAM role, an IAM user, or both to grant permissions that the CloudWatch agent needs to write metrics to CloudWatch. * If you’re going to use the agent on Amazon EC2 instances, you should create an IAM role. * f you’re going to use the agent on on-premises servers, you should create an IAM user.
Since we want to use EC2 machine as an on-premises machine so we will create an IAM user.
To create the IAM user necessary for the CloudWatch agent to run on on-premises servers follow these steps 1. Sign in to the AWS Management Console and open the IAM console at https://console.aws.amazon.com/iam/. 2. In the navigation pane on the left, choose Users and then Add users. 3. Enter the user name for the new user. 4. Select Access key - Programmatic access and choose Next: Permissions. 5. Choose Attach existing policies directly. 6. In the list of policies, select the check box next to CloudWatchAgentServerPolicy. If necessary, use the search box to find the policy. 7. Choose Next: Tags. 8. Optionally create tags for the new IAM user, and then choose Next:Review. 9. Confirm that the correct policy is listed, and choose Create user. 10. Next to the name of the new user, choose Show. Copy the access key and secret key to a file so that you can use them when installing the agent. Choose Close.
Install and configure AWS CLI on Ubuntu server
Connect to the Ubuntu server using any SSH client. We need to first download and install AWS CLI. Follow the below commands to download and install it. For installing AWS CLI on macOS and Windows take help from this post awscli-getting-started-install
1. Download AWS CLI package
curl "https://awscli.amazonaws.com/awscli-exe-linux-x86_64.zip" -o "awscliv2.zip"2. Install UNZIP package
sudo apt install unzip3. Unzip AWSCLI Package
unzip awscliv2.zip4. Install AWS CLI
sudo ./aws/install5. Verify AWS CLI Installation
aws --version
6. Configure AWS CLI
Make sure that you use AmazonCloudWatchAgent profile name as this is used by the OnPremise case by default. For more details, you may take help from this post install-CloudWatch-Agent-commandline-fleet
aws configure --profile AmazonCloudWatchAgent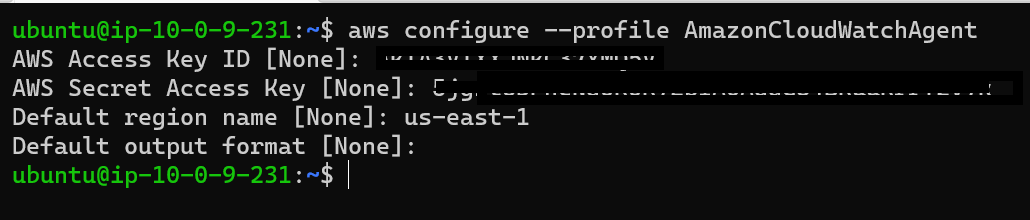
7. Verify credentials in User home directory
cat /home/ubuntu/.aws/credentialsInstall and run the CloudWatch agent on Ubuntu server
1. Download the agent
The following download link is for Ubuntu. For any other OS you can take help from this post for downloaded agent download-cloudwatch-agent-commandline
wget https://s3.amazonaws.com/amazoncloudwatch-agent/ubuntu/amd64/latest/amazon-cloudwatch-agent.deb2. Install the agent
sudo dpkg -i -E ./amazon-cloudwatch-agent.deb3. Prepare agent configuration file
Prepare agent configuration file. This config file will be provided to the agent in the run command. One such sample is provided below. For more details on this config file you may take help from this link create-cloudwatch-agent-configuration-file. Note the path of this config file (agent config) as we will need it in later commands.
Some important parts of this config file
logfile
"logfile": "/opt/aws/amazon-cloudwatch-agent/logs/amazon-cloudwatch-agent.log"CloudWatch agent log file location on on-premise server is specified by this tag. After running the agent you can check this log file for any exception messages.
log_group_name
"log_group_name": "myblog/onprem/ubuntu/amazon-cloudwatch-agent"An on-premise logfile is also uploaded to CloudWatch under log-group-name specified by this tag.
log_stream_name
"log_stream_name": "myblog-cloudwatchagent-demo.log"Log stream name of the CloudWatch where logfile log steam will be uploaded.
namespace
"namespace": "myblog/cloudwatchagent/demo"On CloudWatch console you find the uploaded metrics under the custom namespace specified by this tag. In our case, it is “myblog/cloudwatchagent/demo”
4. Update shared configuration file
From the config file 1. Uncomment the [credentails] tag 2. Update shared_credentails_profile name. This is the profile name with which we have configured our AWS CLI ‘AmazonCloudWatchAgent’. If you have used any other name then use that name here. 3. Update shared_credentials_file path. This is the path for AWS user credentails file created by AWS CLI. ‘/home/username/.aws/credentials’ and in our case it is /home/ubuntu/.aws/credentials
Configuration file is located at /opt/aws/amazon-cloudwatch-agent/etc/common-config.toml. For more details on this shared configuration file follow this link CloudWatch-Agent-profile-instance-first
sudo vim /opt/aws/amazon-cloudwatch-agent/etc/common-config.toml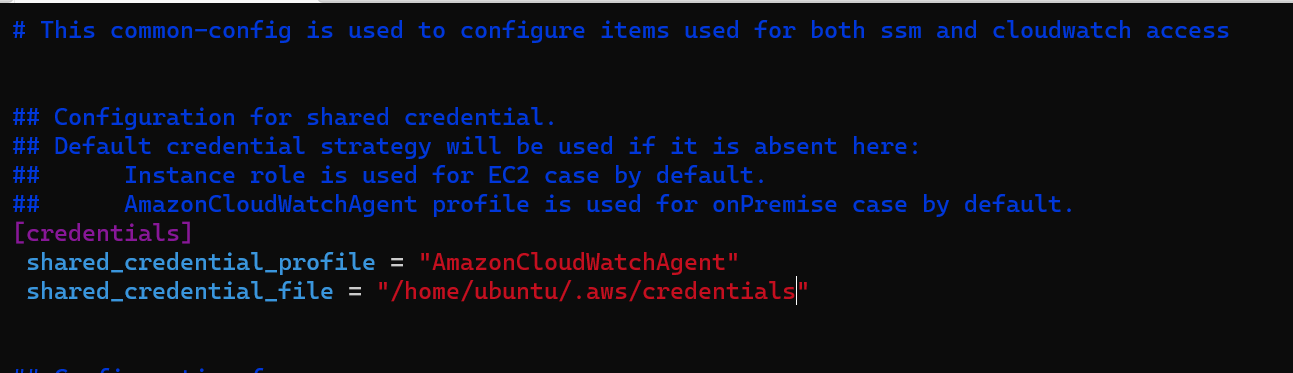
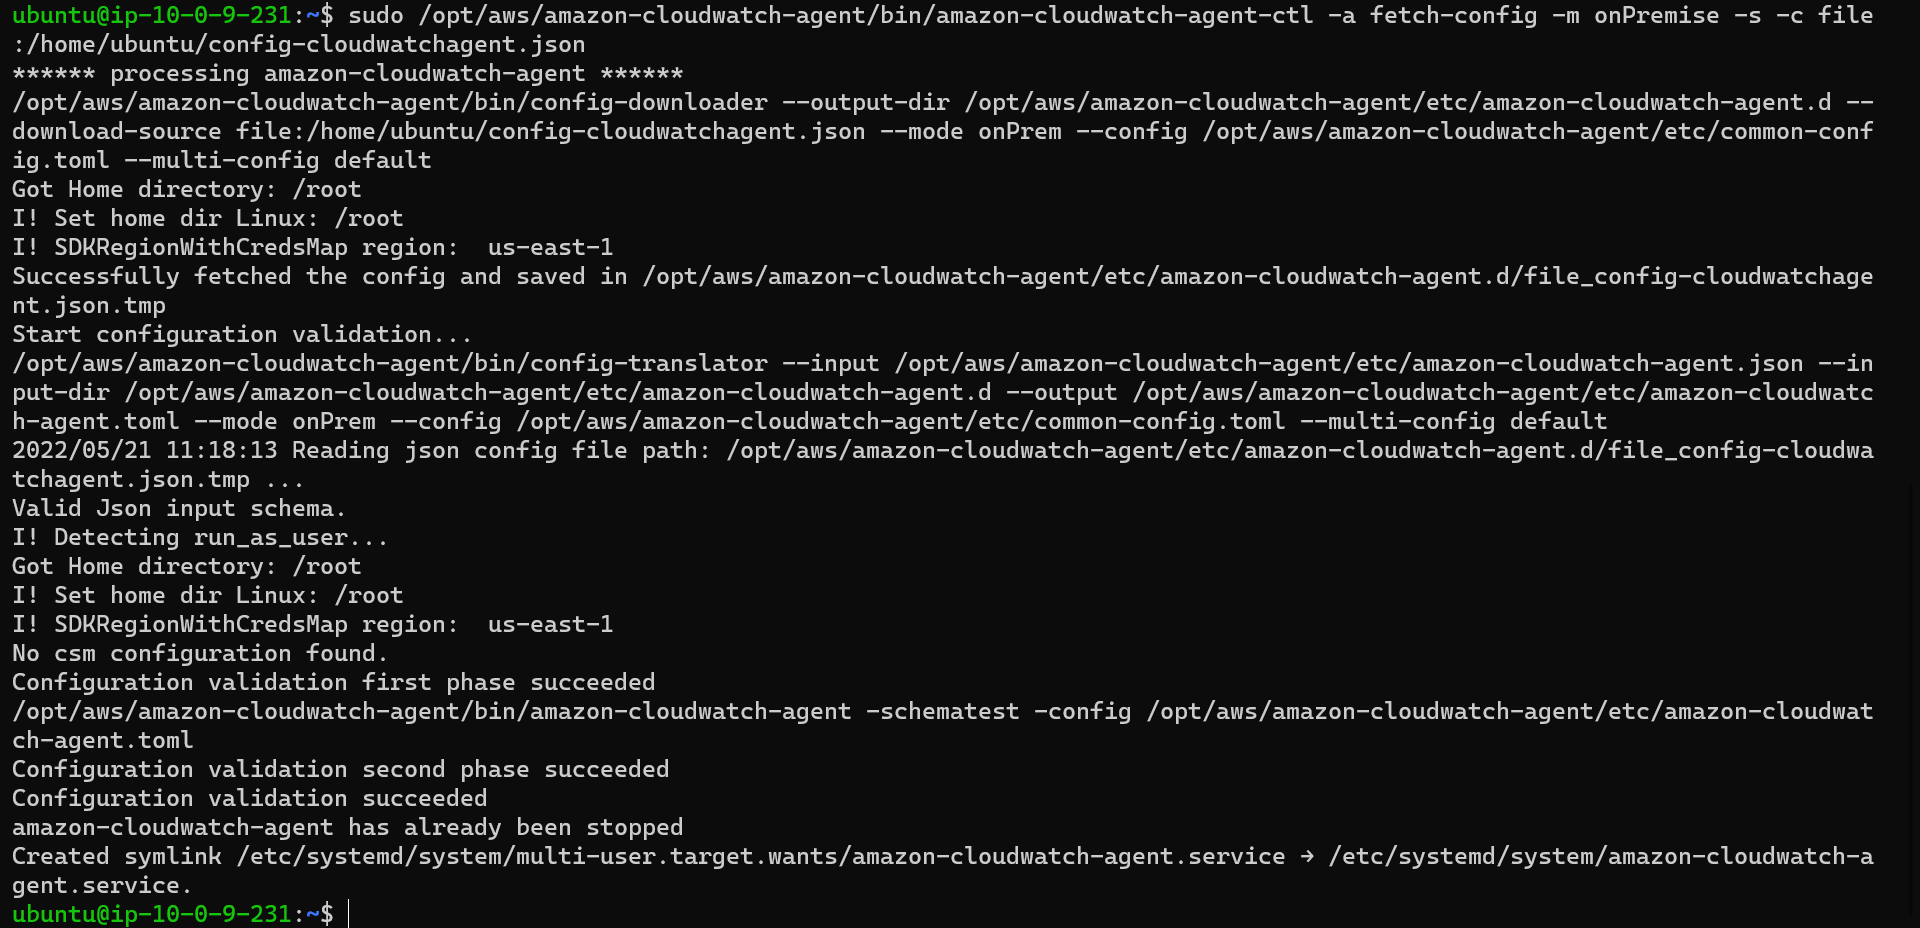
5. Start the agent
sudo /opt/aws/amazon-cloudwatch-agent/bin/amazon-cloudwatch-agent-ctl -a fetch-config -m onPremise -s -c file:/home/ubuntu/config-cloudwatchagent.jsonMake sure that you provide the correct path to the JSON config file. In our case, it is file:/home/ubuntu/config-cloudwatchagent.json. For more details check this link start-CloudWatch-Agent-on-premise-SSM-onprem
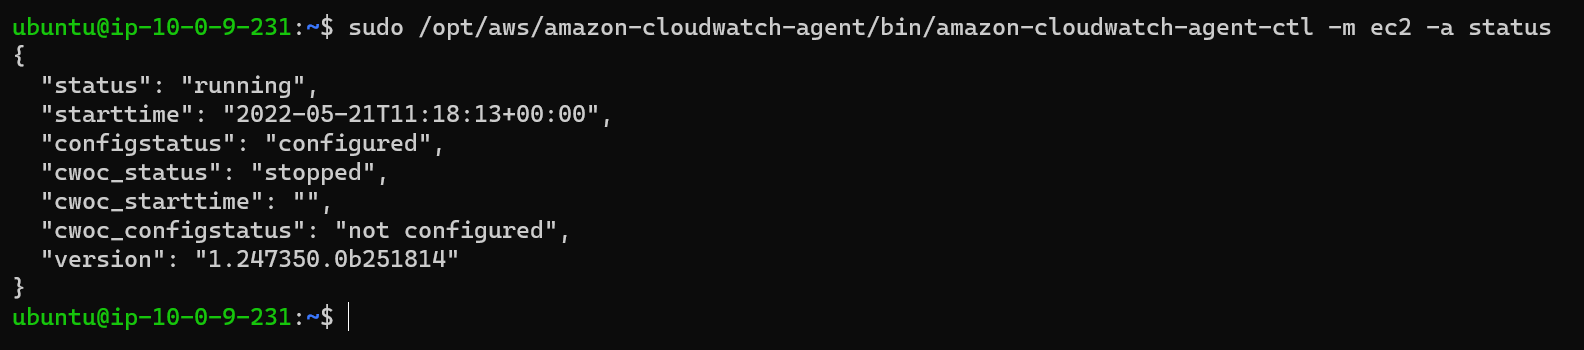
6. Check agent status
sudo /opt/aws/amazon-cloudwatch-agent/bin/amazon-cloudwatch-agent-ctl -m ec2 -a statusIf the agent is running you will get status : running otherwise you will get status : stopped
7. Check agent logs
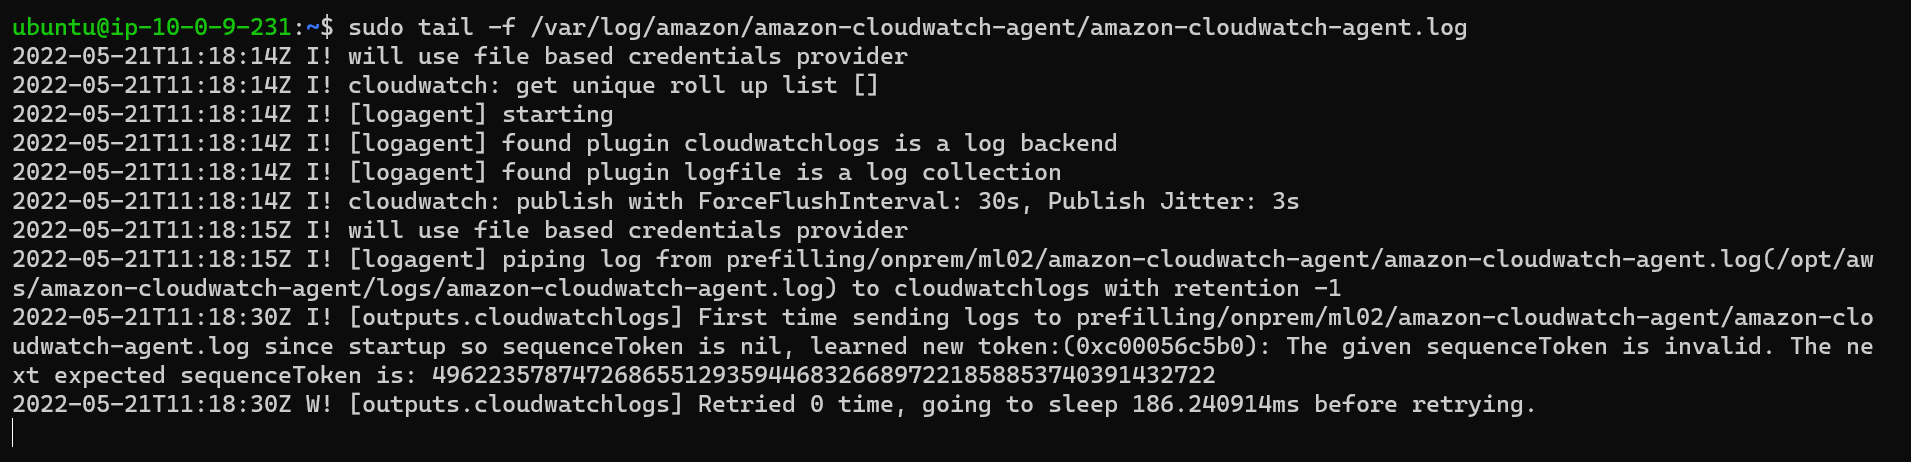
The agent generates a log while it runs. This log includes troubleshooting information. This log is the amazon-cloudwatch-agent.log file. This file is located in /opt/aws/amazon-cloudwatch-agent/logs/amazon-cloudwatch-agent.log on Linux servers. This is the same logfile path we also defined in the JSON config file. If you are using multiple agents on the machine then you can give them separate log file paths using their JSON configurations.
sudo tail -f /var/log/amazon/amazon-cloudwatch-agent/amazon-cloudwatch-agent.logCheck the logs if there is an exception message or not.
Please note that both the log files are the same. It could be that agent is keeping multiple copies for internal processing.
/opt/aws/amazon-cloudwatch-agent/logs/amazon-cloudwatch-agent.logor
/var/log/amazon/amazon-cloudwatch-agent/amazon-cloudwatch-agent.logCheck the agent logs on AWS CloudWatch console
Agent logs are also uploaded to CloudWatch console under log group and stream that we mentioned in JSON config file. In our case it is
"log_group_name": "myblog/onprem/ubuntu/amazon-cloudwatch-agent"
"log_stream_name": "myblog-cloudwatchagent-demo.log"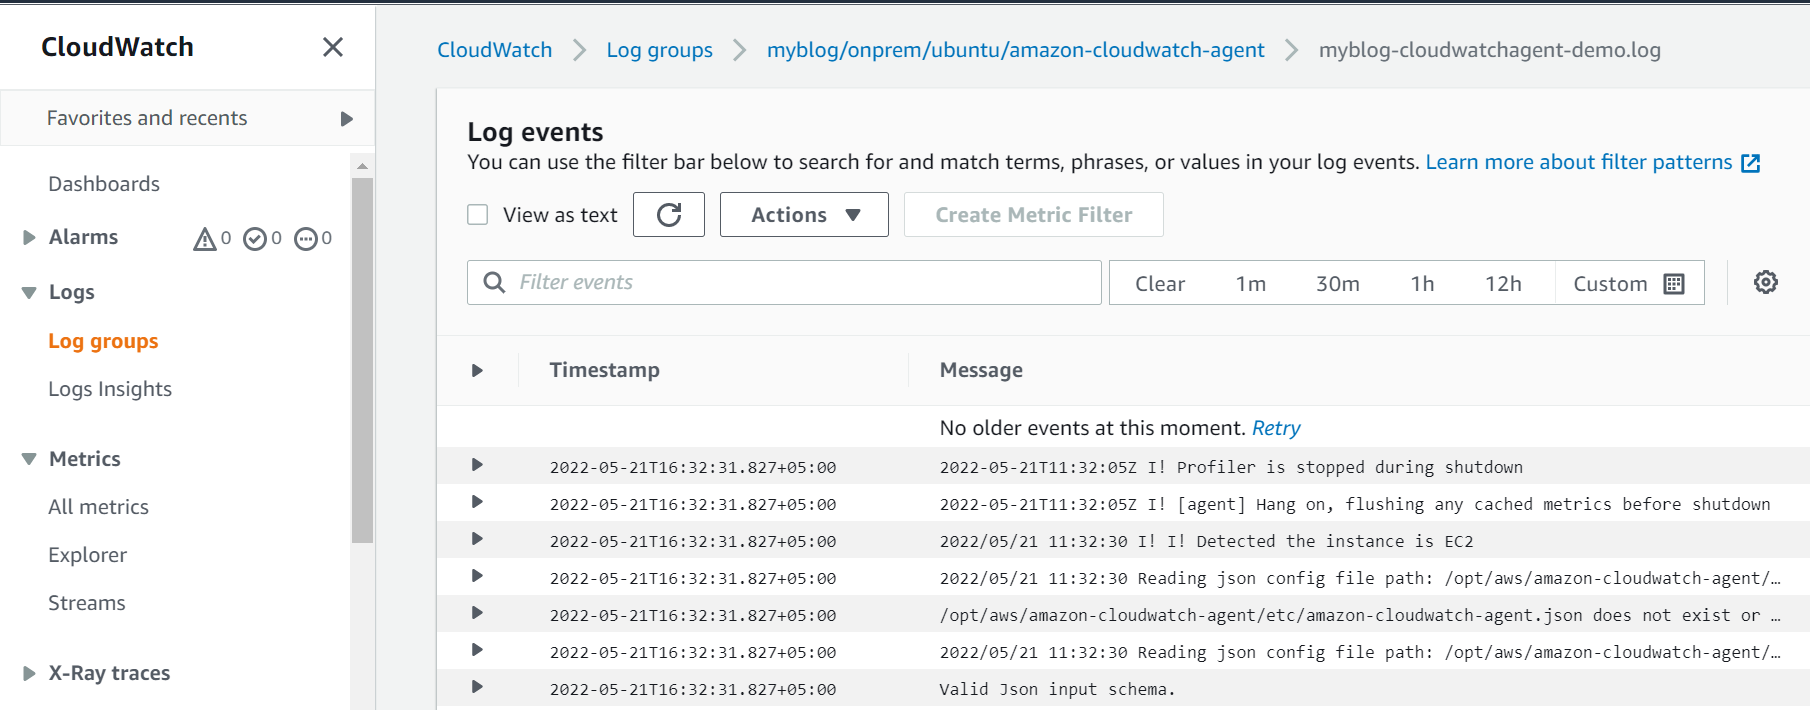
Check the machine metrics on CloudWatch console
Now finally we can check the metrics uploaded by the agent on CloudWatch console under CloudWatch > Metrics > ALL metrics > Custom namespaces
The name of the metrics namespace is the same as what we defined in our JSON config file
"metrics": {
      "namespace": "myblog/cloudwatchagent/demo"
Common scenarios with the CloudWatch agent
For more trouble shooting scenerios follow these link * troubleshooting-CloudWatch-Agent * CloudWatch-Agent-common-scenarios
To stop the CloudWatch agent locally using the command line
On a Linux server, enter the following
sudo /opt/aws/amazon-cloudwatch-agent/bin/amazon-cloudwatch-agent-ctl -m ec2 -a stopI updated my agent configuration but don’t see the new metrics or logs in the CloudWatch console
If you update your CloudWatch agent configuration file, the next time that you start the agent, you need to use the fetch-config option. For example, if you stored the updated file on the local computer, enter the following command. Replace <configuration-file-path> with the actual config file path.
sudo /opt/aws/amazon-cloudwatch-agent/bin/amazon-cloudwatch-agent-ctl -a fetch-config -s -m ec2 -c file:<configuration-file-path>